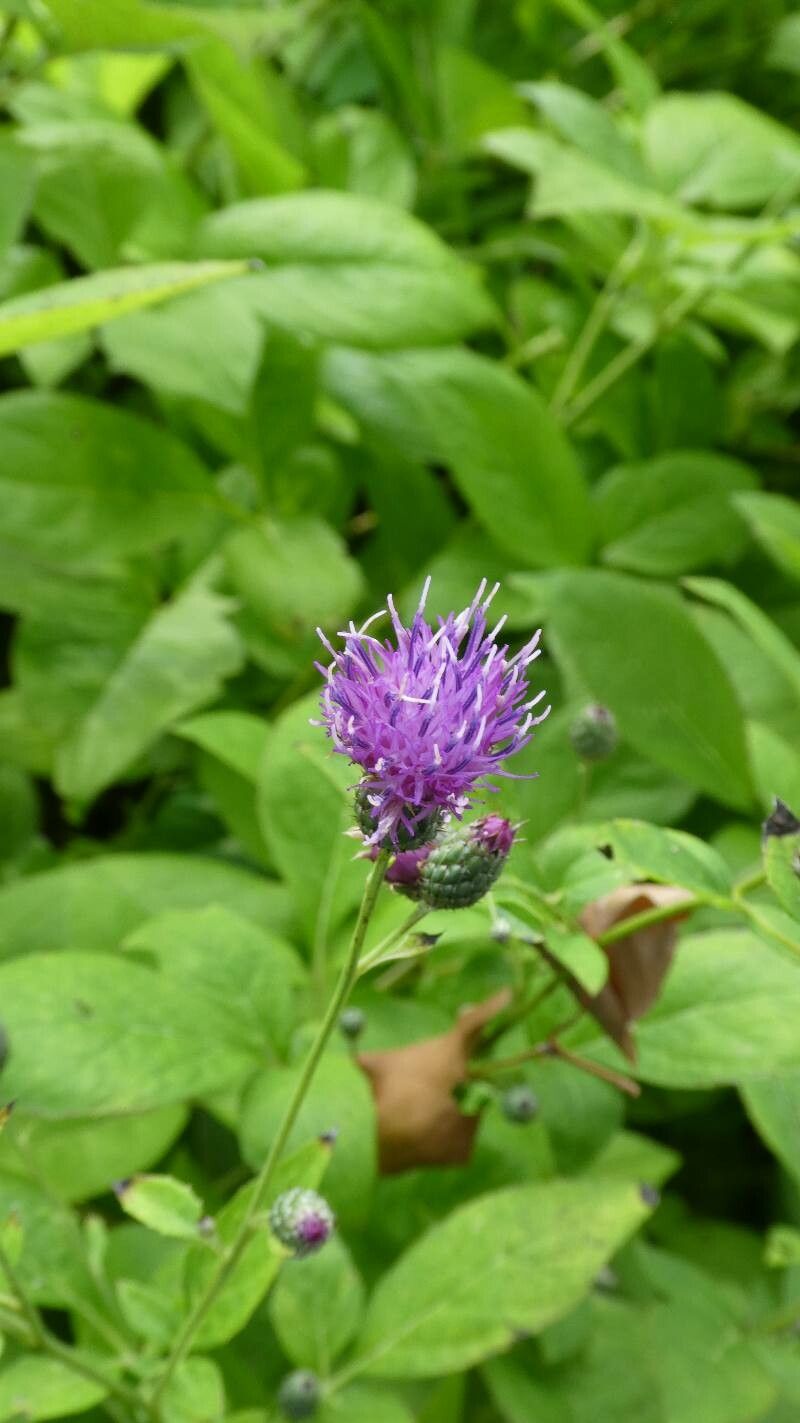
Hello fellow garden enthusiasts! I’m so excited to share a bit about one of my favorite wildflowers, Serratula tinctoria, also known as Saw-wort. This beauty boasts delicate, thistle-like flower heads in lovely shades of pink and purple, attracting all sorts of beneficial pollinators. Honestly, I find it incredibly rewarding to grow new plants from cuttings or divisions. It’s a simple way to expand your garden and share the joy with friends. For those just starting out, Saw-wort is a wonderfully forgiving plant to propagate. You’ll do great!
The Best Time to Start
My go-to time for propagating Saw-wort is late spring to early summer, right after the plant has finished its initial flush of growth and before it gets too hot. You’re looking for healthy, well-established plants that haven’t started to flower yet. Alternatively, you can divide established clumps in early spring as soon as the ground thaws and new shoots are just beginning to emerge. Both times offer a fantastic chance for success.
Supplies You’ll Need
Here’s a little stash I like to keep handy:
- Sharp pruning shears or a clean knife: For making neat cuts.
- Rooting hormone (optional but helpful): A powder or gel to encourage root development.
- Well-draining potting mix: A 50/50 blend of perlite and peat moss or coco coir works beautifully.
- Small pots or seed trays: For your new cuttings.
- Plastic bags or a propagation dome: To create a humid environment.
- Labels or plant markers: To keep track of your cuttings.
- Watering can with a fine rose: For gentle watering.
Propagation Methods
Let’s get our hands dirty!
1. Stem Cuttings (My Favorite!)
This is how I usually expand my Saw-wort collection.
- Take your cuttings: Find a healthy stem on your mature plant. Using your sharp shears, take a cutting that is about 4-6 inches long. Make the cut just below a leaf node (where a leaf attaches to the stem).
- Prepare the cutting: Gently remove the lower leaves, leaving just a couple of sets at the top. This prevents them from rotting. If you’re using rooting hormone, dip the cut end into it now.
- Plant your cuttings: Fill your small pots with the well-draining potting mix. Make a small hole with your finger or a pencil, and insert the cut end of the stem. Firm the soil gently around it.
- Create humidity: Water the soil gently. Then, cover the pot with a plastic bag or place it under a propagation dome. A bit of air circulation is good, so you can prop the bag open slightly.
2. Division
This method is perfect for giving overcrowded plants a new lease on life and creating more Saw-wort.
- Dig up the plant: In early spring or fall, carefully dig around the base of your mature Saw-wort plant. Gently lift the entire clump from the soil.
- Separate the divisions: You might be able to tease the root ball apart with your hands. If it’s stuck, use a clean trowel or knife to carefully split the clump into smaller sections. Each division should have at least a few healthy shoots and some roots.
- Replant: Immediately replant your divided sections into prepared spots in the garden or into pots filled with good potting mix. Water them in well.
The “Secret Sauce” (Pro Tips)
These little tricks have made all the difference for me over the years:
- You know, I never let the lower leaves of my cuttings touch the soil. Even a few leaves buried in the mix can start to rot, and that’s a surefire way to invite fungal issues. Pinch them off decisively!
- When I take cuttings, I almost always dip the cut ends in a bit of rooting hormone. It’s not strictly necessary for Saw-wort, but it seriously boosts your success rate and speeds things up. Just a little bit goes a long way.
- For cuttings, a bit of gentle bottom heat from a heat mat can work wonders. It encourages root development without drying out the top growth. I use one during cooler spring days, especially if my greenhouse isn’t as warm as I’d like.
Aftercare & Troubleshooting
Once your cuttings have developed a healthy root system and you see new growth, it’s time to give them a little extra care.
- Gradually acclimate: If your cuttings are under cover, start by opening the cover a bit more each day to get them used to normal humidity.
- Watering: Keep the soil consistently moist but not soggy. Overwatering is the most common culprit for failure. Water when the top inch of soil feels dry to the touch.
- Light: Place your new plants in a bright spot, but avoid direct, harsh sunlight initially. A bright, indirect light is perfect.
Now, what if things aren’t going as planned? The most common sign of trouble is a cutting that wilts and turns mushy, often at the base. This is usually due to overwatering and poor air circulation, leading to rot. If you see this, sadly, that cutting is likely lost. Don’t get discouraged! Take note of what might have happened, adjust your approach for the next batch, and try again. Remember, even experienced gardeners lose some cuttings.
A Little Encouragement
Propagating Serratula tinctoria is a delightful journey. Be patient with your new plants, enjoy the process of nurturing them, and celebrate every new root and leaf you see. Happy gardening!
Resource:
https://identify.plantnet.org/k-world-flora/species/Serratula%20tinctoria%20L./data