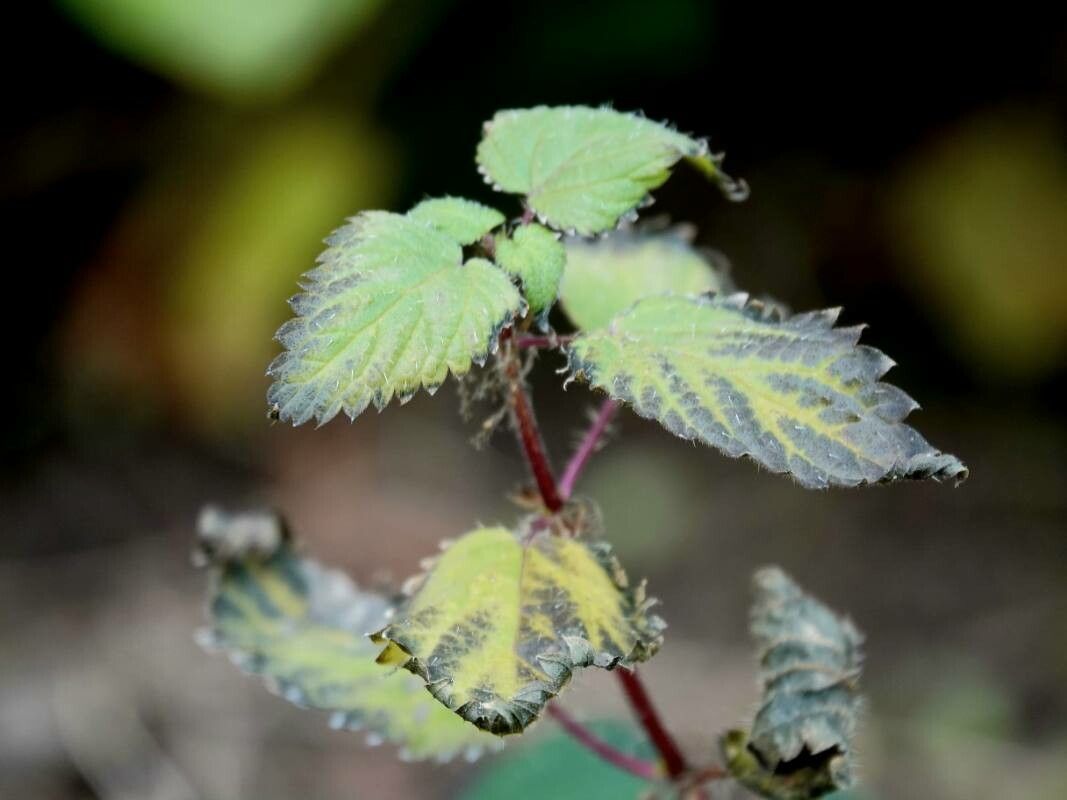
Oh, hello there! Grab your mug, let’s chat about a little gem I’ve grown to adore: Galeopsis pyrenaica, often called Pyrenean Hemp-nettle. It’s got this lovely, understated charm with its soft, fuzzy leaves and delicate blooms that can really brighten up a dappled woodland corner or a shady spot in your garden. Propagating it feels like unlocking a little garden magic, and trust me, it’s a wonderfully satisfying way to fill your space with more of these beauties for free! If you’re new to the plant propagation game, I’d say Galeopsis pyrenaica is a pretty friendly companion to start with.
When to Get Your Hands Dirty
For the best results with Galeopsis pyrenaica, late spring to early summer is your golden ticket. This is when the plant is actively growing and has plenty of fresh, pliable stems. Taking cuttings during this period gives them the best chance to establish roots before the heat of midsummer or the chill of autumn sets in. You want to aim for stems that aren’t too woody but have developed a bit of firmness.
What You’ll Need to Gather
Here’s a little checklist of what I usually have on hand when I’m propagating:
- Sharp Pruning Shears or a Craft Knife: Clean cuts are crucial for preventing disease.
- Peat-Free Potting Mix: A light, airy mix is best. I often use a blend of coco coir, perlite, and a touch of compost.
- Small Pots or Seed Trays: Whatever you have available, as long as they have drainage holes.
- Rooting Hormone (Optional but Recommended): A little dip can really speed things up.
- Plastic Bags or Propagation Dome: To create a humid environment.
- Watering Can with a Fine Rose: For gentle watering.
- Pen or Plant Labels: To keep track of what’s what!
Bringing New Life to Your Garden
I find that stem cuttings are the most straightforward and successful method for Galeopsis pyrenaica. Here’s how I do it:
- Take Your Cuttings: On a slightly overcast morning or in the evening, select healthy, non-flowering shoots. Using your clean shears, cut stems that are about 4-6 inches long. Make the cut just below a leaf node (that little bump where a leaf grows from the stem).
- Prepare the Cuttings: Gently remove the lower leaves from the cuttings, leaving just the top 2-3 sets. This helps prevent them from rotting in the soil.
- Apply Rooting Hormone (If Using): Dip the cut end of each stem into your rooting hormone powder, tapping off any excess.
- Pot Them Up: Fill your small pots with your prepared potting mix. Make a small hole in the center of the soil with your finger or a pencil.
- Insert the Cuttings: Carefully place one cutting into each hole and gently firm the soil around it.
- Water Gently: Water thoroughly until the soil is evenly moist but not waterlogged.
- Create Humidity: Cover the pots loosely with a plastic bag, using stakes to keep the bag from touching the leaves, or place them under a propagation dome. This traps moisture and mimics the humid environment cuttings love.
- Find the Right Spot: Place the pots in a bright location out of direct sunlight. A windowsill that gets indirect light is perfect.
My Little “Secret Sauce” Bits
Here are a few things I’ve learned over the years that make a difference:
- Choose the Right Stems: Don’t grab anything flowering. Look for those lush, green, actively growing shoots. If a stem has a flower bud, pinch it off. The plant needs to focus its energy on making roots, not flowers.
- Bottom Heat is Your Friend: If you have an old seedling heat mat, it can work wonders. Placing the pots on a gentle heat source can significantly speed up root formation. Keep the mat on for only about 8 hours a day, though, to avoid drying out the soil too much.
- Don’t Be Afraid to Experiment: Sometimes, what works like a charm one year might need a little tweak the next. Observe your plants and adjust. Maybe a slightly different soil mix or a bit more shade.
Looking After Your New Sprouts
Once your cuttings have been potted up, keep the soil consistently moist but not soggy. Check the humidity daily – if the leaves look a bit limp, mist them lightly. In about 3-4 weeks, you should start to see signs of new growth, which is a good indicator that roots are forming. You can give them a gentle tug – if there’s resistance, you’ve got roots!
If you see leaves turning yellow or mushy, it’s usually a sign of overwatering or possibly rot. In this case, you might need to pull the cutting out, trim away any rotted parts, and repot it in fresh, slightly drier soil. Sometimes, it’s just a sign that the cutting wasn’t viable to begin with, and that’s okay!
Keep Growing!
Propagating plants is a journey, and every successful rooted cutting feels like a tiny victory. Be patient with your Galeopsis pyrenaica, enjoy the process of watching new life emerge, and soon you’ll have even more of these charming plants to share with friends or to simply fill your garden with joy. Happy growing!
Resource:
https://identify.plantnet.org/k-world-flora/species/Galeopsis%20pyrenaica%20Bartl./data