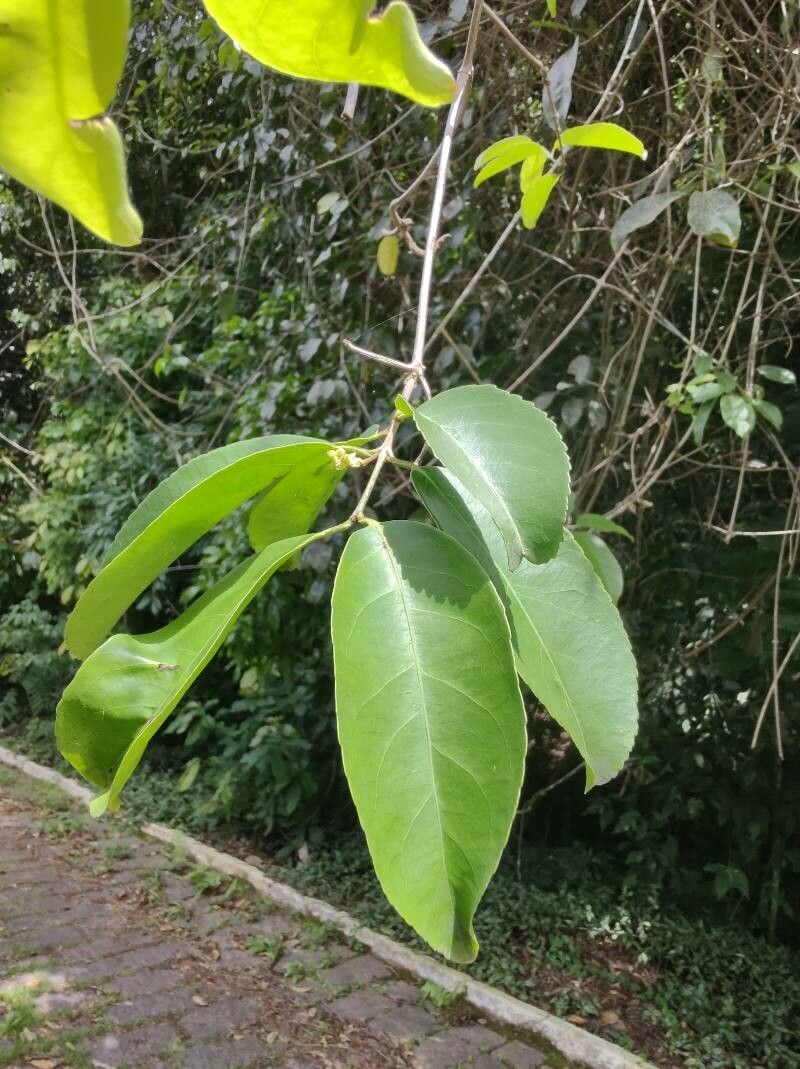
Well hello there, fellow plant enthusiast! Today, we’re diving into the wonderful world of Cryptocarya lifuensis, often known as the native laurel. If you’re looking for a truly special addition to your garden, with its glossy green leaves and the delightful scent it releases, you’ve come to the right place. Propagating this beauty can feel a little daunting at first, but I promise you, with a bit of know-how and patience, it’s a journey well worth taking. While it’s not the absolute easiest plant for a total beginner, it’s certainly achievable with careful attention. The reward of nurturing a new plant from a tiny cutting is just immeasurable.
The Best Time to Start
For the highest chance of success with Cryptocarya lifuensis cuttings, I’ve found that late spring to early summer is your sweet spot. This is when the plant is actively growing and has plenty of energy to dedicate to rooting. Look for stems that are semi-hardwood – they’re not brand new and floppy, but not old and woody either. A good test is to try bending a twig; if it snaps cleanly, it’s likely the right stage.
Supplies You’ll Need
To get our little lifuensis babies started, here’s what you’ll want to have on hand:
- Sharp Pruning Shears or a Craft Knife: For clean cuts that heal quickly.
- Rooting Hormone: A powder or gel helps encourage root development.
- Well-Draining Potting Mix: I prefer a mix of equal parts perlite, peat moss (or coco coir), and a bit of coarse sand. This ensures excellent aeration.
- Small Pots or Seed Trays: With drainage holes, of course!
- Clear Plastic Bags or a Propagator: To create a humid environment.
- Watering Can with a Fine Rose: For gentle watering.
- Optional: Heat Mat: For consistent warmth at the root level.
Propagation Methods: Stem Cuttings
This is my go-to method for Cryptocarya lifuensis. It’s reliable and you can get quite a few new plants from a single healthy parent.
- Take Your Cuttings: In the ideal season, select healthy, vigorous stems. Using your clean shears or knife, take cuttings about 4-6 inches long. Make the cut just below a leaf node (where a leaf attaches to the stem). This is where the magic happens for root formation.
- Prepare the Cuttings: Gently remove the lower leaves, leaving just a couple of sets at the top. This reduces water loss. If the remaining leaves are very large, you can cut them in half to further minimize transpiration.
- Apply Rooting Hormone: Dip the cut end of the stem into your rooting hormone. Tap off any excess.
- Pot Them Up: Fill your small pots with your prepared potting mix. Use a pencil or your finger to make a little hole in the center. Carefully insert the cutting into the hole, ensuring the rooting hormone coated end is within the soil. Gently firm the soil around the stem. Water them in thoroughly but gently.
- Create a Humid Environment: Place the potted cuttings into a clear plastic bag, or use the lid of a propagator. Seal it up, or loosely tie the bag to trap humidity. If you’re using a propagator, close the vents.
- Provide Light and Warmth: Place the pots in a location that receives bright, indirect light. Avoid direct sun, which can scorch the delicate cuttings. If you have a heat mat, place the pots on it. This provides consistent bottom warmth, which is crucial for rooting.
The “Secret Sauce” (Pro Tips)
Here are a couple of little tricks I’ve learned over the years that really make a difference:
- Don’t Let Those Leaves Touch the Water! This is crucial, especially if you’re experimenting with water propagation. Even in soil, if condensation builds up and causes leaves to sit in moisture, it’s an open invitation for fungal issues. Keep your leafy tops elevated and airy.
- Bottom Heat is Your Best Friend: While bright, indirect light is important, consistent warmth at the root level is actually more critical for Cryptocarya lifuensis to get going. A seedling heat mat makes a world of difference, mimicking the conditions of spring warmth.
- Don’t Disturb Them Too Soon: Resist the urge to tug on your cuttings to check for roots. Let them be! It can take several weeks, even a couple of months, for them to establish. Patience, my friends!
Aftercare & Troubleshooting
Once you start to see signs of new growth – tiny leaves unfurling at the top – that’s a great indicator that roots are forming! You can give them a gentle tug; if there’s resistance, roots are likely present.
When roots have developed, it’s time to gradually acclimatize them to outside conditions. Slowly open the plastic bag or propagator vents over a week or so to reduce humidity. Continue to keep them in bright, indirect light. Water them when the top inch of soil feels dry.
Now, for the tricky bits. The most common problem you’ll encounter is rot. If your cutting turns black and mushy, or the leaves yellow and drop off rapidly, it’s usually a sign of too much moisture and/or poor air circulation. Ensure your soil is draining well and that you’re not overwatering. If you see a little bit of mold on the soil surface, try gently scraping it off and increasing airflow. Sometimes, sadly, a cutting just doesn’t make it. Don’t get discouraged – nature has its own plans sometimes!
A Little Encouraging Closing
Propagating Cryptocarya lifuensis might throw a few curveballs your way, but the satisfaction of seeing a tiny cutting transform into a thriving new plant is truly a gardener’s delight. Be patient, keep a close eye on your little ones, and celebrate every bit of progress. Happy gardening, and may your propagation endeavors be fruitful!
Resource:
https://identify.plantnet.org/k-world-flora/species/Cryptocarya%20lifuensis%20Guillaumin/data