Grow More Yew! Your Guide to Propagating Taxus baccata
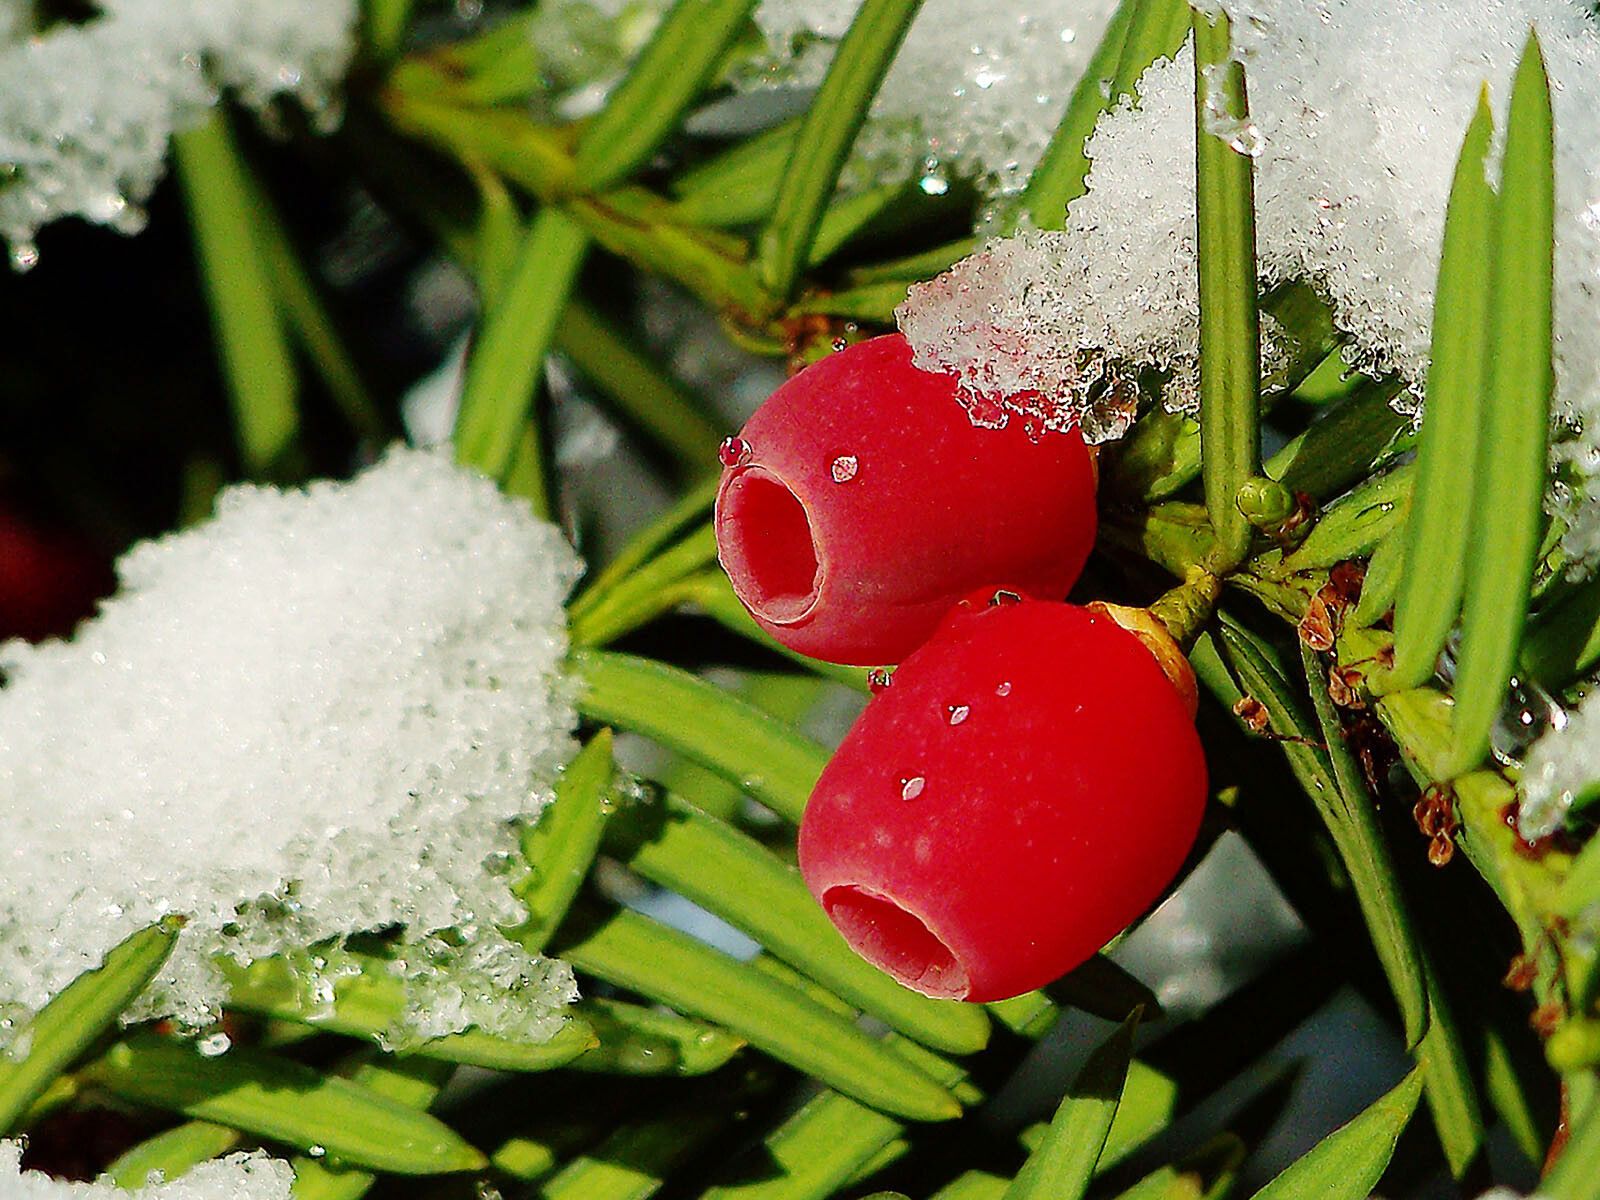
There’s something truly special about evergreens, isn’t there? The way they offer a splash of steadfast green through the sleepy months, the satisfying weight of their evergreen branches. Taxus baccata, often known as English Yew, is a prime example. It’s a classic for a reason – its rich, dark foliage and the potential for incredible longevity make it a garden stalwart. And the joy of bringing one of these beauties into existence yourself? Simply unmatched.
Now, I won’t lie to you. Propagating yew can be a little bit of a slow burn, and it’s not always the easiest for absolute beginners. But with a bit of patience and the right know-how, you’ll be rewarded with your very own yew plants. Trust me, it’s worth the effort.
When to Get Your Hands Dirty
The sweet spot for taking stem cuttings of Taxus baccata is generally in late summer or early autumn, around August to October. This is when the wood has matured a bit but hasn’t become too hard or woody. You’re looking for semi-hardwood cuttings, which snap cleanly when bent, rather than bending limply (that’s too soft) or shattering (that’s too hard).
What You’ll Need for Success
Gathering your tools before you start makes the whole process smoother. Here’s what I always have on hand:
- Sharp pruning shears or a clean, sharp knife: For making precise cuts.
- Rooting hormone powder or gel: This is crucial for encouraging root development.
- Small pots or trays: With drainage holes!
- A well-draining potting mix: I like a blend of 2 parts peat-free compost, 1 part perlite, and 1 part sharp sand. It gives good aeration and prevents waterlogging.
- Clear plastic bags or a propagator with a lid: To create a humid environment.
- Labels and a permanent marker: To keep track of what you’ve planted.
- A dibber or pencil: For making planting holes.
Bringing Yew to Life: Stem Cuttings
This is by far the most common and successful method for propagating yew at home.
- Select your cuttings: Look for healthy, disease-free stems from your mature yew plant. As I mentioned, aim for that semi-hardwood stage.
- Take the cuttings: Using your sharp shears or knife, cut pieces of stem about 4-6 inches long. Make the cut just below a leaf node (where a leaf emerges from the stem).
- Prepare the cuttings: Strip off the lower leaves from the bottom half of the cutting. This is important because any leaves submerged in soil or water can rot. You can leave the very top leaves on, but if they’re large, I sometimes give them a trim to reduce water loss.
- Apply rooting hormone: Dip the cut end of each stem into your rooting hormone powder or gel. Tap off any excess. This is a vital step that really boosts your chances.
- Plant your cuttings: Make little holes in your prepared potting mix with a dibber or pencil. Gently insert the hormone-coated end of each cutting into the hole, ensuring at least one or two leaf nodes are buried. Firm the soil around the cutting gently.
- Water them in: Give them a gentle watering to settle the soil.
- Create humidity: Cover the pots or trays with a clear plastic bag or place them in a propagator lid. This will trap moisture and create the humid microclimate young cuttings need. Make sure the leaves don’t touch the plastic if possible – a few small sticks can prop it up.
- Find a spot: Place your cuttings in a bright, indirect light location. Avoid direct sun, which can scorch them. A cool greenhouse or a bright windowsill is usually perfect.
My “Secret Sauce” for Extra Success
Over the years, I’ve picked up a few tricks that I think really make a difference with trickier cuttings like yew.
Firstly, I always use bottom heat if I can. A heated propagator mat provides a gentle warmth to the base of the pot. This encourages root development much more effectively than just relying on ambient room temperature. You’ll often find small, cheap heated mats available, and they’re a worthwhile investment for any keen propagator.
Secondly, and this is a small one you might overlook, try to take cuttings from more vigorous, younger-looking stems on an older plant, rather than the oldest, woodiest growth. It’s a bit like trying to get a teenager to take up a new habit versus a grandparent – often, the younger material is more receptive and willing to grow!
Lastly, a little trick for those really stubborn cuttings: gently scrape a tiny sliver of bark off the very bottom of the stem, just on one side, before dipping in hormone. This exposes a little more of the cambium layer, which can sometimes help initiate root formation. Don’t go crazy with it, just a tiny nick.
Nurturing Your New Arrivals
Once your cuttings have started to root – and this can take anywhere from a few weeks to a few months – you’ll see signs of new growth, or you can gently tug on a cutting and feel some resistance.
Carefully remove the plastic cover or lid to gradually acclimatize them to lower humidity. Keep the soil consistently moist but not waterlogged. If you see any signs of rot, like blackened or mushy stems, sadly, that cutting has likely rotted. Remove it immediately to prevent it from affecting others. Yellowing leaves can also be a sign of stress or too much direct sun, so move them to a slightly shadier spot if needed.
Once your new yew plants have a good root system and some healthy top growth, you can gently pot them on into slightly larger individual pots. Continue to provide consistent moisture and bright, indirect light. Over the next year or two, they’ll steadily grow, and you can eventually plant them out in their permanent garden home.
So there you have it! Propagating Taxus baccata is a wonderfully rewarding journey. Be patient, embrace the process, and enjoy watching your own little yew trees unfurl. Happy gardening!
Resource:
https://identify.plantnet.org/k-world-flora/species/Taxus%20baccata%20L./data