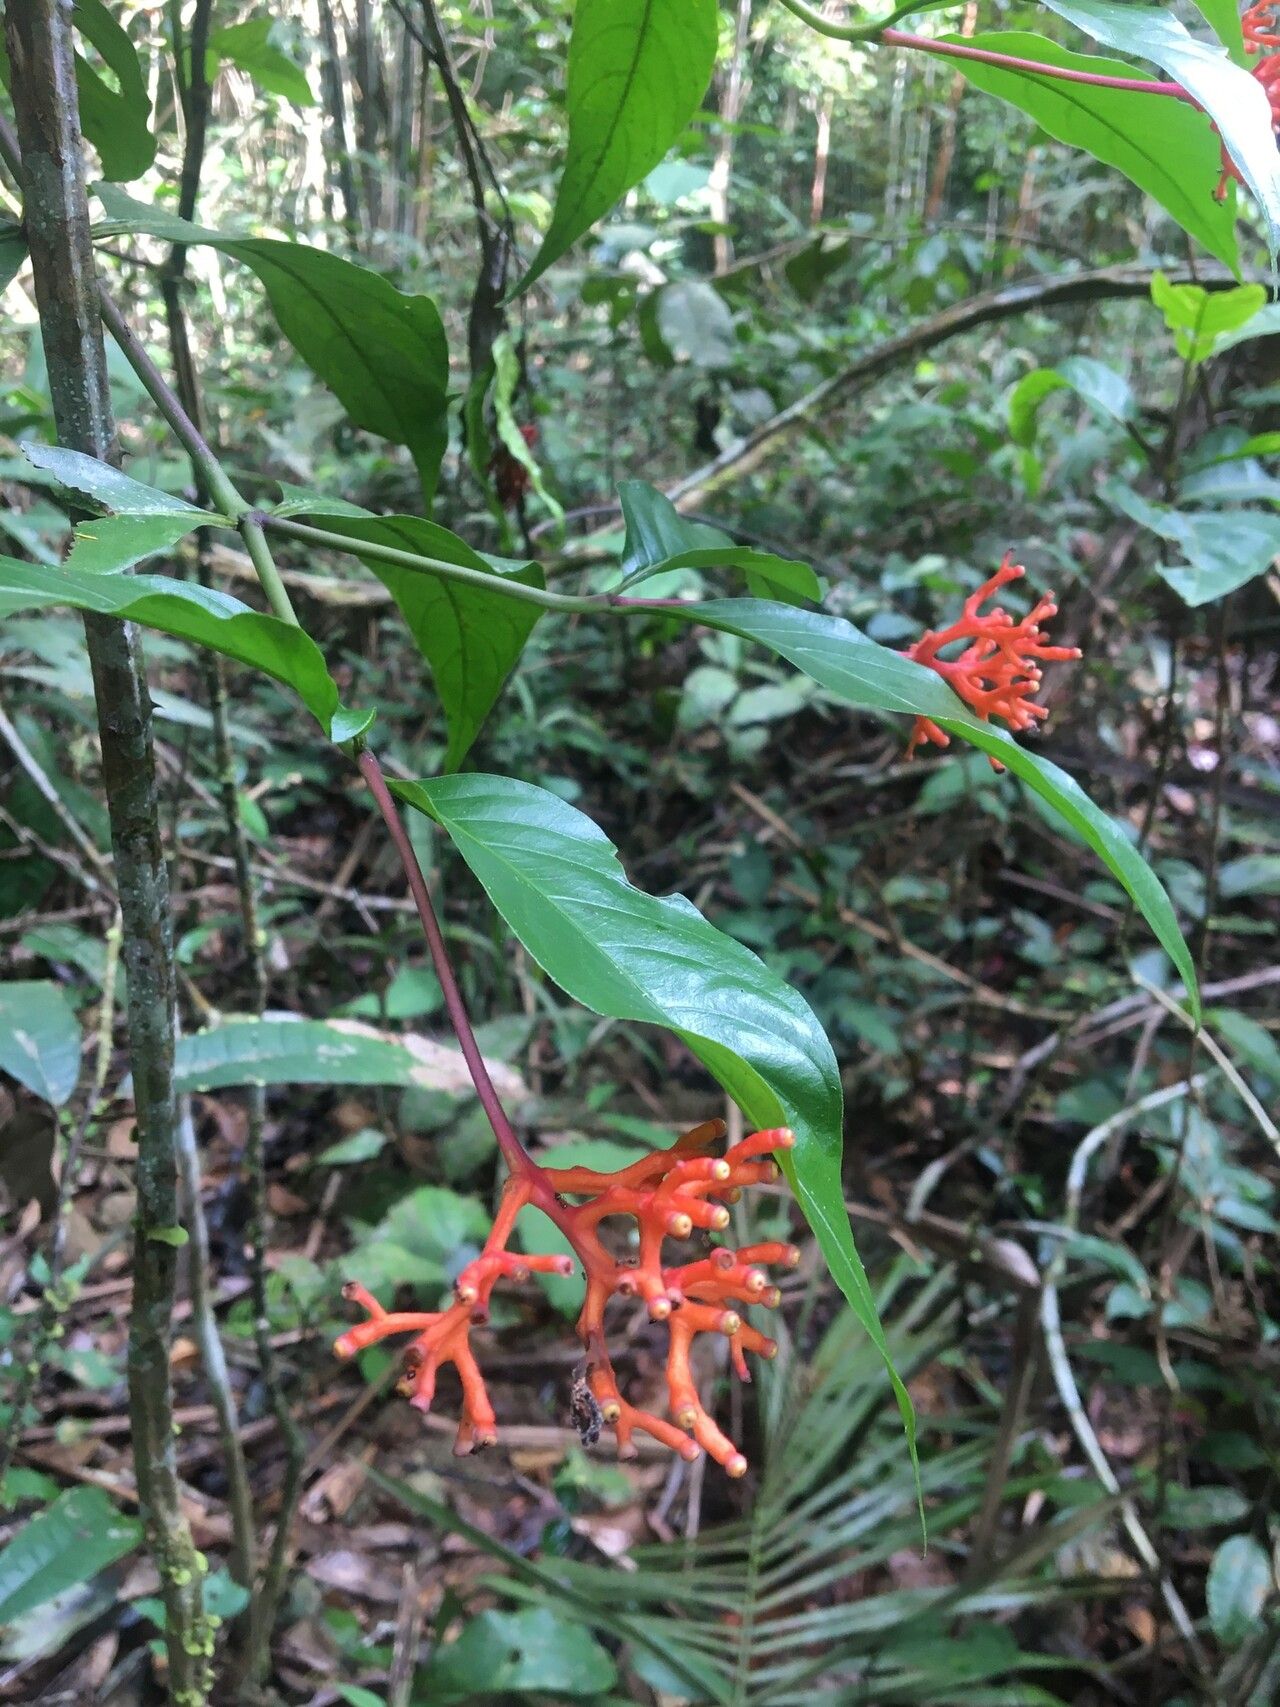
Oh, hello there! Come on in, grab a mug. Let’s chat about Palicourea barraensis. If you’ve ever seen this beauty in a garden or conservatory, you know what I’m talking about. Its vibrant flowers, often in shades of fiery orange or cheerful yellow, really do a fantastic job of lifting the spirits. And the best part? You can bring that bit of sunshine into your own home by propagating it. It’s a truly rewarding experience, seeing those tiny roots emerge and knowing you’ve helped a new life begin.
Now, I won’t lie, Palicourea barraensis can be a bit of a diva when it comes to propagation, especially for absolute beginners. It likes things just so. But with a little practice and patience, you’ll be a pro in no time. Think of it as a delightful challenge, a way to deepen your connection with this gorgeous plant.
The Best Time to Start
Timing is everything, right? For Palicourea barraensis, you’ll have the best luck during its active growing season. That typically means spring and summer. You want to take cuttings when the plant is full of energy and ready to put on new growth. Avoid trying to propagate during its resting period in cooler months; it just won’t have the vigor it needs. Look for new, semi-hardwood stems – these are usually stems that have developed a bit since the last flush of growth, but aren’t old and woody.
Supplies You’ll Need
Let’s gather our trusty tools. A good setup makes all the difference:
- Sharp Pruning Shears or a Craft Knife: Clean cuts are crucial for preventing disease. Make sure they’re sterilized before you start.
- Rooting Hormone: This isn’t strictly mandatory, but it can significantly boost your success rate, especially with fussier plants. Look for a powder or gel formulation.
- Well-Draining Potting Mix: This is key! A good blend for cuttings often includes peat moss or coco coir mixed with perlite or coarse sand. You want it to hold a little moisture but drain freely. I often use a 50/50 mix.
- Small Pots or Trays: Whatever you choose, make sure they have drainage holes.
- Plastic Bags or a Humidity Dome: To keep those cuttings nice and humid while they root.
- A Spray Bottle: For a gentle misting of water.
- Optional: Bottom Heat Mat: This can really speed up root development.
Propagation Methods
Let’s get our hands dirty! We’ll focus on stem cuttings, which is generally the most reliable method for Palicourea barraensis.
Stem Cuttings
- Select Your Stem: Find a healthy, vigorous stem that’s a semi-hardwood. You’re looking for something that bends slightly without snapping.
- Make the Cut: Using your sterilized shears or knife, take a cutting about 4-6 inches long. Make your cut just below a leaf node (that little bump where a leaf grows from the stem). This is where the magic happens.
- Prepare the Cutting: Gently remove the lower leaves. Leave just a couple of leaves at the very top. This reduces water loss and prevents leaves from rotting in the soil.
- Apply Rooting Hormone (Optional but Recommended): Dip the cut end of the stem into your rooting hormone, tapping off any excess.
- Plant Your Cutting: Fill your small pots with your prepared, moistened potting mix. Make a small hole with your finger or a pencil, and insert the cut end of your Palicourea cutting. Gently firm the soil around the stem to ensure good contact.
- Provide Humidity: Water the soil lightly. Then, cover the pot with a plastic bag, creating a mini-greenhouse. You can use a clean plastic bag secured with a rubber band, or if you have one, a humidity dome. Insert a couple of stakes if needed to keep the bag from touching the leaves.
- Place in Bright, Indirect Light: Find a warm spot that gets bright, but not direct, sunlight. Avoid direct sun, which can scorch your delicate cuttings.
The “Secret Sauce” (Pro Tips)
Here are a few little tricks I’ve picked up over the years that make a big difference:
- Don’t Let the Leaves Touch the Water (If Water Propagating): While I’m focusing on soil cuttings here, if you do try water propagation for other plants, it’s vital that no leaves are submerged. They’ll just rot and invite disease. For soil, this translates to ensuring those lower leaves are well above the soil line.
- Embrace the Bottom Heat: If you have a heat mat, place your pots on it. A consistent, gentle warmth from below really encourages root development. It’s like tucking your baby plants into a warm bed.
- Be Patient with the Leaves: If you see yellowing leaves on your cuttings, don’t panic immediately. It can be a sign they’re struggling to draw up enough water. However, if the stem itself starts to look mushy or black, that’s a sign of rot, and you might have to say goodbye to that particular cutting.
Aftercare & Troubleshooting
Once you start seeing signs of new growth – that’s your cue! It means roots have formed. You can also gently tug on the cutting; if there’s resistance, roots are likely there.
- Acclimate Slowly: Once rooted, don’t immediately plunge your new plant into drier conditions. Gradually remove the plastic cover over a week or so, allowing it to adjust to normal humidity.
- Watering: Keep the soil consistently moist but not soggy. Water when the top inch of soil feels dry.
- Transplanting: When your new plant has outgrown its small pot and has a good root system, it’s time to pot it up into a slightly larger container with fresh, well-draining potting mix.
Troubleshooting:
- Rotting Stems: This is the most common issue and usually boils down to too much moisture and poor drainage. Ensure your soil drains well and don’t overwater. Sterility of your tools is also crucial here.
- Cuttings Wilting: If your cuttings look droopy, it could be lack of humidity or that they haven’t rooted yet and can’t take up enough water. Double-check your humidity cover and make sure the soil is moist.
- No Root Development: This could be due to lack of warmth, insufficient light, or the wrong time of year. Remember that bottom heat and active growing season are your friends.
A Little Encouragement to Finish
So, there you have it! Propagating Palicourea barraensis can be an adventure, but it’s a journey well worth taking. Don’t be discouraged if your first few attempts aren’t perfect; gardening is all about learning and adapting. Each cutting is a little experiment, and the joy of seeing roots emerge and a new plant flourish is absolutely priceless. Be patient with yourself and your new green babies, and most importantly, enjoy the process of bringing more beauty into your world. Happy propagating!
Resource: