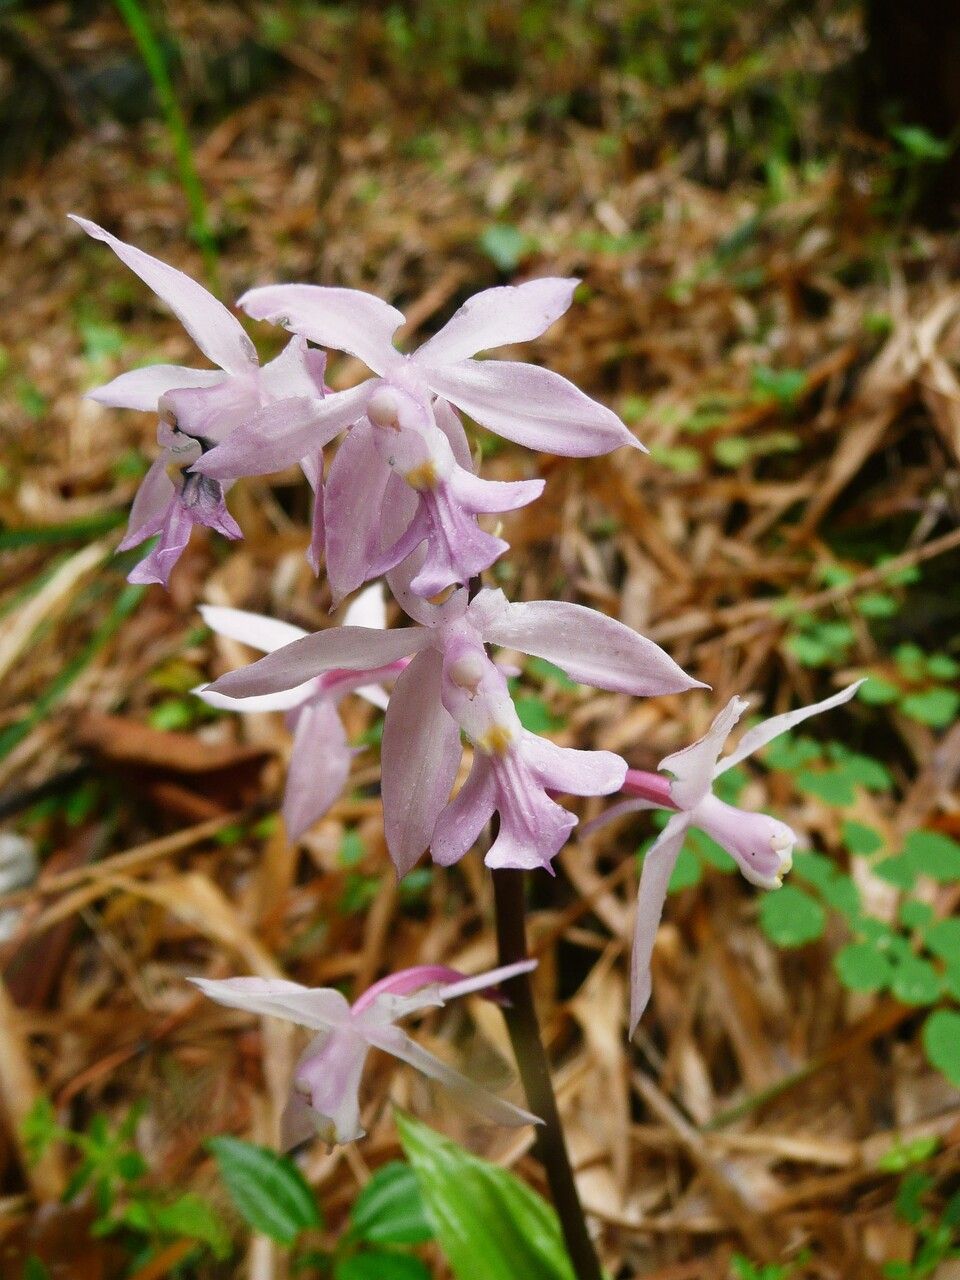
Hello fellow plant lovers! If you’ve ever admired the charm of a Calanthe plantaginea, with its delightful little flowers, you’re probably wondering how to bring more of that joy into your garden. And you absolutely can! Propagating these beauties is a wonderfully rewarding experience. It’s a way to multiply your enjoyment and share these special plants with friends. For those dipping their toes into propagation, I’d say Calanthe plantaginea is moderately easy, but with a few key pointers, you’ll be successful in no time.
The Best Time to Start
The absolute sweet spot for propagating Calanthe plantaginea is when the plant is actively growing and has completed its flowering cycle. For most folks, this means late spring to early summer. You’ll see new growth emerging from the pseudobulbs, and the plant is full of energy. This vigorous stage gives the cuttings or divisions the best chance to establish themselves quickly.
Supplies You’ll Need
Gathering your supplies beforehand makes the whole process smoother. Here’s what I usually have on hand:
- Sharp, sterilized pruning shears or a clean knife: Essential for making clean cuts.
- Well-draining potting mix: A good orchid mix or a blend of peat moss, perlite, and bark works perfectly.
- Small pots or trays: Enough for your new propagations.
- Optional: Rooting hormone: While not strictly essential for Calanthe, it can give a little boost.
- Optional: Small watering can or spray bottle: For gentle watering.
- Optional: Small labels and a marker: To keep track of what you’ve done!
Propagation Methods
For Calanthe plantaginea, the most successful and straightforward method is division. These plants form little clusters over time, making it natural to separate them.
Division Method:
- Gently remove the plant from its pot. If it’s a bit stuck, tap the sides of the pot or carefully use a trowel to loosen the edges.
- Inspect the root ball. You’re looking for distinct pseudobulbs (those swollen stem bases) that have their own healthy roots.
- Carefully tease the pseudobulbs apart. You can use your fingers, or if they’re tightly bound, a clean knife or pruners can help. The goal is to separate divisions that have at least one healthy pseudobulb and a good set of roots. Don’t worry if you have to sacrifice a few older, shriveled leaves; it’s the roots and pseudobulb that matter most.
- Pot the divisions. Plant each division into its own small pot filled with your well-draining mix. Plant them so the top of the pseudobulb is just at the soil surface or slightly above.
- Water lightly. Give them a gentle watering to settle the mix.
The “Secret Sauce” (Pro Tips)
Over the years, I’ve picked up a few tricks that really help get things going.
- Don’t overwater newly divided plants. They are susceptible to rot when they don’t have a robust root system yet. Err on the side of slightly too dry. I often wait a day or two after dividing before the first light watering.
- Provide humidity, but ensure good air circulation. These orchids love a bit of moisture in the air, but stagnant, damp conditions are a recipe for fungal issues. A gently misted tray of pebbles nearby can help, rather than misting the leaves directly and constantly.
- Patience is key with Calanthe. They can take their time to show new growth. Resist the urge to keep digging them up to check for roots. Trust the process!
Aftercare & Troubleshooting
Once your divisions are potted, place them in a bright, indirect light location. Avoid harsh, direct sun, which can scorch their leaves. Keep the soil lightly moist, allowing the top layer to dry out between waterings.
The biggest thing to watch out for is rot. If you see pseudobulbs turning mushy and brown, it’s a sign of overwatering or poor drainage. If this happens, you might be able to salvage a healthy section if caught early, but it’s often best to discard the affected part to prevent it from spreading. Yellowing leaves on an older pseudobulb can be normal as the plant focuses energy on new growth, but widespread yellowing on brand new shoots might signal a problem.
A Little Bit of Patience Goes a Long Way
So there you have it! Propagating your Calanthe plantaginea is a wonderful way to expand your collection and deepen your connection to these beautiful plants. Don’t be discouraged if your first attempt isn’t perfect. Gardening is a journey of learning and observation. Keep at it, enjoy the process, and soon you’ll have more of these charming blooms to brighten your world. Happy growing!
Resource:
https://identify.plantnet.org/k-world-flora/species/Calanthe%20plantaginea%20Lindl./data