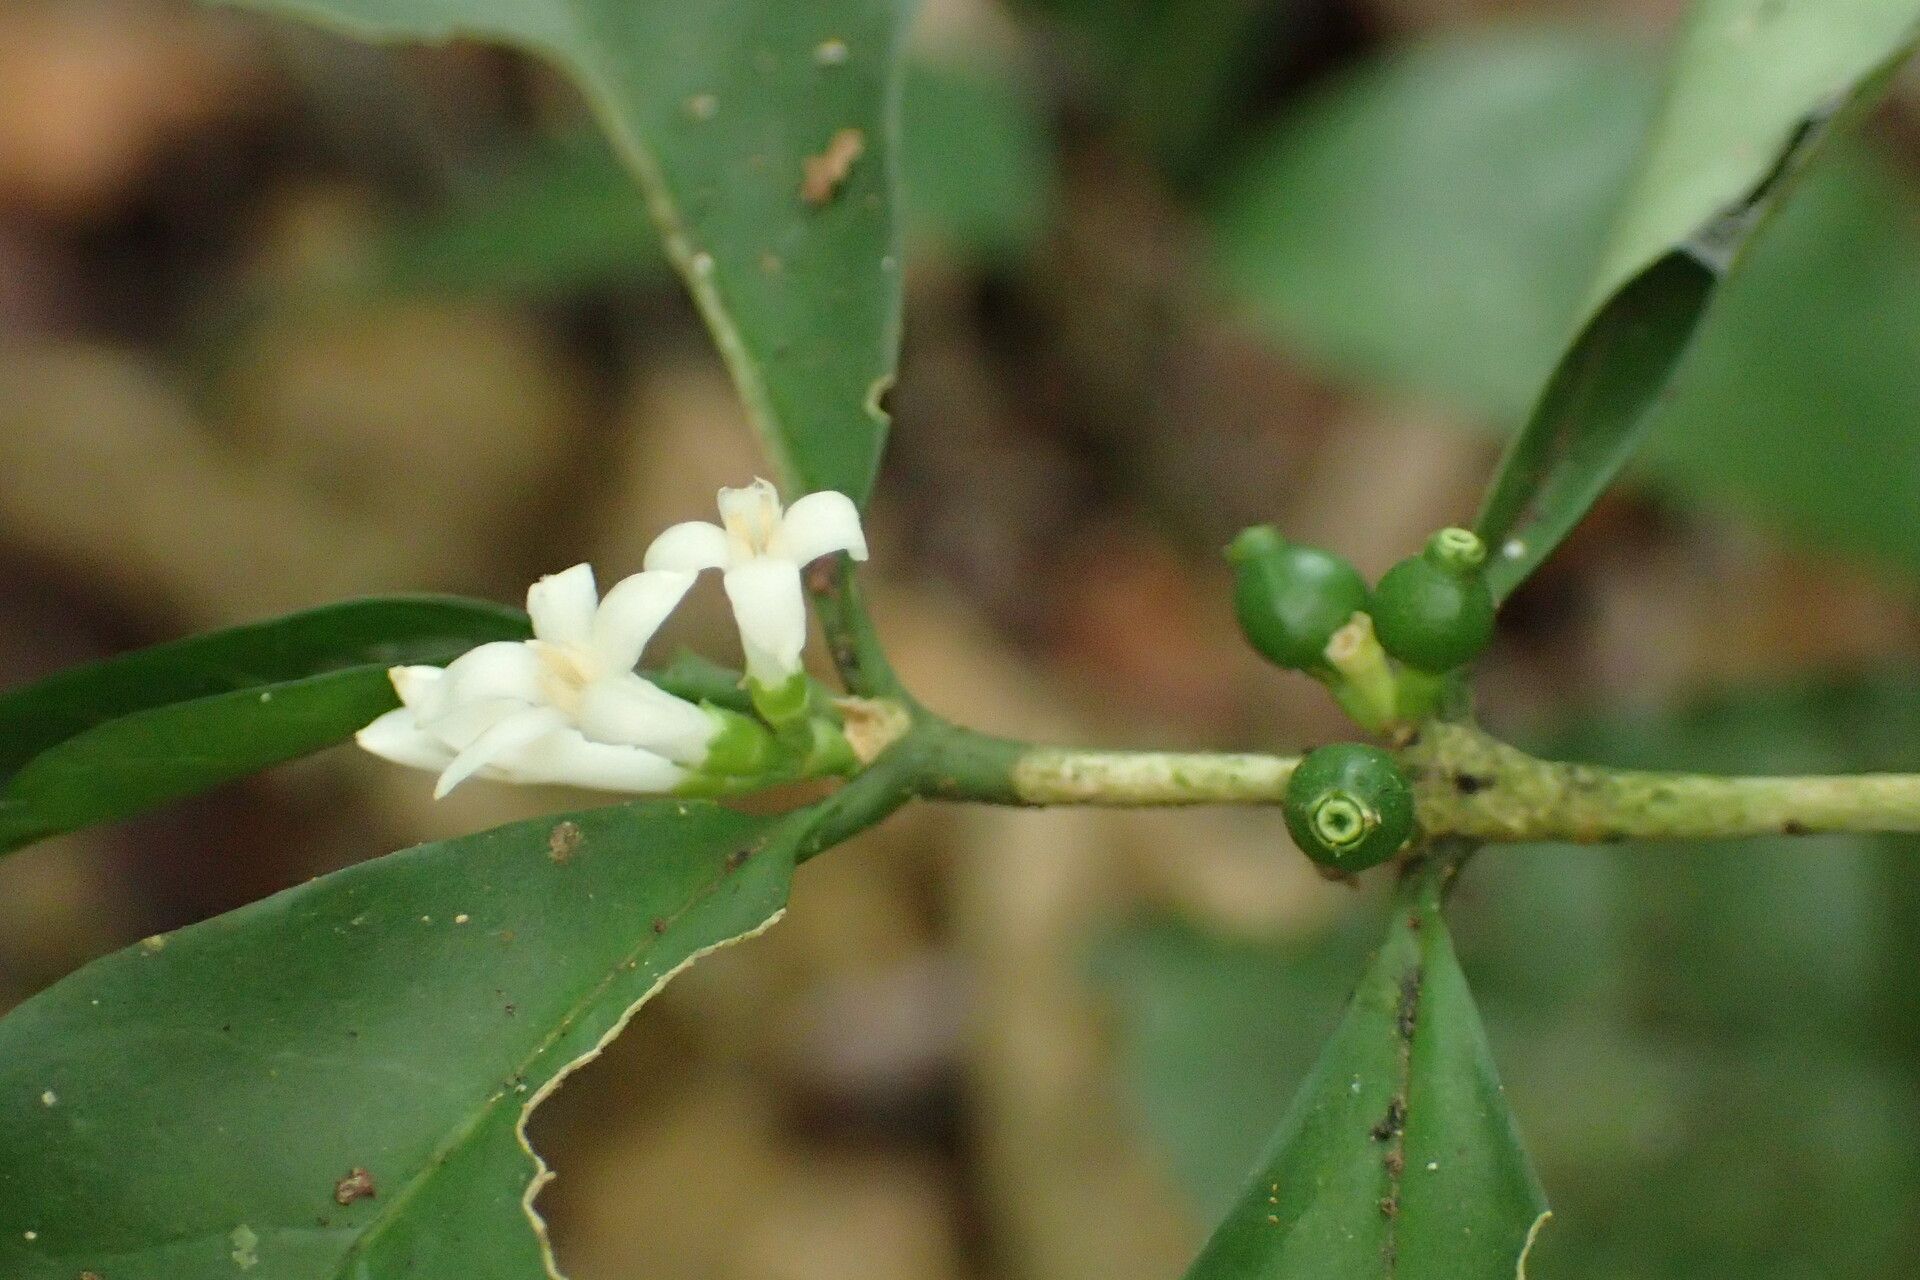
Hey there, fellow plant lovers! I’m so excited to chat with you today about a truly special plant: Tricalysia idiura. If you’ve ever seen one of these beauties, you know why I’m smitten. Their glossy leaves and delicate, often fragrant, white flowers are simply captivating.
There’s something incredibly fulfilling about taking a little piece of a plant you love and coaxing it into a whole new life. For me, propagating Tricalysia idiura is a journey that’s definitely worth the effort. Now, I won’t lie to you – this isn’t always the easiest plant for absolute beginners. It can be a little fussy, but with a bit of know-how and patience, you’ll be rewarded with success.
The Best Time to Start
For Tricalysia idiura, I find the spring and early summer is your golden window. This is when the plant is in its active growth phase, meaning it has more energy reserves and a better chance of developing strong roots. Waiting until after the plant has finished its main flush of flowering is a good idea, too. You’re looking for softwood or semi-hardwood cuttings – stems that are flexible but not too floppy.
Supplies You’ll Need
You don’t need a fancy setup to get started. Here’s what I usually gather:
- Sharp, clean pruning shears or a sharp knife: Sterilize them between cuts to prevent disease.
- Rooting hormone powder or gel: This really gives your cuttings a good head start.
- A well-draining potting mix: I love a blend of equal parts peat moss or coco coir and perlite or coarse sand. This keeps things airy and prevents waterlogging. Some folks even use a mix with a bit of orchid bark.
- Small pots or propagators: Clean pots are essential! Even small yogurt cups with drainage holes can work in a pinch.
- A plastic bag or clear plastic dome: This creates humidity around your cuttings.
- Optional: A heat mat: This can make a big difference, especially if your propagation area is on the cooler side.
Propagation Methods
Let’s get our hands dirty with the most reliable methods:
Stem Cuttings
This is my go-to for Tricalysia idiura.
- Select your cutting: Look for a healthy stem that’s about 4-6 inches long. It should have at least two sets of leaves.
- Make the cut: Using your sterilized shears or knife, make a clean cut just below a leaf node (where a leaf attaches to the stem).
- Prepare the cutting: Gently remove the lower leaves, leaving just one or two at the very top. This prevents them from rotting in the soil.
- Apply rooting hormone: Dip the cut end of the stem into your rooting hormone, tapping off any excess.
- Plant your cutting: Make a small hole in your prepared potting mix and insert the cut end of the stem. Gently firm the soil around it.
- Water gently: Water the potting mix until it’s evenly moist but not soggy.
- Create humidity: Cover the pot with a plastic bag (propped up with skewers so it doesn’t touch the leaves) or a clear dome. Place it in a bright spot out of direct sunlight.
Water Propagation (Use with Caution!)
While I prefer soil for Tricalysia idiura, some people have success with water.
- Prepare the cutting: Follow steps 1-3 above for preparing your stem cutting.
- Place in water: Put the cutting in a jar or glass of clean water. Make sure no leaves are submerged, as this will cause rot.
- Change water regularly: Change the water every few days to keep it fresh and oxygenated.
- Wait for roots: You should see small white roots emerging within a few weeks.
- Transplant carefully: Once the roots are about an inch long, gently transplant the cutting into your well-draining potting mix. This transition can be tricky, so be patient.
The “Secret Sauce” (Pro Tips)
Here are a few things I’ve learned over the years that really boost my success rate:
- The power of the right leaf: If your cutting has large leaves, consider cutting them in half horizontally. This reduces water loss while still allowing enough photosynthesis to keep the cutting alive.
- Bottom heat is your friend: I almost always use a heat mat under my propagators, especially during cooler months. It encourages those roots to form much faster. Aim for a consistent temperature of around 70-75°F (21-24°C).
- Don’t disturb too early: Resist the urge to tug on your cuttings to check for roots. You can often see roots peeking out of the drainage holes, or you might notice new leaf growth appearing – that’s your sign! Waiting until you see significant new growth is a good indicator it’s ready.
Aftercare & Troubleshooting
Once you see signs of successful rooting, it’s time for a slight shift in care.
- Gradually acclimate: If you’ve been using a plastic bag or dome, start opening it up for a few hours each day to get your new baby plant used to lower humidity.
- Continue bottom watering: Keep the soil consistently moist, but never waterlogged. I still prefer to water from the bottom to keep the crown dry.
- Bright, indirect light: Provide plenty of bright, indirect light. Direct sun will scorch young leaves.
- Watch for rot: The biggest culprit for Tricalysia idiura cuttings is root rot. If your cutting turns black and mushy, it’s likely too much moisture and not enough air circulation. Unfortunately, rot is hard to come back from, so prevention is key.
- Powdery mildew: Poor air circulation can also lead to powdery mildew. Ensure good airflow around your cuttings.
A Encouraging Closing
Remember, propagation is as much about the journey as it is about the destination. Some cuttings will thrive, others might not make it – and that’s perfectly okay. Each attempt is a learning experience. Be patient, be observant, and most importantly, enjoy the magic of bringing new life into your home. Happy propagating!
Resource:
https://identify.plantnet.org/k-world-flora/species/Tricalysia%20idiura%20N.Hallé/data