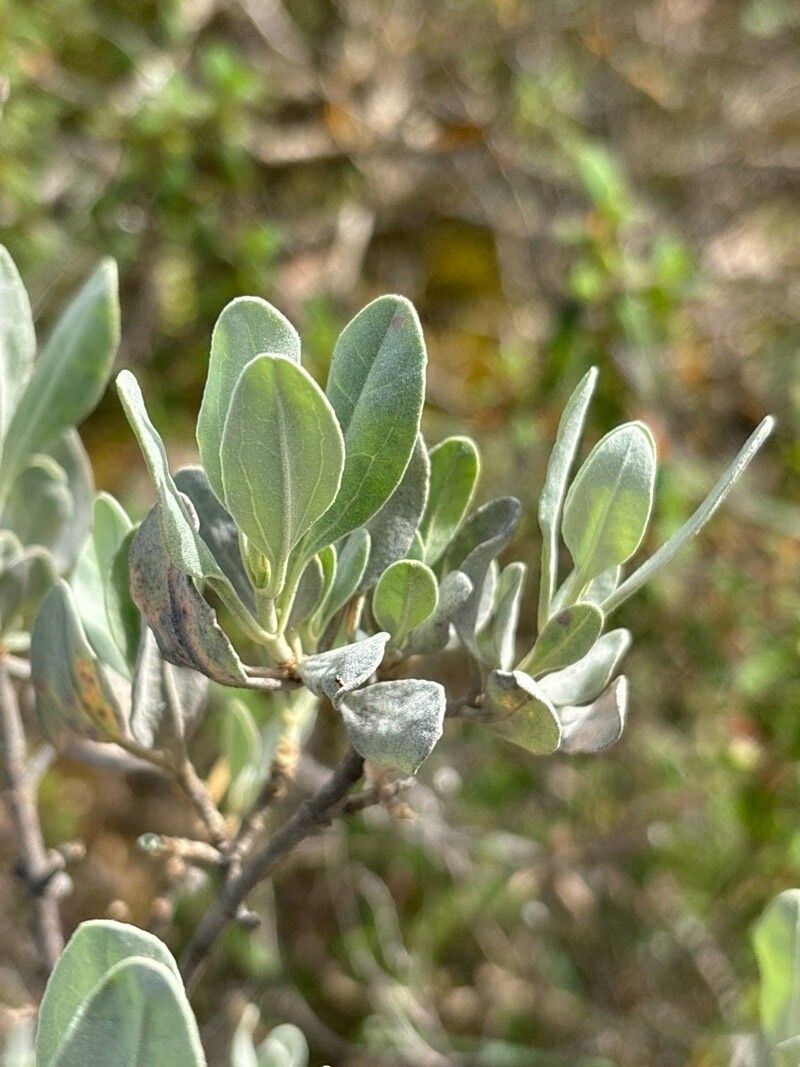
Oh, Cistus atriplicifolius! Isn’t she a beauty? Those lovely, grey-green leaves and those delicate, papery white flowers that just seem to capture the essence of sunshine. I’ve been growing them for years, and there’s something so wonderfully satisfying about coaxing a new plant into existence from a tiny cutting. If you’re looking to expand your collection of these hardy Mediterranean gems, or just want to share them with your gardening friends, propagating Cistus atriplicifolius is a fantastic goal. Now, I won’t lie and say it’s as simple as sticking a potato in the ground, but it’s certainly achievable, even for those of you who are just dipping your toes into propagation waters. Let’s get our hands dirty together!
The Best Time to Start
For Cistus atriplicifolius, I’ve found that the sweet spot for taking cuttings is in late spring to early summer. This is when the plant is actively growing, but before the long, hot days of midsummer can stress it too much. You’re looking for semi-ripe cuttings, meaning the stem is starting to firm up but still has a little bit of flexibility. Avoid anything that’s brand new and totally soft, or something that feels completely woody and old.
Supplies You’ll Need
Gathering your tools beforehand makes the whole process smoother. You’ll want to have:
- Sharp, clean pruning shears or a sharp knife: This is crucial for making clean cuts that heal well. I always give mine a quick wipe with rubbing alcohol between plants to prevent disease.
- Rooting hormone: While some plants root readily without it, for Cistus, I find it does give you a significant advantage. Gel or powder works a treat.
- A well-draining potting mix: This is non-negotiable for Mediterranean plants! A good blend is typically two parts perlite or coarse sand to one part peat-free compost. You want good aeration so those precious root nubs don’t drown.
- Small pots or trays: Clean pots are best. Small 3-4 inch pots are perfect for starting out.
- A plastic bag or propagator lid: To create a humid microclimate around your cuttings.
- A spray bottle: For misting.
- Gravel or grit (optional): For the bottom of pots to improve drainage, though with the right mix, it’s often not strictly necessary.
Propagation Methods
While you can try water propagation with some plants, for woody-stemmed shrubs like Cistus, stem cuttings are usually my go-to. It’s the most reliable method.
Here’s how I do it:
- Take Your Cuttings: On a mild, overcast day (if possible), select a healthy stem from your Cistus atriplicifolius. Using your clean shears, take cuttings that are about 4-6 inches long. Make your cut just below a node (where a leaf grows out of the stem).
- Prepare the Cuttings: Gently remove the lower leaves from the cutting, leaving just a few at the top. This prevents leaves from rotting in the soil or touching the water if you were to use it. If the leaves are large, I sometimes trim them in half to reduce transpiration.
- Apply Rooting Hormone: Dip the cut end of each stem into your rooting hormone, coating about an inch of the base. Tap off any excess.
- Pot Them Up: Fill your clean pots with your well-draining mix and lightly water it. Make a small hole in the center of the soil with a pencil or your finger.
- Insert the Cuttings: Gently insert the treated end of each cutting into the hole, ensuring the node where you removed the leaves is buried. Firm the soil gently around the stem to ensure good contact.
- Create Humidity: Water the soil lightly again. Then, cover the pot with a clear plastic bag (make sure the leaves don’t touch the sides) or place it in a propagator. This creates a humid environment, which is essential for cuttings that can’t yet take up water through their roots.
The “Secret Sauce” (Pro Tips)
Over the years, I’ve picked up a few tricks that seem to make all the difference:
- Bottom Heat is Your Friend: While not absolutely essential, placing your pots on a heated propagator mat can significantly speed up root development. It mimics the warmth of spring soil and really encourages those root cells to get going.
- Don’t Over-Water: This is a classic mistake. While cuttings need moisture, soggy soil is a recipe for rot. Let the top inch of the soil dry out slightly between waterings. A gentle misting from your spray bottle on the leaves can also help keep them hydrated without waterlogging the soil.
- Patience is a Virtue (and an Art!): Seriously, don’t be tempted to pull up a cutting to check for roots every few days. You’ll likely damage any delicate new root hairs. Give it at least 4-6 weeks, and honestly, sometimes it takes a couple of months. I usually wait until I see new leaf growth on the cutting itself, which is a good sign that roots are forming.
Aftercare & Troubleshooting
Once you see those tell-tale signs of new growth, it’s time to begin weaning your little ones off their humid environment. Gradually remove the plastic bag or propagator lid for longer periods over a week or two. Continue to water consistently, but again, let that soil dry out slightly. I like to keep them in bright, indirect light for the first few weeks.
The most common problem you’ll encounter is rot. If a cutting turns black and mushy, it’s usually a sign of too much moisture or poor drainage. If you spot this, unfortunately, that cutting is likely lost. Try to remove it promptly to prevent it from spreading. Another sign of failure is if the cutting simply shrivels and wilts completely, never showing signs of rooting. This could be due to too much heat, too little humidity, or just a cutting that wasn’t viable from the start. Don’t get discouraged – just try again!
A Encouraging Closing
So there you have it! Propagating Cistus atriplicifolius is a rewarding journey that connects you more deeply with these lovely plants. Be patient with yourself and with the cuttings. Every gardener has had failures – it’s part of the learning process. Watch your little plants grow, and soon you’ll be enjoying even more of their sun-kissed charm in your garden. Happy propagating!
Resource:
https://identify.plantnet.org/k-world-flora/species/Cistus%20atriplicifolius%20Lam./data