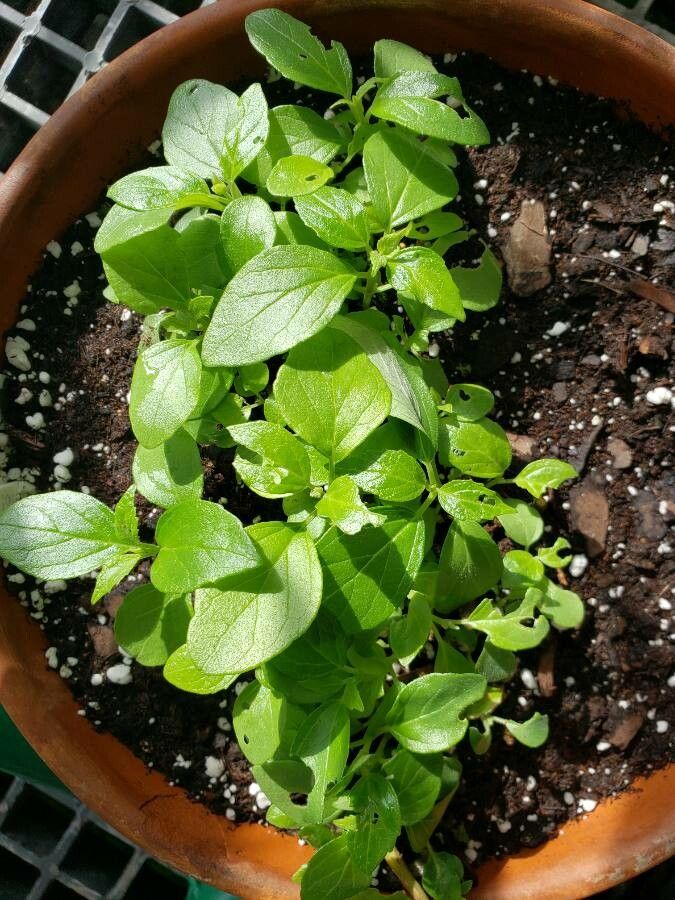
Oh, hello there! Come on in, grab a mug. I’m so excited to talk to you today about Scutellaria havanensis, or as some folks affectionately call it, Cuban Skullcap. This little beauty, with its delicate spikes of lavender-blue flowers, is an absolute gem for any garden. It brings a touch of the tropics and a lovely, airy texture that just dances in the breeze. Propagating it is a wonderful way to fill your garden beds or share these cheerful plants with fellow garden lovers. Now, is it a beginner-friendly plant? I’d say it’s moderately easy – a little patience goes a long way, and with these tips, you’ll be on your way to success.
The Best Time to Start
For Scutellaria havanensis, late spring to early summer is your sweet spot. This is when the plant is actively growing and brimming with vitality. Taking cuttings during this period gives them the best chance to root quickly. After the plant has finished its initial flush of growth but before things get too hot and dry is ideal.
Supplies You’ll Need
Here’s what you’ll want to have on hand before you start:
- Sharp Pruning Shears or a Clean Knife: For clean cuts, which are crucial for good rooting.
- Rooting Hormone (Optional but Recommended): A powder or gel to give cuttings a boost.
- Well-Draining Potting Mix: I like a blend of equal parts peat moss or coco coir and perlite or coarse sand. This prevents soggy soil, which is the enemy of cuttings.
- Small Pots or Seed Trays: With drainage holes, of course!
- Plastic Bags or a Propagator: To create a humid environment.
- Water: For misting and watering.
Propagation Methods
There are a couple of fantastic ways to get more Scutellaria havanensis going:
1. Stem Cuttings (My Favorite for This One!)
This is my go-to method for Cuban Skullcap. It’s quite reliable and you can get a good number of new plants from a single parent.
- Step 1: Select Your Cuttings. Look for healthy, non-flowering stems that are about 3-4 inches long. They should be somewhat firm but not woody. Gently bend a stem – if it snaps cleanly, it’s a good candidate. If it bends easily, it’s too soft.
- Step 2: Make the Cut. Using your sharp pruning shears or knife, make a clean cut just below a leaf node (where a leaf attaches to the stem). This is where rooting hormones can best be absorbed.
- Step 3: Prepare the Cuttings. Carefully remove the lower leaves, leaving just a couple at the very top. This reduces water loss. If you’re using rooting hormone, dip the cut end of the stem into the powder or gel, tapping off any excess.
- Step 4: Pot Them Up. Fill your small pots or trays with your well-draining potting mix. Make a little hole with your finger or a pencil.
- Step 5: Insert the Cuttings. Gently place each cutting into a hole, ensuring the leaf node where you removed the leaves is below the soil surface. Firm the soil around them gently.
- Step 6: Create a Humid Environment. Water the soil thoroughly until it drains from the bottom. Then, cover the pots with a clear plastic bag or place them in a propagator. This keeps humidity high, which is vital for cuttings waiting to root. You can prop up the bag with stakes if it touches the leaves.
2. Division (When the Mother Plant is Established)
If you have an older, well-established clump of Scutellaria havanensis, you can also propagate it by division.
- Step 1: Dig Up the Plant. It’s best to do this in early spring, just as new growth begins. Carefully dig around the clump and lift it from the soil.
- Step 2: Gently Separate. Gently tease apart the root ball into smaller sections. You want each section to have a decent amount of roots and at least one or two shoots. A sharp knife can be used if the roots are very tangled.
- Step 3: Replant Immediately. Replant these divisions into prepared soil, watering them in well.
The “Secret Sauce” (Pro Tips)
Here are a few things I’ve learned over the years that make a real difference:
- Forget the Water Bottle: While some plants love being stuck in a jar of water, Scutellaria havanensis cuttings often perform much better when potted directly into soil. It gives them a better start and reduces the risk of shock when transplanting later.
- Bottom Heat is Your Friend: If you can, place your pots on a heat mat. This gentle warmth from below encourages root development much faster than ambient room temperature alone. You’ll see roots forming quicker!
- Don’t Rush Them: Scutellaria havanensis can be a bit slow to root, especially compared to some other plants. Be patient! It can take several weeks. Resist the urge to pull them up to check for roots.
Aftercare & Troubleshooting
Once you start seeing new growth emerging from your cuttings, that’s a good sign roots are forming!
- Acclimatization: Gradually remove the plastic bag or open the propagator vents over a week or two. This helps your new plants adjust to normal humidity levels.
- Watering: Keep the soil consistently moist but not soggy. Water thoroughly when the top inch of soil starts to feel dry.
- Light: Place your young plants in a bright spot with indirect light. Direct sun can be too harsh for tender new growth.
- Troubleshooting: The most common issue is rot. This usually happens from overwatering or poor drainage. If you see stems turning black and mushy, it’s likely rot. Sadly, these cuttings are usually lost. Prevention is key! Ensure excellent drainage and be mindful of how much you water. If your cuttings simply don’t show any signs of life after several weeks, they may not have rooted. It’s a good idea to start a few more than you think you’ll need, just in case!
Propagating Scutellaria havanensis is a really rewarding experience. Watching those tiny cuttings transform into healthy, blooming plants is pure garden magic. So go ahead, grab your shears, get your hands dirty, and enjoy the journey. Happy gardening!
Resource:
https://identify.plantnet.org/k-world-flora/species/Scutellaria%20havanensis%20Jacq./data