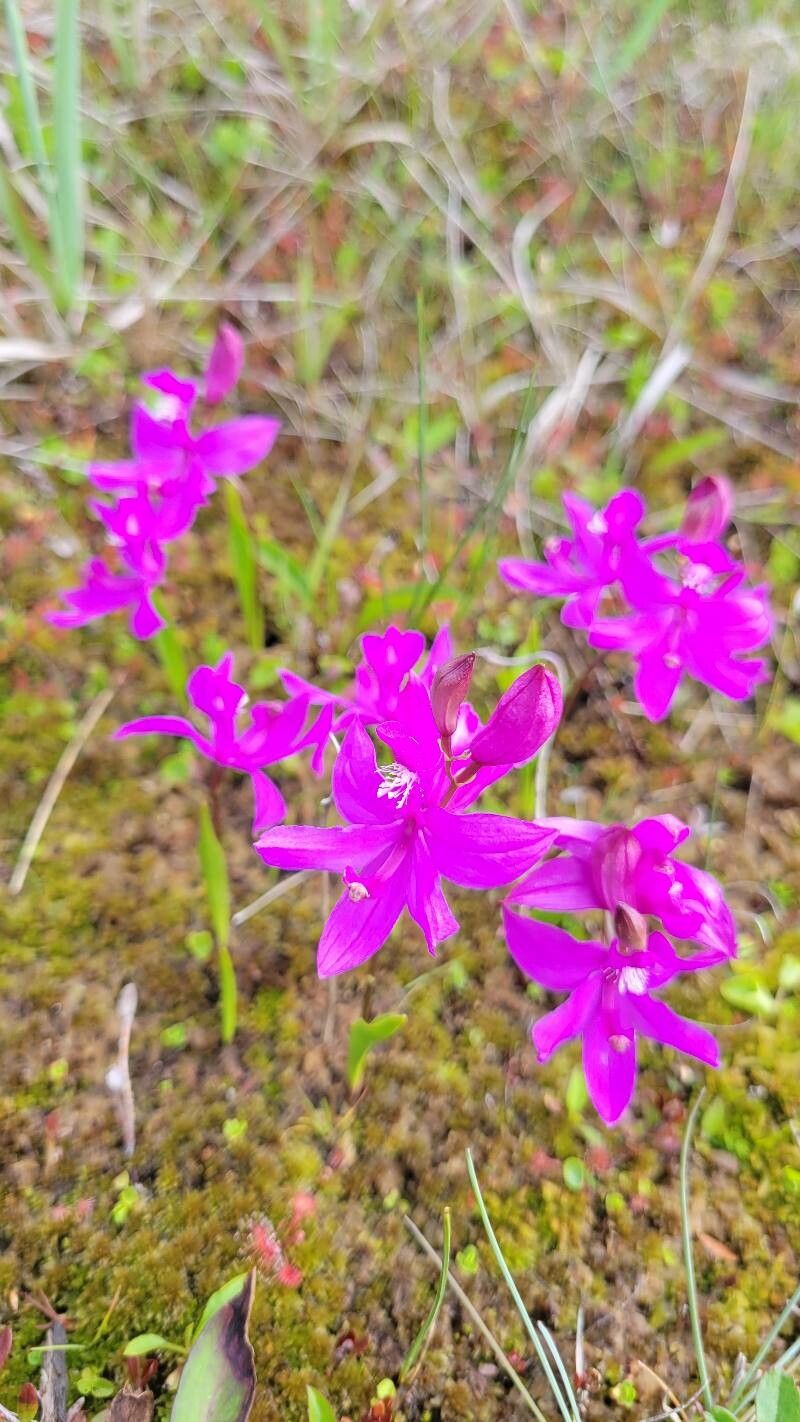
Hello fellow garden enthusiasts! Today, we’re diving into the wonderful world of Calopogon tuberosus, also known as the Grass Pink orchid. If you’ve ever admired these vibrant, low-growing beauties in a garden or meadow, you might be wondering how to bring that magic to your own space. Well, good news! Propagating them is a deeply rewarding endeavor, though I’ll be honest, they can be a little particular. It’s not an absolute beginner’s task, but with a bit of care and understanding, you can absolutely succeed.
The Best Time to Start
For Calopogon tuberosus, the prime time to think about propagation is late spring to early summer, right as the plant is actively growing and before it starts to set seeds. This is when it has the most energy reserves to put into new growth and root development. Trying to divide or transplant when it’s dormant can be more stressful for the plant.
Supplies You’ll Need
Here’s what I like to have on hand:
- Sharp, sterilized pruning shears or a clean knife: For making precise cuts.
- Well-draining potting mix: A custom blend for orchids is ideal, often containing peat moss, perlite, and orchid bark. You want something airy that doesn’t hold excess moisture.
- Small pots or trays: With good drainage holes, of course!
- Watering can with a fine rose: To avoid disturbing delicate new roots.
- Small labels: So you don’t forget what you’ve planted where.
- Optional: A rooting hormone powder: While not strictly necessary for Calopogon, it can sometimes give an extra boost.
Propagation Methods
Calopogon tuberosus is primarily propagated through division of its rhizomatous tubers. They don’t typically lend themselves to stem cuttings or water propagation like some other plants.
Division is your go-to method.
- Gently Excavate: In late spring or early summer, when the plant is actively growing, carefully dig around the base of your Calopogon. You want to expose the tuberous roots without damaging them. A trowel or even just your hands can work well.
- Identify Natural Divisions: Look for where the plant naturally wants to split. You’ll see distinct tubers connected by a short rhizome. The goal is to separate these into sections, each with at least one healthy tuber and some growing points.
- Make the Cut: Using your sterilized pruning shears or knife, carefully cut between the tubers, ensuring each new piece has a good-sized tuber and any emerging shoots. Don’t rush this part; clean cuts heal best.
- Let Them Breathe (Briefly): If you’ve made multiple divisions, I like to let them air dry for a few hours, or even overnight in a cool, dry place. This allows any cut surfaces to callus over, which helps prevent rot.
- Pot Them Up: Fill your prepared pots with your well-draining orchid mix. Make a little well in the center and place your new division in, ensuring the top of the tuber is just at or slightly below the soil surface. You want to be able to see the growing tip.
- Water Gently: Water the newly potted divisions very sparingly at first. You want the soil to be moist but not soggy. A light misting might be enough initially.
The “Secret Sauce” (Pro Tips)
- Don’t Overwater New Divisions: This is crucial! New divisions, especially those with just a tuber, are incredibly susceptible to rot. Think “barely damp” rather than “wet.” I often find myself checking them daily and only watering when the surface starts to feel dry.
- Mimic Their Natural Habitat: Calopogon loves slightly acidic, moist but well-drained soil. If you’re lucky enough to have a boggy area or sandy loam that naturally drains well, consider planting divisions directly into the ground there. They thrive in those conditions. If using pots, ensure they are placed in a spot with good airflow.
- Patience, Young Grasshopper: These orchids are slow growers. Don’t expect a massive bloom the first year from a division. Focus on establishing a healthy root system and allowing the plant to mature. Be patient!
Aftercare & Troubleshooting
Once your divisions are potted, place them in a location that receives bright, indirect light. Avoid harsh, direct sun, which can scorch their delicate leaves. Keep the soil consistently (but not excessively) moist.
The most common sign of trouble is rot. This usually shows up as mushy, brown, or black areas on the tuber or at the base of the stem. If you see this, act quickly. Gently remove the affected part with your sterile tool and repot in fresh, dry mix, watering even less. Good airflow is your best defense against rot.
If your division looks limp or is drying out, it might need more consistent moisture, but again, be cautious. Sometimes, a division just needs time to recover from the stress of being separated.
A Encouraging Closing
Propagating Calopogon tuberosus is a journey, not a race. It requires a gentle touch and a keen eye for what your new plants need. Don’t be discouraged if your first attempts aren’t perfect; every gardener learns through trial and error. Enjoy the process, celebrate every tiny new shoot, and soon you’ll have more of these delightful Grass Pinks gracing your garden. Happy planting!
Resource: