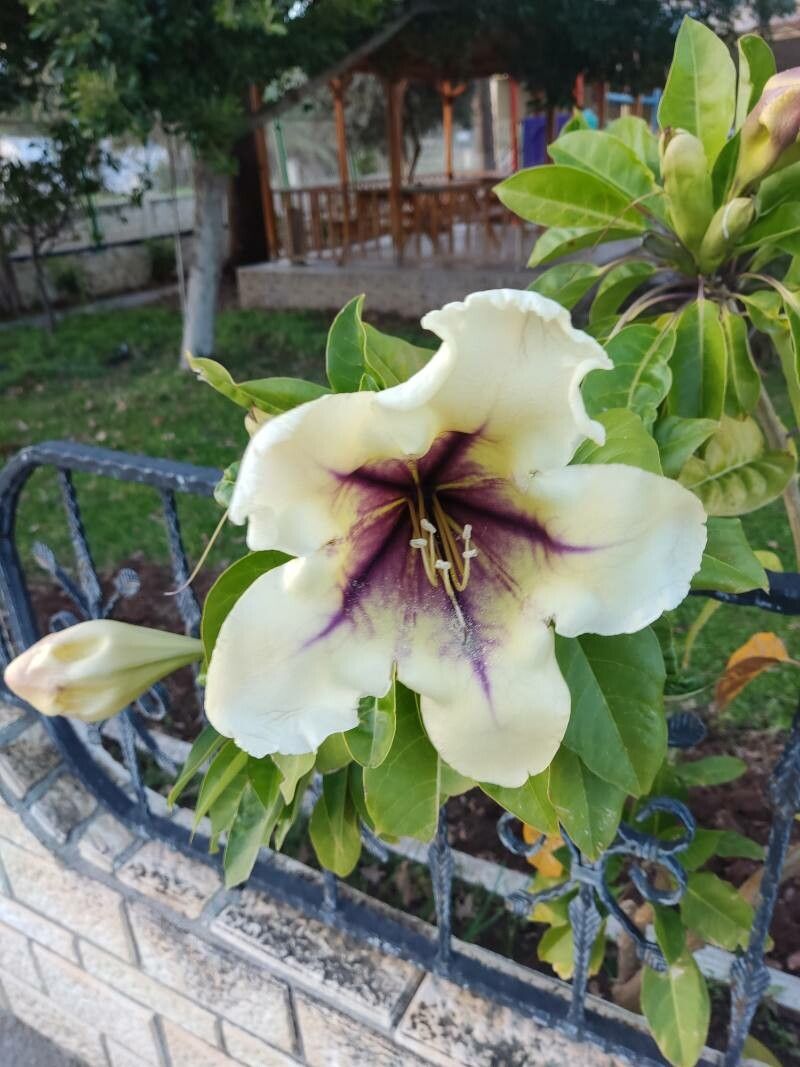
Oh, hello there! Come on in, grab a mug. Let’s chat about one of my absolute favorite plants: Solandra guttata, the Golden Chalice vine. It’s just majestic, isn’t it? Those enormous, trumpet-shaped flowers, often dripping with nectar, are like something out of a dream. They smell divine, too, especially in the evening. Growing them from scratch is incredibly rewarding. Now, to be honest with you, Solandra can be a bit particular. It might not be the absolute first plant a brand new gardener tackles, but with a little guidance, it’s definitely achievable and oh-so-worth-it.
The Best Time to Start
For Solandra, spring is really your golden ticket. Think once the plant is actively putting on new growth, usually after the last frost. This vigorous growth means the plant has plenty of energy to put into rooting. Waiting until things are really warming up gives your cuttings the best chance to take off.
Supplies You’ll Need
Here’s what you’ll want to have ready before you get your hands dirty:
- Sharp pruning shears or a clean knife: For taking healthy cuttings.
- A good quality potting mix: I like a blend that’s well-draining. A mix of peat moss (or coir), perlite, and a bit of compost works wonders.
- Small pots or trays: Clean ones are key!
- Rooting hormone: This is a big help, a powder or gel will do.
- Plastic bags or a propagator: To create a humid environment.
- Watering can or spray bottle: For gentle watering.
- Labels: So you don’t forget what you’ve planted where!
Propagation Methods: Let’s Get Growing!
I’ve found the most reliable way to get new Solandra plants is through stem cuttings.
Stem Cuttings:
- Select a healthy stem: Look for a piece of semi-hardened wood – not brand new, floppy growth, but not old, woody growth either. Aim for a stem that’s about pencil thickness and has at least two to three sets of leaves.
- Make the cut: Using your clean shears, make a cut just below a leaf node. This is a crucial spot where roots like to emerge.
- Prepare the cutting: Gently remove the lower leaves, leaving just a couple of leaves at the very top. If the leaves are very large, you can even cut them in half to reduce water loss.
- Dip in rooting hormone: Moisten the cut end of the stem with a little water, then dip it into your rooting hormone, tapping off any excess.
- Plant your cutting: Fill your clean pots with your well-draining potting mix. Make a hole with a pencil or your finger, and insert the cutting, ensuring the node where you removed the leaves is buried in the soil. Gently firm the soil around the stem.
- Create humidity: Water the soil gently. Then, cover the pot with a clear plastic bag or place it inside a propagator. This is your mini-greenhouse! Make sure the leaves don’t touch the plastic if possible; you can use small stakes to prop it up.
I’ve also had success with water propagation for Solandra, though it’s a little less common.
Water Propagation:
- Follow steps 1-3 for stem cuttings.
- Place in water: Put the prepared cutting in a clear jar or glass of clean water, ensuring the leaf nodes are submerged.
- Keep it clean: Change the water every few days to prevent algae growth and keep it fresh.
- Wait for roots: You’ll see roots start to form in a few weeks. Once the roots are about an inch long, you can carefully transplant them into your potting mix.
The “Secret Sauce” (Pro Tips)
Okay, here are a few things I’ve learned over the years that can really give you an edge:
- Bottom Heat is Your Friend: Solandra absolutely loves a bit of warmth from below, especially when you’re starting them from cuttings. A small seedling heat mat can make a world of difference in speeding up root development. It mimics the warmth of spring soil.
- Don’t Drown Them: While humidity is vital, soggy soil is the enemy of cuttings. Make sure your potting mix is airy, and let the surface dry slightly between waterings. It’s better to underwater a little than to overwater.
- Patience with the Leaf Drop: If your cutting drops a few leaves, don’t panic! It’s a stress response. As long as the stem itself looks firm and healthy, and you maintained humidity, it’s often just saying, “Okay, I’m focusing my energy on roots now.”
Aftercare & Troubleshooting
Once you see new growth popping out from your cutting, that’s a fantastic sign that roots have formed! You can gently tug on the cutting to feel for resistance – that means roots are anchoring it.
- Acclimatize slowly: Gradually remove the plastic bag or open the propagator vents over a few days to help your new plant adjust to normal humidity.
- Move to a brighter spot: Once it’s looking robust, move it to a spot with bright, indirect light.
- Gentle watering: Continue to water when the top inch of soil feels dry.
- Troubleshooting: The most common issue you’ll face is rot. If your cutting looks mushy and black, or if it just wilts completely and won’t perk up, it’s likely succumbed to rot due to too much moisture. If you see mold on the soil surface, increase airflow and let the soil dry out more between waterings. Don’t be discouraged if a few don’t make it – it’s all part of the learning process!
I hope this makes you feel excited to give Solandra propagation a go! It’s a journey, and as with all gardening, there’s a bit of trial and error. But the thrill of nurturing a brand new plant from a tiny cutting is truly special. Be patient, trust your instincts, and enjoy every step of the process! Happy growing!
Resource:
https://identify.plantnet.org/k-world-flora/species/Solandra%20guttata%20D.Don/data