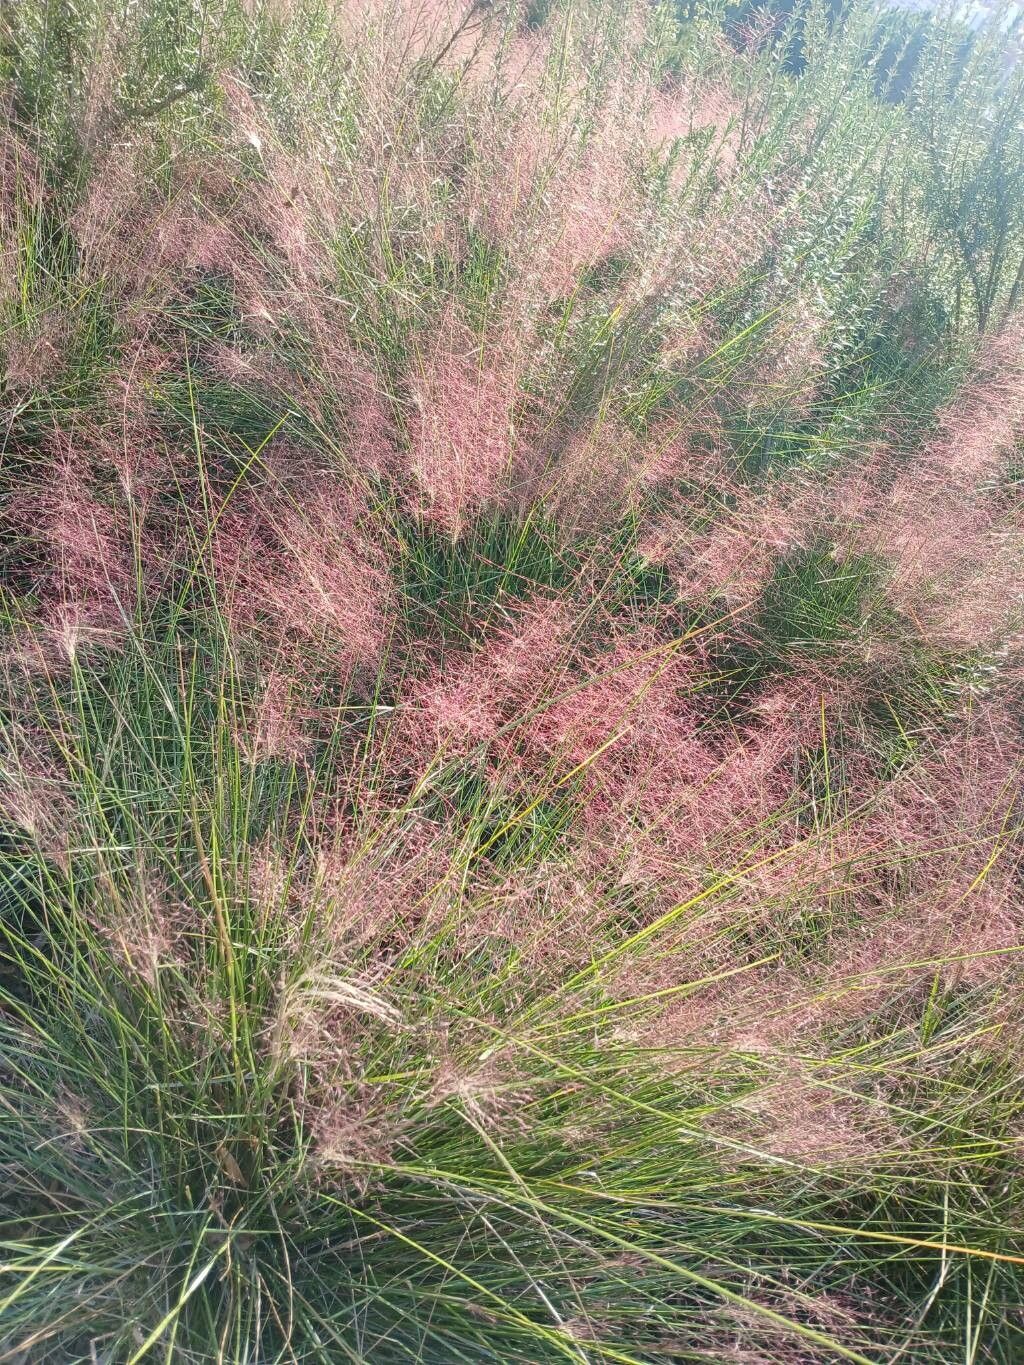
Hello, fellow garden enthusiasts! Today, I want to talk about one of my absolute favorite ornamental grasses: Muhlenbergia capillaris, also known as Pink Muhly Grass. If you’ve ever seen those clouds of delicate, pinkish-purple blooms drifting in the breeze, you know the magic I’m talking about. It’s a plant that brings such a soft, ethereal beauty to any landscape. And the best part? It’s surprisingly easy to propagate, making it a fantastic project for both seasoned gardeners and those just starting their green journey. There’s a special joy in nurturing a new plant from a tiny piece of its parent, and Muhly Grass is more than happy to oblige.
The Best Time to Start
For Muhlenbergia capillaris, late spring to early summer is your golden window. This is when the plant is actively growing and has plenty of energy stored up. The new stems you’ll be working with are pliable, and the warmer temperatures provide the perfect environment for rooting. Avoid trying this when the plant is dormant or stressed by extreme heat or cold.
Supplies You’ll Need
Here’s what I always have on hand when I’m propagating:
- Sharp Pruning Shears or a Knife: Clean cuts are crucial to prevent disease.
- Rooting Hormone (Optional, but Recommended): A little powder or gel can give your cuttings a significant boost.
- Well-Draining Potting Mix: A 50/50 blend of seed-starting mix and perlite works wonders. Regular potting soil can be too heavy and hold too much moisture.
- Small Pots or Trays: Choose containers with drainage holes.
- Mist Bottle: For keeping your cuttings hydrated without waterlogging.
- Plastic Bag or Dome: To create a mini-greenhouse effect.
- Gravel or Small Stones (for water propagation): To keep the stems elevated.
- Water: Clean, room-temperature water.
Propagation Methods
I find the easiest and most successful method for Muhly Grass is stem cuttings, but division is also a great option when the plant is larger.
Stem Cuttings
- Take Your Cuttings: On a mild morning, select healthy, non-flowering stems from your mature Muhly Grass. Aim for pieces that are about 4-6 inches long. Make a clean cut just below a leaf node (the point where leaves emerge from the stem). Remove the lower leaves from the cutting, leaving just a few at the tip.
- Apply Rooting Hormone (If Using): Dip the cut end of the stem into your rooting hormone, tapping off any excess.
- Plant the Cuttings: Fill your small pots or trays with your prepared potting mix. Make a small hole with your finger or a pencil. Insert the cutting into the hole, ensuring the leaf nodes are below the soil surface. Gently firm the soil around the stem.
- Water Gently: Water thoroughly but carefully. You don’t want to disturb the cuttings.
- Create a Humid Environment: Cover the pots with a clear plastic bag or a propagation dome. This traps moisture and keeps your cuttings from drying out. Place the pots in bright, indirect light.
- Be Patient: Check the soil moisture regularly. It should always feel slightly damp, never soggy. Mist the leaves occasionally if they look dry.
Division
This method is best for older, established clumps of Muhly Grass.
- Dig Up the Clump: In late spring or early fall, carefully dig up the entire plant.
- Separate the Divisions: Using a sharp shovel, knife, or even your hands (if the soil is loose), gently pull or cut the clump apart into smaller sections. Aim for divisions that have several healthy shoots and a good root system.
- Replant: Prepare your new planting sites with good soil. Replant the divisions at the same depth they were previously growing. Water them in well.
The “Secret Sauce” (Pro Tips)
Here are a few things I’ve learned that seem to make a real difference:
- Don’t Overcrowd: When taking cuttings, give them a little space in their pots. This improves air circulation, which is key to preventing rot.
- Bottom Heat is Your Friend: If you have a heat mat designed for seedlings, pop your pots on it. This gentle warmth encourages root development significantly, especially in cooler weather.
- Be Ruthless with Dead Leaves: If you notice any leaves on your cuttings turning yellow or mushy, gently remove them immediately. They can spread rot to healthy parts.
Aftercare & Troubleshooting
Once you start seeing new leaf growth on your cuttings, it’s a good sign that roots are forming! For stem cuttings, I usually wait until I see a bit of resistance when I gently tug on the stem – that means it’s anchored itself.
Once you see good root development, you can begin to gradually acclimate your new plants to less humid conditions. Start by opening the plastic bag for a few hours each day, then remove it completely. You can then transplant them into slightly larger pots. Water them regularly, but always allow the top inch of soil to dry out between waterings.
The most common problem you’ll encounter is rot. If your cuttings look black and mushy, or if the soil is constantly waterlogged, this is likely the culprit. This is why our well-draining soil and careful watering are so important. If you see signs of rot, try trimming away any affected parts with sterile tools and repotting in fresh, dry potting mix.
A Little Patience Goes a Long Way
Propagating Muhlenbergia capillaris is a truly rewarding experience. It takes a bit of patience, but watching those tiny roots emerge and grow into new, beautiful plants is so satisfying. Don’t be discouraged if not every cutting makes it – that’s all part of the gardening adventure! So grab your shears, get your hands dirty, and enjoy the process. Happy growing!
Resource:
https://identify.plantnet.org/k-world-flora/species/Muhlenbergia%20capillaris%20(Lam.)%20Trin./data