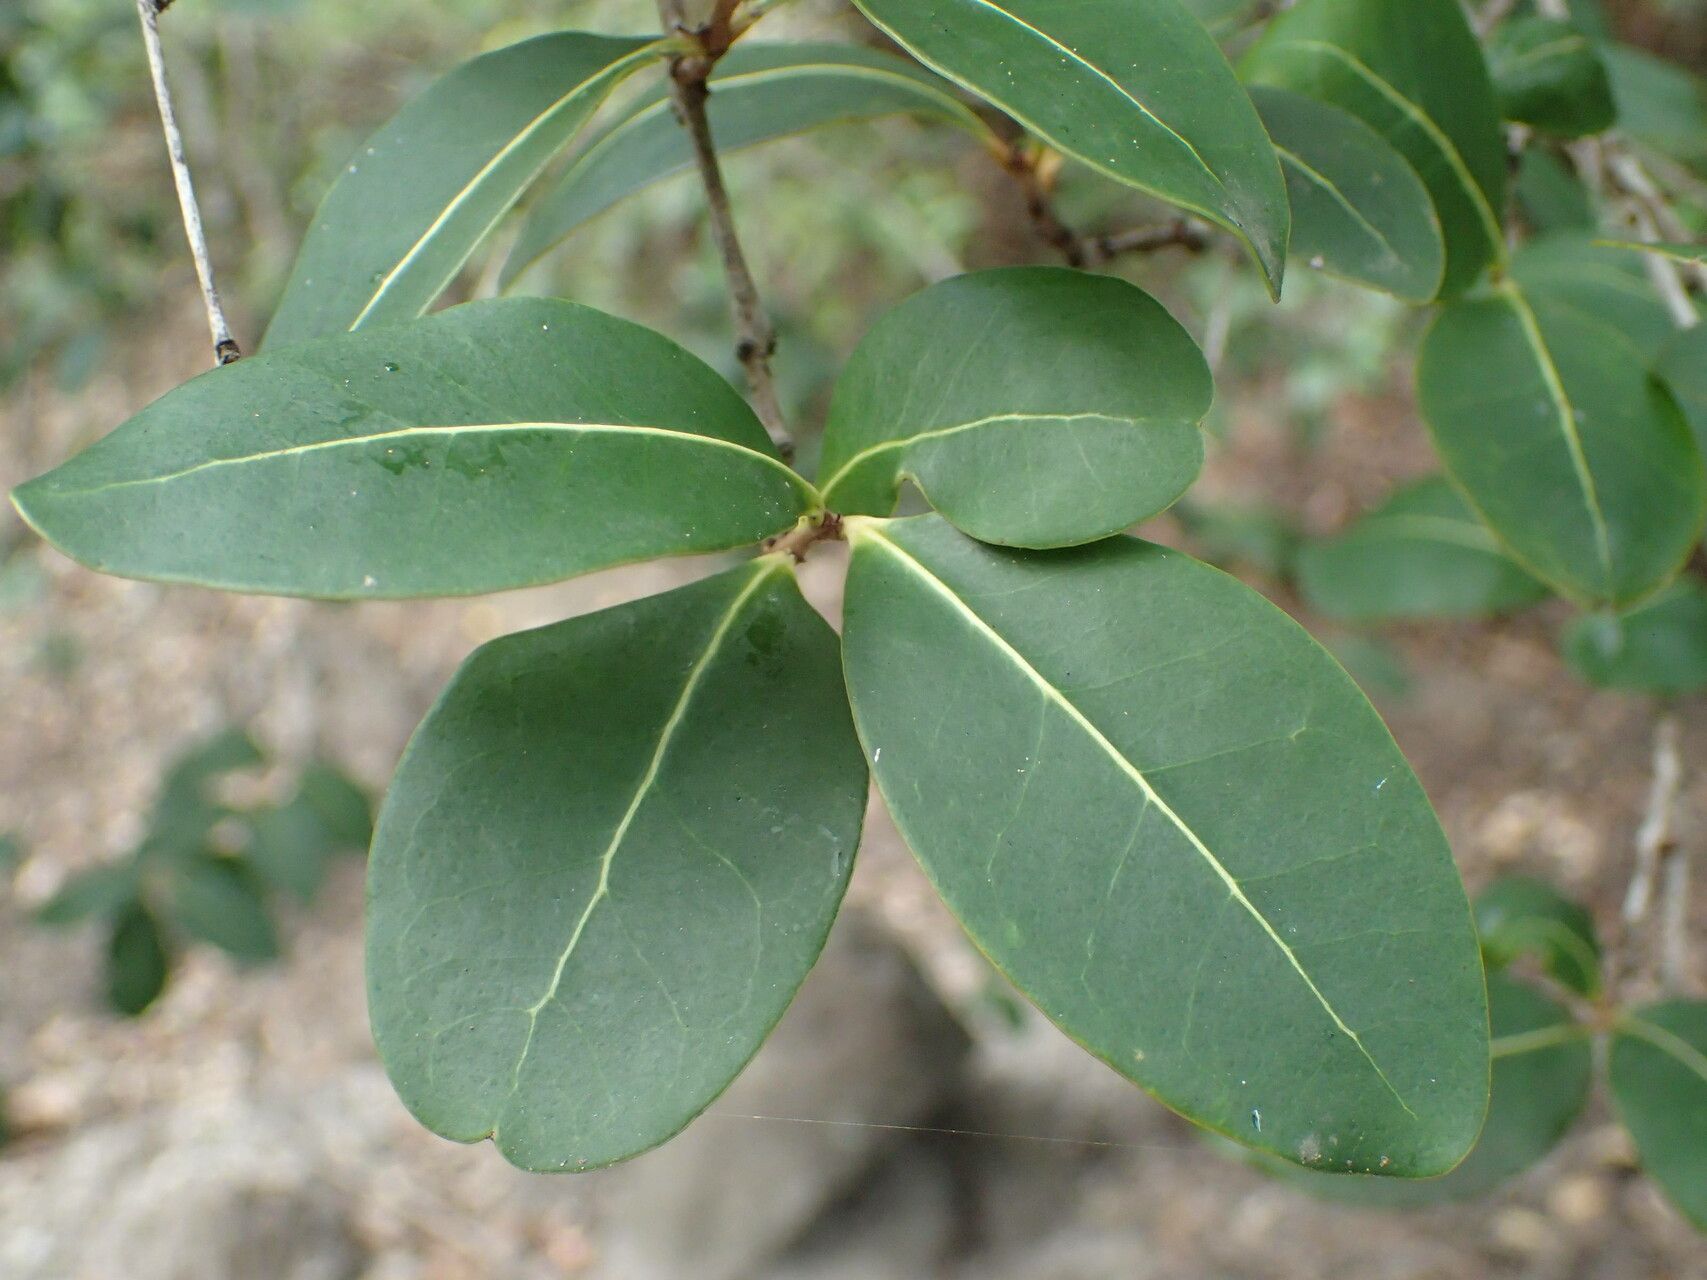
Oh, hello there! Come on in, grab a mug. Today, we’re diving into the wonderful world of Eugenia cordata, sometimes called the Brazilian Cherry or, more poetically, the “heartleaf Eugenia.” I’ve been growing and fussing over these beauties for years, and honestly, there’s something so incredibly satisfying about taking a tiny piece of a plant and coaxing it into a whole new life. If you’ve ever admired those lovely, glossy leaves and delicate blooms, you’re in for a treat. Propagating Eugenia cordata isn’t exactly a walk in the park for an absolute beginner, but with a little patience and these steps, you’ll be well on your way to success. It’s a rewarding journey, I promise you.
The Best Time to Start
My secret? I find the late spring to early summer is the sweet spot. This is when our plants are really in their active growing phase. You’ll see new shoots emerging, and that’s exactly what we want. These fresh, but not too soft, stems have the best energy and are ready to put down roots. Trying to propagate these when the plant is stressed or dormant just leads to frustration.
Supplies You’ll Need
Gathering your tools beforehand makes the whole process much smoother. Here’s what I always have on hand:
- Sharp Pruning Shears or a very sharp knife: Clean cuts are crucial.
- Rooting Hormone (optional, but helpful): Look for one specifically for woody cuttings.
- Well-draining Potting Mix: A good blend is about 50% perlite and 50% peat moss or coco coir. You want it to hold some moisture but drain like a sieve.
- Small Pots or Seedling Trays: Clean ones are key to preventing disease.
- Plastic Bag or Humidity Dome: To keep things nice and moist.
- Watering Can with a Fine Rose: For gentle watering.
- Small Pebbles or Grit: To help with drainage in the bottom of pots if needed.
Propagation Methods
For Eugenia cordata, stem cuttings are generally the most reliable and rewarding method.
Stem Cuttings:
- Select Your Cuttings: Look for healthy, semi-hardwood stems. That means they’re not brand new and floppy, but they’re also not old and woody. You’re aiming for stems about 4-6 inches long. You can usually find these on the current year’s growth.
- Make Your Cut: Using your clean shears, make a cut just below a leaf node (where a leaf attaches to the stem). This is where magical rooting hormones are concentrated.
- Prepare the Cutting: Gently remove the leaves from the bottom half of the cutting. You want to avoid having any leaves below where you’ll be planting, as they’ll just rot. Leave about 2-3 sets of leaves at the top. If the top leaves are huge, you can even cut them in half horizontally to reduce water loss.
- Apply Rooting Hormone (Optional): If you’re using rooting hormone, dip the cut end into the powder or gel. Tap off any excess.
- Plant Your Cuttings: Fill your clean pots with your prepared potting mix. Make a little hole with your finger or a pencil, and carefully place the cutting in. Gently firm the soil around the base. You can plant several cuttings in one pot, as long as they aren’t touching each other.
- Water Gently: Water thoroughly but gently so the soil is moist but not waterlogged.
The “Secret Sauce” (Pro Tips)
Now, for a few little tricks I’ve picked up over the years that really make a difference:
- Bottom Heat is Your Best Friend: For woody cuttings like these, a heat mat placed under your pots can dramatically speed up root development. It mimics the warmth you’d find in the soil during peak growing season. You don’t want the soil to get too hot, just consistently warm.
- Don’t Let Leaves Touch the Water: This is crucial if you’re doing any water propagation or if your leaves are very close to the soil surface after planting. Rot is the enemy, and damp leaves are a prime target. Even in humidity, keep those leaves out of sitting water.
- The “Wiggle Test” is Your Guide: Don’t be tempted to pull your cuttings out too soon to check for roots! When you think they might be ready (after about 4-6 weeks, sometimes longer), give a gentle tug. If you feel resistance, you’ve got roots! If it pulls out easily, it hasn’t rooted yet.
Aftercare & Troubleshooting
Once your cuttings have been planted, it’s time for some gentle TLC.
- Humidity is Key: Cover your pots with a clear plastic bag or a humidity dome. This creates a mini-greenhouse effect, keeping the humidity high around the cuttings. Make sure to poke a few small holes in the bag, or lift the dome daily for a few minutes to allow for some air circulation. You don’t want stagnant air, which can encourage mold.
- Bright, Indirect Light: Place your pots in a bright location, but out of direct sunlight. Direct sun can scorch those delicate leaves and heat up the soil too much.
- Patience, Young Grasshopper: Roots typically start to form in 4-8 weeks, but it can sometimes take longer. Keep the soil consistently moist, but never soggy.
- Signs of Trouble: The most common issue is rot. If you see a cutting turning black and mushy, it’s likely rotted. This usually means too much water and not enough air circulation. Unfortunately, there’s not much you can do at that point but discard it and try again. If the leaves start to yellow and drop, it could be a sign of too much or too little water, or it might be that the cutting just didn’t take.
A Gentle Encouragement
Remember, gardening is a journey, and propagation can have its learning curves. Don’t be discouraged if your first few attempts aren’t perfect. Each plant you try to propagate teaches you something new. Keep experimenting, keep observing, and most importantly, enjoy the process of bringing new life into your garden. You’ve got this!
Resource:
https://identify.plantnet.org/k-world-flora/species/Eugenia%20cordata%20(Sw.)%20DC./data