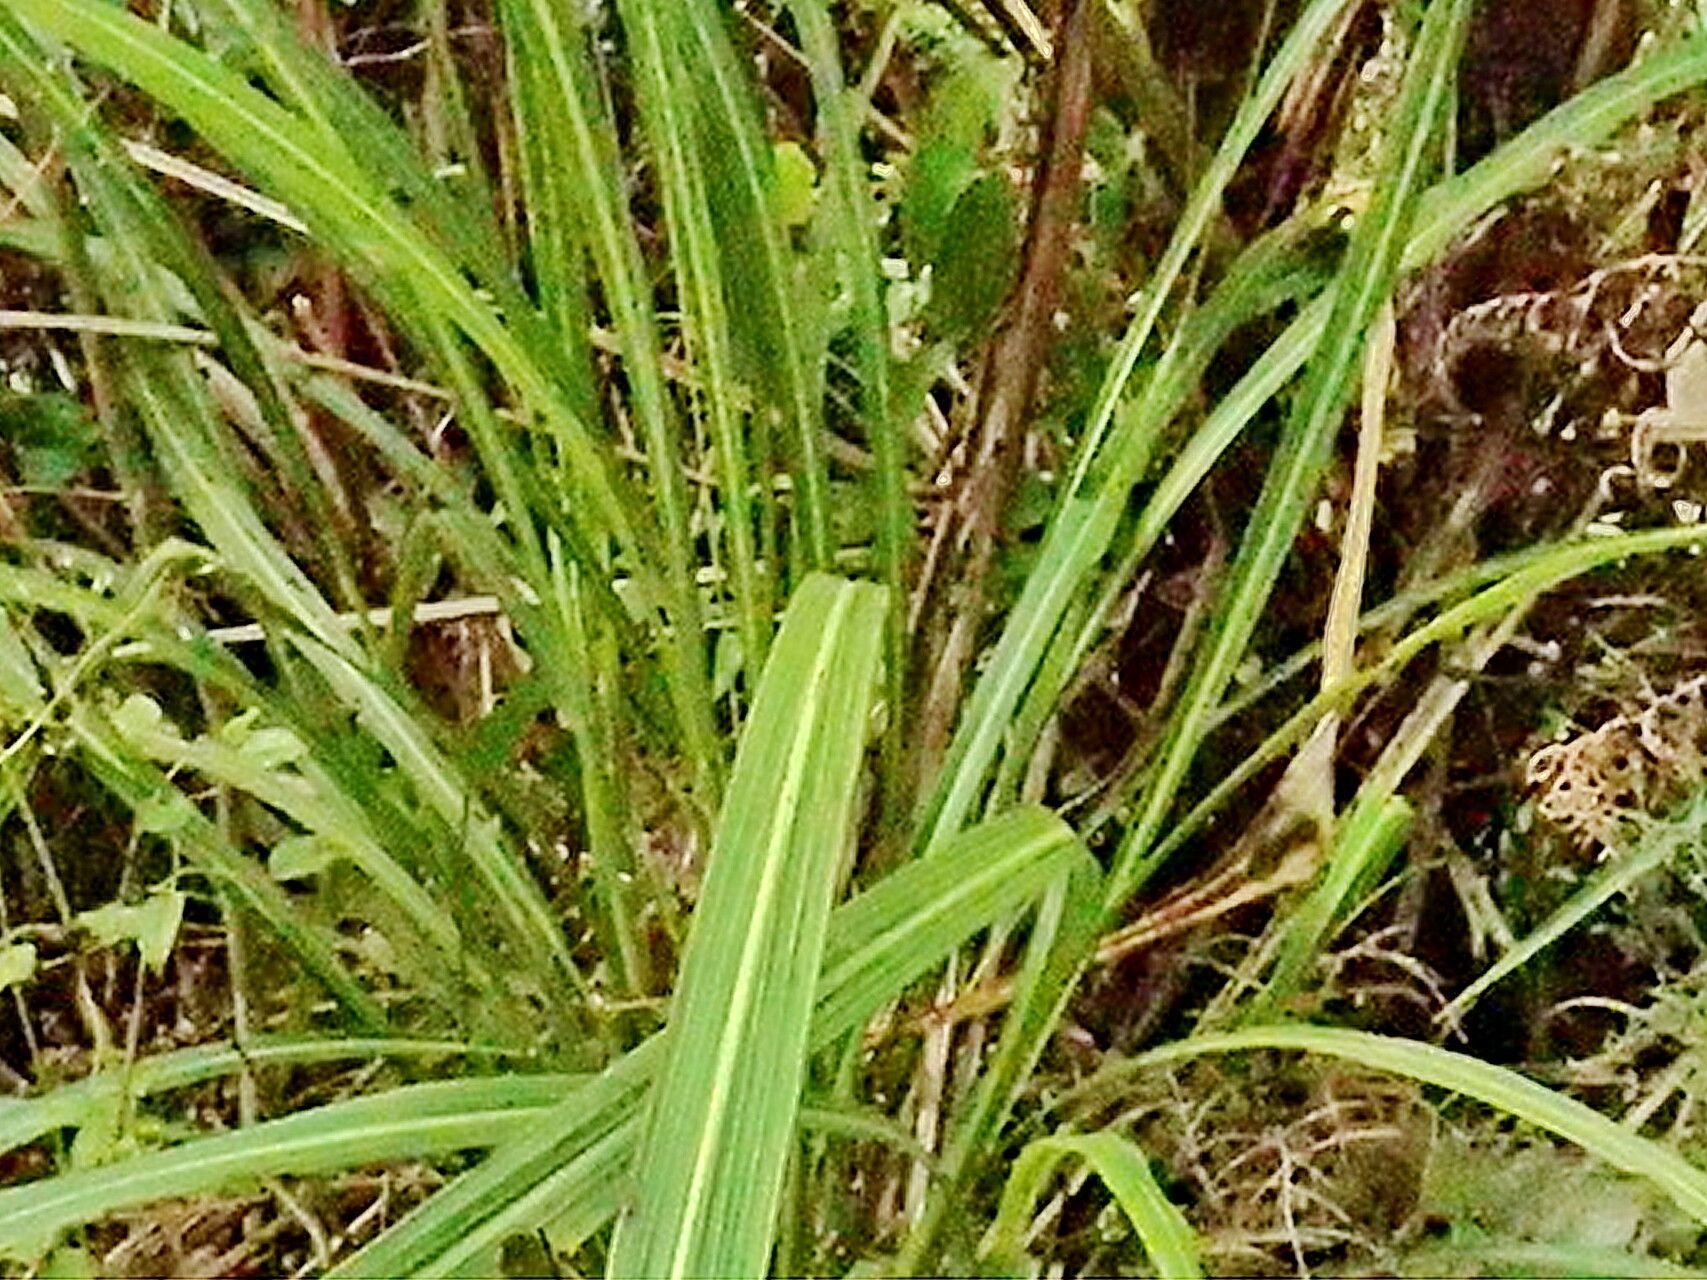
Hello there, fellow garden enthusiasts! It’s so lovely to have you join me today, cup of coffee in hand, ready to dive into the wonderful world of plants. We’re going to talk about a plant I absolutely adore: the Cordyline banksii. Isn’t it just a stunner? With those elegant, arching leaves and the subtle, almost exotic appeal it brings to any space, I can see why you might be drawn to it. And the best part? It’s surprisingly accessible to propagate. Even if you’re just starting your green journey, I think you’ll find this a rewarding new skill to add to your repertoire.
The Best Time to Start
When it comes to coaxing new life from your Cordyline banksii, spring and early summer are your golden tickets. This is when the plant is actively growing, brimming with energy. You’ll have the best luck taking cuttings or dividing during this vibrant period. You want to work with healthy, vigorous material, and that’s exactly what you’ll find when the days are getting longer and the air is warming up.
Supplies You’ll Need
Gathering your tools before you begin is half the battle. Here’s what I always have on hand:
- Sharp, clean pruning shears or a craft knife. Sterilize them with rubbing alcohol to prevent disease.
- A good quality seed-starting mix or a blend of peat moss and perlite. Good drainage is key!
- Rooting hormone (powder or gel). It gives cuttings that extra boost.
- Small pots or seedling trays with drainage holes.
- A clear plastic bag or propagation dome to create a humid environment.
- A shallow tray for bottom watering.
- Labels to keep track of your plants – I always forget what I planted where!
- Optional: a heating mat for an extra bit of warmth.
Propagation Methods
Cordyline banksii is a trooper when it comes to propagation. Here are a couple of my go-to methods:
Stem Cuttings: A Tried and True Method
This is my most common approach and often yields fantastic results.
- Select your stem: Look for a healthy, mature stem on your Cordyline banksii. You want a piece that’s about 4-6 inches long and has at least a couple of leaf nodes.
- Make the cut: Using your clean shears, make a clean cut just below a leaf node. This is where roots are most likely to form.
- Prepare the cutting: Gently remove the lower leaves, leaving just a few at the very top. This helps the cutting conserve energy and reduces the chance of rot. If the leaves are quite large, feel free to trim them in half lengthwise to further reduce moisture loss.
- Apply rooting hormone: Dip the cut end of the stem into your rooting hormone, tapping off any excess.
- Potting up: Fill your small pots with your prepared potting mix. Make a small hole with your finger or a pencil and insert the cutting, ensuring the nodes where you removed the leaves are below the soil surface. Gently firm the soil around the base.
- Create humidity: Water the soil lightly. Then, cover the pot with a clear plastic bag or place it under a propagation dome. This creates a miniature greenhouse effect, keeping the humidity high, which is crucial for cuttings.
Division: For Bigger Plants
If your Cordyline banksii has become quite established and is looking a bit crowded, division is a great way to multiply your plants.
- Remove from pot: Gently slide your Cordyline banksii out of its pot.
- Examine the roots: You’ll often see multiple shoots emerging from the base, or the root ball might be densely packed.
- Separate the clumps: Using your hands or a clean knife, gently tease apart the root system. If you have distinct clumps, carefully separate them, ensuring each new section has roots attached. Don’t be afraid to be a little firm, but avoid tearing the roots excessively.
- Pot individually: Pot each divided section into its own pot with fresh potting mix, watering gently as you would a normal plant.
The “Secret Sauce” (Pro Tips)
Now, for a couple of little tricks I’ve picked up over the years that can really make a difference:
- Don’t let those leaves touch the water! If you’re doing a water propagation (which is possible, though I find soil cuttings more reliable for Cordyline banksii), make sure no leaves are submerged. Any leaf in the water is a prime candidate for rot, and that’s the last thing you want.
- Bottom heat is your friend. While not strictly essential, placing your pots on a heating mat significantly speeds up root development. It mimics the warmth of spring soil coming up from below and gives those root cells a real kick-start.
Aftercare & Troubleshooting
Once your cuttings are potted or your divisions are made, the waiting game begins. Keep them in a bright spot, but out of direct, harsh sunlight which can scorch tender new growth. Water when the top inch of soil feels dry – I like to bottom water them using a shallow tray. This encourages roots to grow downwards in search of moisture.
What if things go wrong? The most common sign of trouble is rot. If your cutting turns mushy or develops black spots, it’s likely succumbed to rot. This is usually due to overwatering or poor drainage. If you see this, sadly, it’s best to discard it and try again. If a cutting looks limp and dry, it might be too dry or not getting enough humidity.
A Little Encouragement
Propagating plants is a journey, and like any good journey, it requires patience. Don’t be discouraged if your first attempt isn’t a resounding success. Observe your cuttings, learn from each one, and enjoy the process of nurturing new life. Before you know it, you’ll have a whole fleet of Cordyline banksii to share or plant out. Happy gardening!
Resource:
https://identify.plantnet.org/k-world-flora/species/Cordyline%20banksii%20Hook.f./data