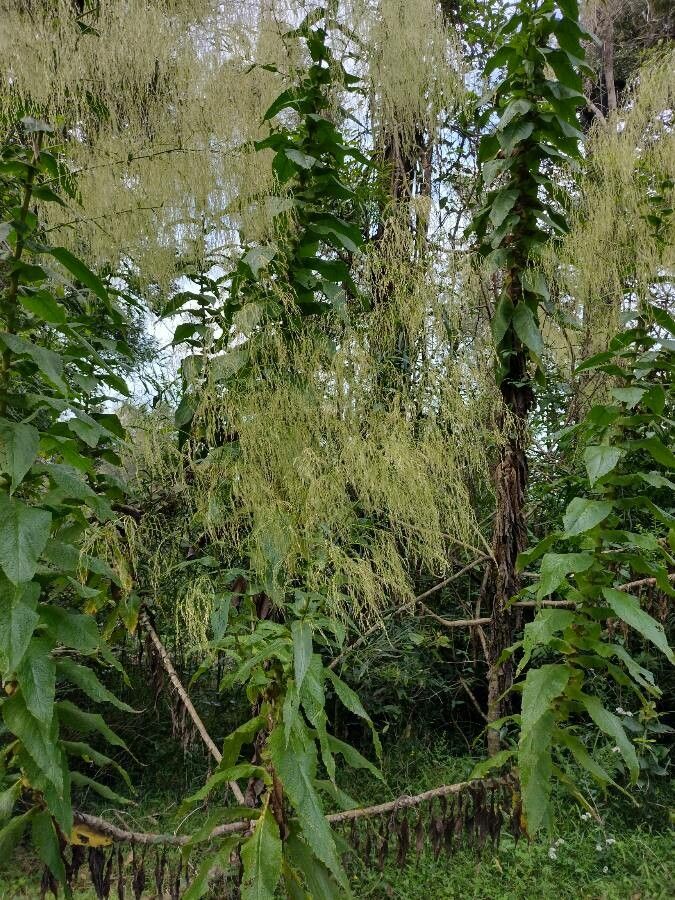
Hello fellow garden enthusiasts! Today, we’re diving into the delightful world of Calomeria amaranthoides, also known as the Silver Sand Verbena. If you’re captivated by its cascading silver foliage and delicate purple blooms that lend an ethereal touch to any garden, you’re in for a treat. Growing more of this beauty is not only achievable but incredibly rewarding. I’ve found it’s a plant that plays nicely with beginners, so don’t be shy!
The Best Time to Start
For the highest success rate with Calomeria amaranthoides, I always recommend starting in late spring or early summer. This is when the plant is actively growing and has plenty of energy to dedicate to forming new roots. You’re essentially aiming to take cuttings from healthy, developing stems – think of them as young, vigorous shoots rather than mature, woody ones.
Supplies You’ll Need
Gathering your supplies beforehand makes the process so much smoother. Here’s what I like to have on hand:
- Sharp, clean pruning shears or a sharp knife: Hygiene is key to preventing disease.
- Rooting hormone powder (optional but helpful): This gives your cuttings a little boost.
- Potting mix: A well-draining mix is essential. I usually go for a blend of peat moss, perlite, and a bit of compost. You can also buy a good quality seed starting mix.
- Small pots or trays: 4-inch pots are usually a good size for starting cuttings. Make sure they have drainage holes!
- Plastic bags or a propagator lid: This helps maintain humidity around your cuttings.
- Watering can or spray bottle: For gently moistening the soil.
Propagation Methods
Calomeria amaranthoides is wonderfully adaptable, and I find stem cuttings to be the most reliable and straightforward method.
Stem Cuttings (My Go-To)
- Select Your Cuttings: In late spring or early summer, choose healthy, non-flowering stems that are about 4-6 inches long. They should be flexible but not floppy.
- Make the Cut: Using your clean shears or knife, cut the stem just below a leaf node. A leaf node is where a leaf attaches to the stem – this is where new roots will emerge.
- Prepare the Cutting: Gently remove the lower leaves, leaving just two or three sets of leaves at the top. This prevents the submerged leaves from rotting.
- Apply Rooting Hormone (Optional): Dip the cut end of the stem into the rooting hormone powder, tapping off any excess.
- Plant Your Cuttings: Fill your pots with your prepared potting mix. Make a small hole in the center of the soil with your finger or a pencil.
- Insert the Cutting: Place the prepared cutting into the hole, ensuring the leaf nodes where you removed leaves are below the soil surface. Gently firm the soil around the base of the cutting.
- Water Gently: Lightly water the soil until it’s evenly moist but not waterlogged.
- Create Humidity: Place a plastic bag loosely over the pot or cover it with a propagator lid. This creates a mini-greenhouse effect.
Water Propagation (A Visual Treat)
This method is fun because you can watch the roots grow!
- Prepare Cuttings: Follow steps 1-3 for stem cuttings above.
- Place in Water: Fill a clear jar or glass with fresh water.
- Submerge the Stem: Place the cuttings into the water, making sure that no leaves are submerged. Leaves in the water will rot and contaminate the water.
- Location: Place the jar in a bright spot with indirect sunlight.
- Water Changes: Change the water every few days to keep it fresh and prevent bacterial growth.
- Transplant: Once you see a good network of roots (about an inch long), you can transplant them into your potting mix. Be gentle; those new roots are delicate!
The “Secret Sauce” (Pro Tips)
Here are a few little things I’ve learned over the years that really make a difference:
- Bottom Heat is Your Friend: If you can, place your pots on a seedling heat mat. This gentle warmth from below encourages root development much faster than ambient room temperature alone. It’s like giving your cuttings a warm hug in a pot!
- Don’t Drown Your Dreams: Overwatering is the enemy of cuttings. The soil should always feel lightly moist, like a wrung-out sponge, never soggy. If you’re worried, it’s better to err on the side of slightly too dry than too wet.
- Patience, Young Grasshopper: Seriously. Sometimes cuttings can take longer than you think to show signs of life. Don’t give up too soon! I’ve had cuttings that looked like they were fading away only to suddenly sprout roots weeks later.
Aftercare & Troubleshooting
Once you see new growth emerging from the top of your cutting, or feel a gentle tug when you lightly pull on it (indicating root formation), it’s time to adjust their care.
Carefully remove the plastic bag or propagator lid gradually over a few days to acclimate them to lower humidity. Continue to water when the top inch of soil feels dry. Once they have a few inches of new growth, you can transplant them into slightly larger pots or their final garden location after the last frost has passed.
The most common problem you’ll encounter is rot. This usually happens if the cuttings are kept too wet or if the leaves are submerged in water. If a cutting turns black and mushy, unfortunately, it’s a goner. Don’t be discouraged; just try again with fresh cuttings and adjust your watering or humidity levels.
A Encouraging Closing
Propagating Calomeria amaranthoides is a wonderfully hands-on way to multiply the beauty in your garden. It takes a little observation and a dash of patience, but the joy of nurturing a new plant from a simple cutting is immense. So gather your supplies, get your hands in the soil, and enjoy the process. Happy gardening!
Resource:
https://identify.plantnet.org/k-world-flora/species/Calomeria%20amaranthoides%20Vent./data