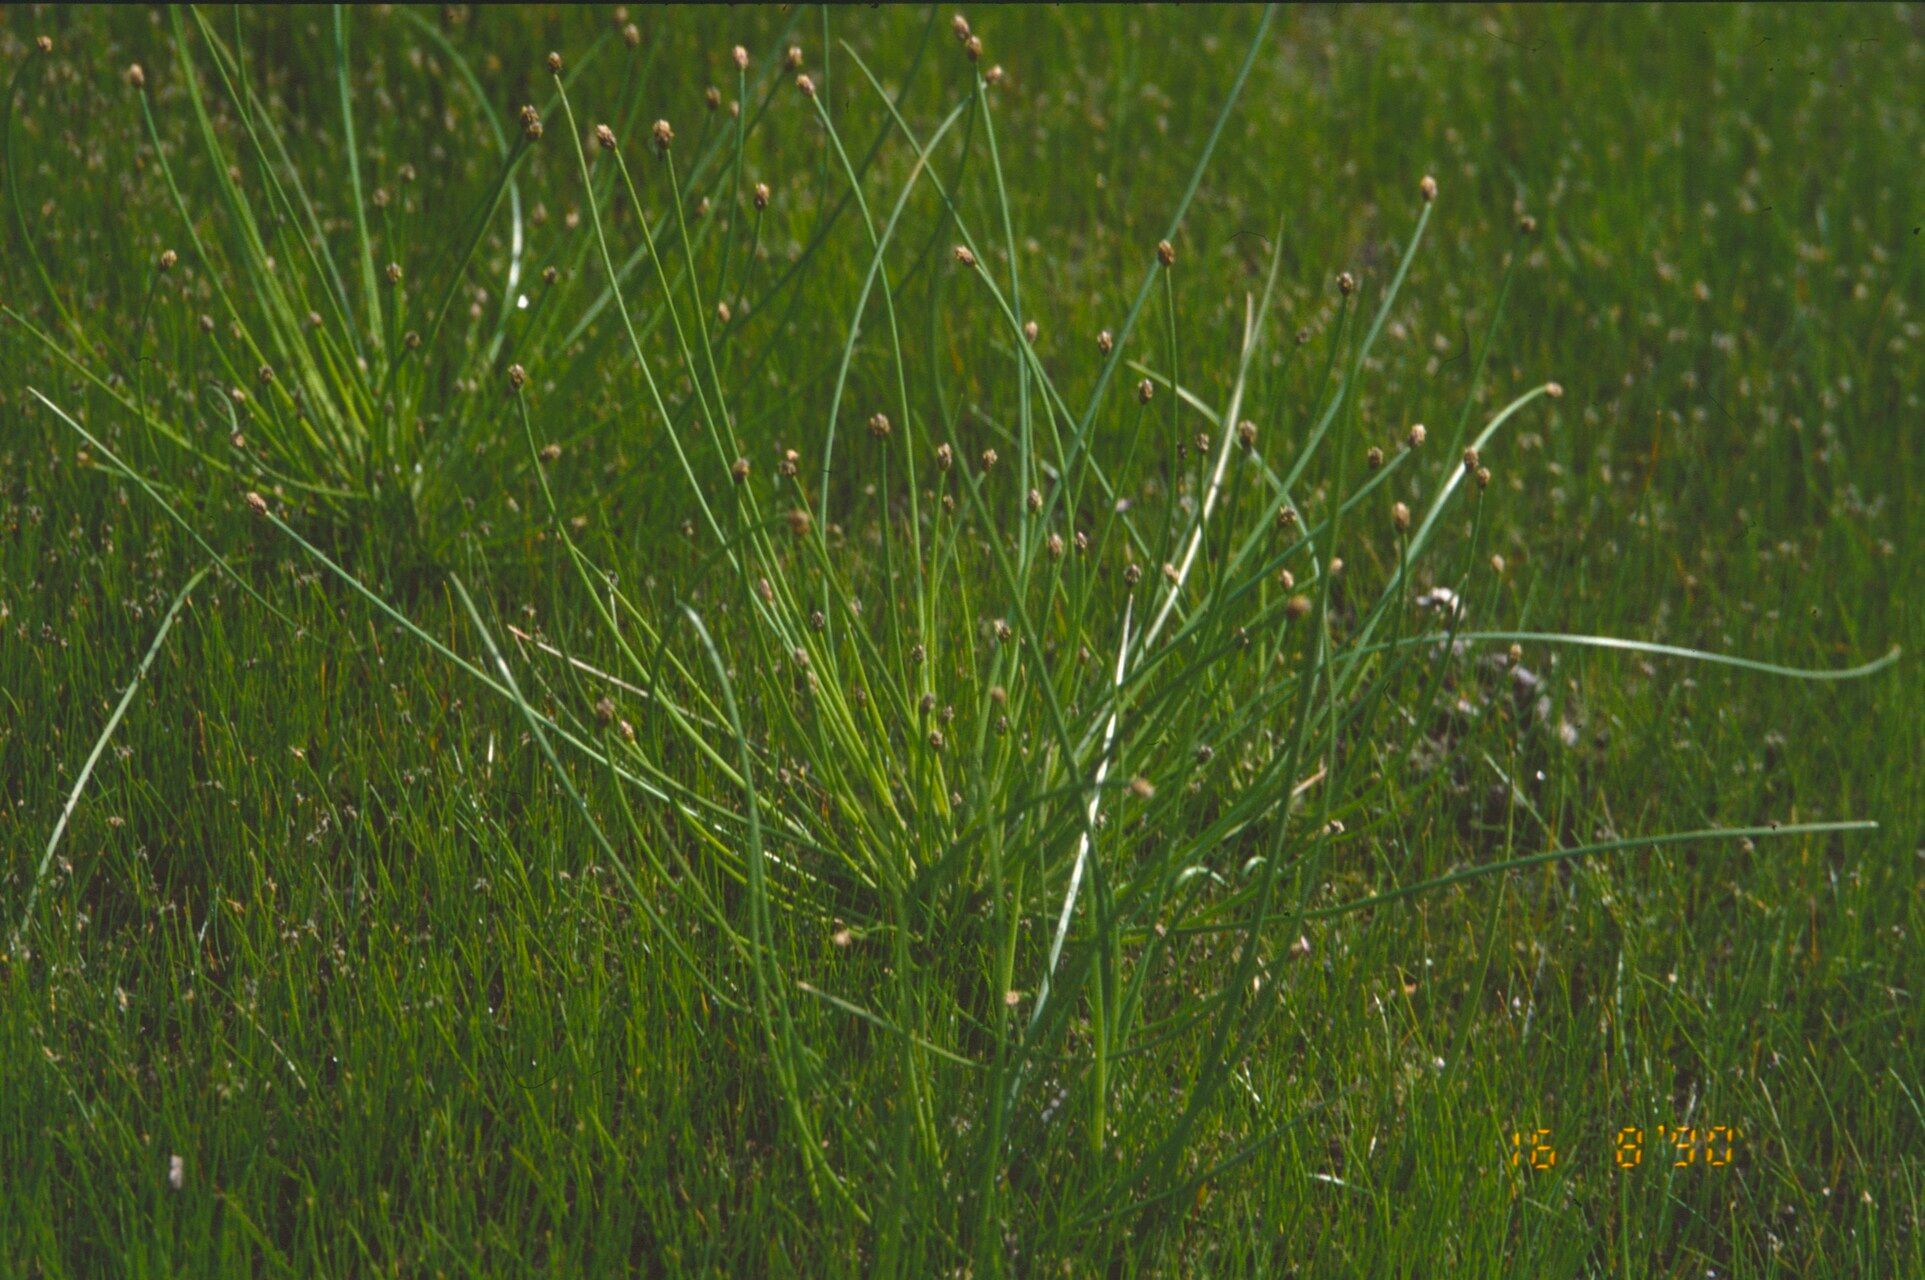
Hey there, fellow garden lovers! I’m so thrilled you’re thinking about bringing more of the charming Eleocharis ovata into your life. This little native jewel, often called oval spikerush, is just delightful. With its tidy, grass-like stems and unassuming beauty, it’s a fantastic addition to ponds, water features, or even damp spots in your garden. Propagating Eleocharis ovata is incredibly rewarding, and I promise you, it’s not as tricky as you might think! Even if you’re just dipping your toes into the world of plant propagation, you’ll find this process quite manageable.
The Best Time to Start
Honestly, the best time to propagate Eleocharis ovata is when your plants are actively growing. Think late spring through the summer months. This is when they have the most energy stored up, ready to put into developing new roots and shoots. Waiting until the plant has finished its main blooming or fruiting phase is also a good bet, as it won’t be so focused on producing flowers and can dedicate more resources to growth.
Supplies You’ll Need
Here’s what you’ll want to have on hand:
- Sharp, clean pruning shears or a small knife: For making clean cuts.
- A well-draining potting mix: For divisions, I like a blend of regular potting soil with some perlite or sand to improve drainage. If you’re using water propagation, you won’t need soil initially.
- Small pots or containers: For repotting divisions.
- Watering can or spray bottle: For gentle watering.
- Rooting hormone (optional but helpful): Especially useful when you’re just starting out.
- A tray or shallow dish: For water propagation.
Propagation Methods: Let’s Get Our Hands Dirty!
The most straightforward way to propagate Eleocharis ovata is through division. It’s essentially like giving your plant a little haircut and sharing those healthy pieces.
- Gently remove the parent plant from its pot or directly from its location. If it’s in a pond, try to carefully scoop out a clump.
- Inspect the root ball. You’ll see that the plant naturally forms clumps.
- Using your clean shears or knife, carefully divide the clump into smaller sections. Aim for sections that have a good number of stems and some healthy roots attached. Don’t be afraid to pull it apart gently with your hands if the roots are loose.
- Plant the new divisions into their own pots. Fill the pots with your well-draining potting mix. Make sure the roots are covered.
- Water thoroughly. You want the soil to be moist but not waterlogged.
For those of you with water features, you might find that loose bits of Eleocharis ovata will naturally break off or you can intentionally snag a few stems. This is where water propagation comes in handy.
- Take healthy-looking stems. Make sure they have some leaves on them.
- Place the stems in a shallow tray or dish filled with water.
- Crucially, ensure the leaves are not submerged in the water. Only the bottom of the stem should be touching the water. If the leaves are in the water, they’ll rot, and that’s the last thing we want!
- Place the tray in a bright spot, but out of direct, scorching sunlight.
- Change the water every few days to keep it fresh and prevent stagnation. You should start to see tiny roots forming on the submerged stems within a few weeks.
The “Secret Sauce” (Pro Tips)
Here are a couple of things I’ve learned over the years that make a big difference:
- When dividing, look for new growth points. These are the areas where new stems will emerge, and they’re usually more vigorous and ready to establish themselves.
- If you’re seeing sluggish root development in water, try providing a little bottom heat. A seedling heat mat placed underneath your propagation tray can really encourage those roots to get going, especially if your room is a bit on the cooler side. Don’t make it too hot, though – just a gentle warmth.
- For divisions, don’t over-pot them. Giving them a pot that’s only slightly larger than the root ball encourages them to focus their energy on root development rather than just growing more leaves initially.
Aftercare & Troubleshooting
Once your divisions or rooted cuttings are showing good signs of new growth, it’s time to treat them like established plants. Continue to keep them consistently moist, especially if you’ve planted them in pots. Avoid letting them dry out completely.
The most common issue you’ll encounter is rot. If you see your stems turning mushy and brown in water, or if a division’s leaves are yellowing and wilting dramatically and the soil feels waterlogged, it’s a sign of too much moisture or poor drainage. In water culture, ensure those leaves stay above the water line. If you’ve potted up, make sure your soil isn’t staying waterlogged. Sometimes, a bit of dappled shade can help alleviate stress if the leaves look like they’re struggling.
A Little Encouragement
Propagating plants is one of the most magical parts of gardening. It’s a chance to multiply the beauty you love and share it with others. Don’t get discouraged if your first few attempts aren’t perfect. Every gardener has had their share of wilting stems and failed roots! Be patient with your new Eleocharis ovata babies, give them consistent care, and celebrate every tiny new shoot. Happy propagating!
Resource: