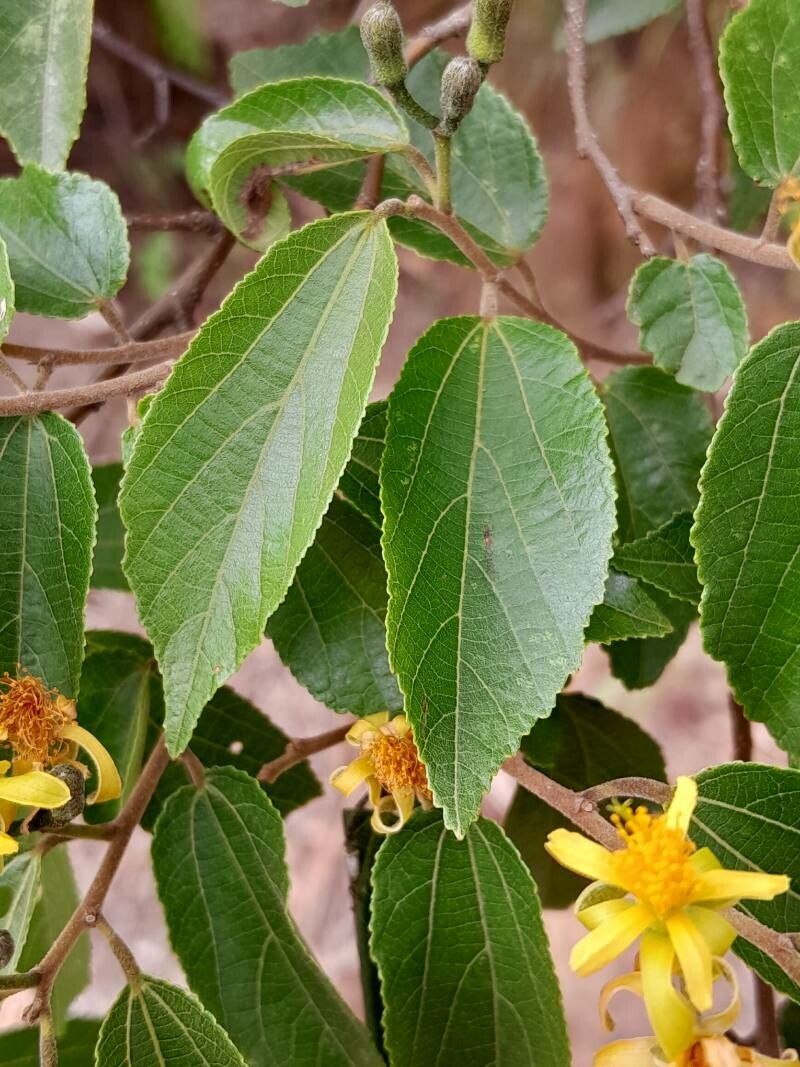
Hello there, fellow plant enthusiasts! For anyone who’s ever been captivated by the charm of Grewia rhomboides – with its lovely, star-shaped flowers and the promise of its eventual fruit – you’re in for a treat! I’m always thrilled to help you bring more of these beauties into your garden, and propagating them yourself is incredibly rewarding. It’s a wonderful way to share the joy, or simply to fill a space that needs a little botanical magic. And good news – while it requires a little care, Grewia rhomboides is quite achievable for those taking their first steps into the world of propagation.
The Best Time to Start
When it comes to Grewia rhomboides, I find that late spring or early summer is your golden window. This is when the plant is actively growing, so it’s bursting with energy. You’ll want to look for new, yet slightly firm, green shoots – not the very soft, floppy new growth, but also not the woody, mature stems. These semi-hardwood cuttings are usually the easiest to root.
Supplies You’ll Need
Before we dive in, let’s gather our tools:
- Sharp Pruning Shears or a Knife: Cleanliness is key here, to prevent disease.
- Rooting Hormone: This isn’t strictly mandatory, but it gives your cuttings a significant boost. I like the powder form for ease of use.
- Sterilized Pots or Trays: Small ones, about 4-6 inches deep, work perfectly.
- Well-Draining Potting Mix: A good blend is usually 50% perlite and 50% peat moss or coco coir. Some growers add a bit of coarse sand.
- Plastic Bags or a Mini Greenhouse: To create a humid environment.
- Watering Can with a Fine Rose: For gentle watering.
- Labels and a Marker: To keep track of your propagated plants!
Propagation Methods: Stem Cuttings
This is my go-to method for Grewia rhomboides. It’s reliable and you can get quite a few plants from one parent.
- Take Your Cuttings: On a bright, but not scorchingly hot, day, select a healthy shoot. Cut a piece about 4-6 inches long, making your cut just below a leaf node (where a leaf attaches to the stem). Remove any flowers or developing fruit from your cutting.
- Prepare the Cuttings: Gently strip off the lower leaves, leaving just two to four at the top. If the remaining leaves are very large, you can carefully snip them in half to reduce water loss.
- Apply Rooting Hormone: Dip the cut end of the stem into water, then press it into your rooting hormone powder. Tap off any excess.
- Plant Your Cuttings: Fill your pots with your prepared soil mix, and water it thoroughly so it’s evenly moist but not soggy. Make a small hole with a pencil or your finger in the center of the pot. Gently insert the hormone-coated cutting into the hole, ensuring the nodes where you removed the leaves are buried. Firm the soil around the stem.
- Create Humidity: Water your cuttings again lightly. Then, cover the pot with a clear plastic bag, making sure the bag doesn’t touch the leaves. You can support it with a stake or two if needed. Alternatively, place the pots in a mini greenhouse.
The “Secret Sauce” (Pro Tips)
Here are a few tricks I’ve learned over the years that really seem to make a difference:
- Bottom Heat is Your Friend: If you have access to a heat mat designed for seedlings, placing your pots on it can dramatically speed up rooting. Grewia rhomboides loves that gentle warmth from below.
- Don’t Let Leaves Touch Water (If Water Propagating): While I prefer cuttings for Grewia, if you were to try water propagation, it’s crucial that no leaves are submerged. Rot will set in faster than you can blink. Only the stem should be in the water.
- Fresh Air is Important: While humidity is vital, you don’t want stagnant air. Open the plastic bag or greenhouse vents for a little while each day (say, 5-10 minutes) to allow for some air circulation and prevent fungal issues.
Aftercare & Troubleshooting
Once your cuttings are planted, keep them in a bright location out of direct, harsh sunlight. Water them whenever the top inch of soil feels dry, always being careful not to overwater.
You’ll know your cuttings are rooting when you see new leaf growth starting to appear. This can take anywhere from 4 to 8 weeks, sometimes longer. You can also give a gentle tug on the cutting – if you feel resistance, it means roots are forming.
The most common issue you might face is rot. This usually happens if the soil is too wet or the air is too stagnant. If you see a cutting turning black and mushy at the base, unfortunately, it’s probably best to discard it to prevent the rot from spreading. Grewia can be a bit sensitive to overwatering, so err on the side of caution.
A Little Patience, A Lot of Reward
Propagating plants is always a journey, not a race. There’s a special kind of satisfaction that comes from nurturing a tiny cutting into a healthy, new plant. So be patient with your Grewia rhomboides, observe them closely, and trust the process. You’ll soon have more of these wonderful blooms to enjoy! Happy gardening!
Resource:
https://identify.plantnet.org/k-world-flora/species/Grewia%20rhomboides%20Bojer/data