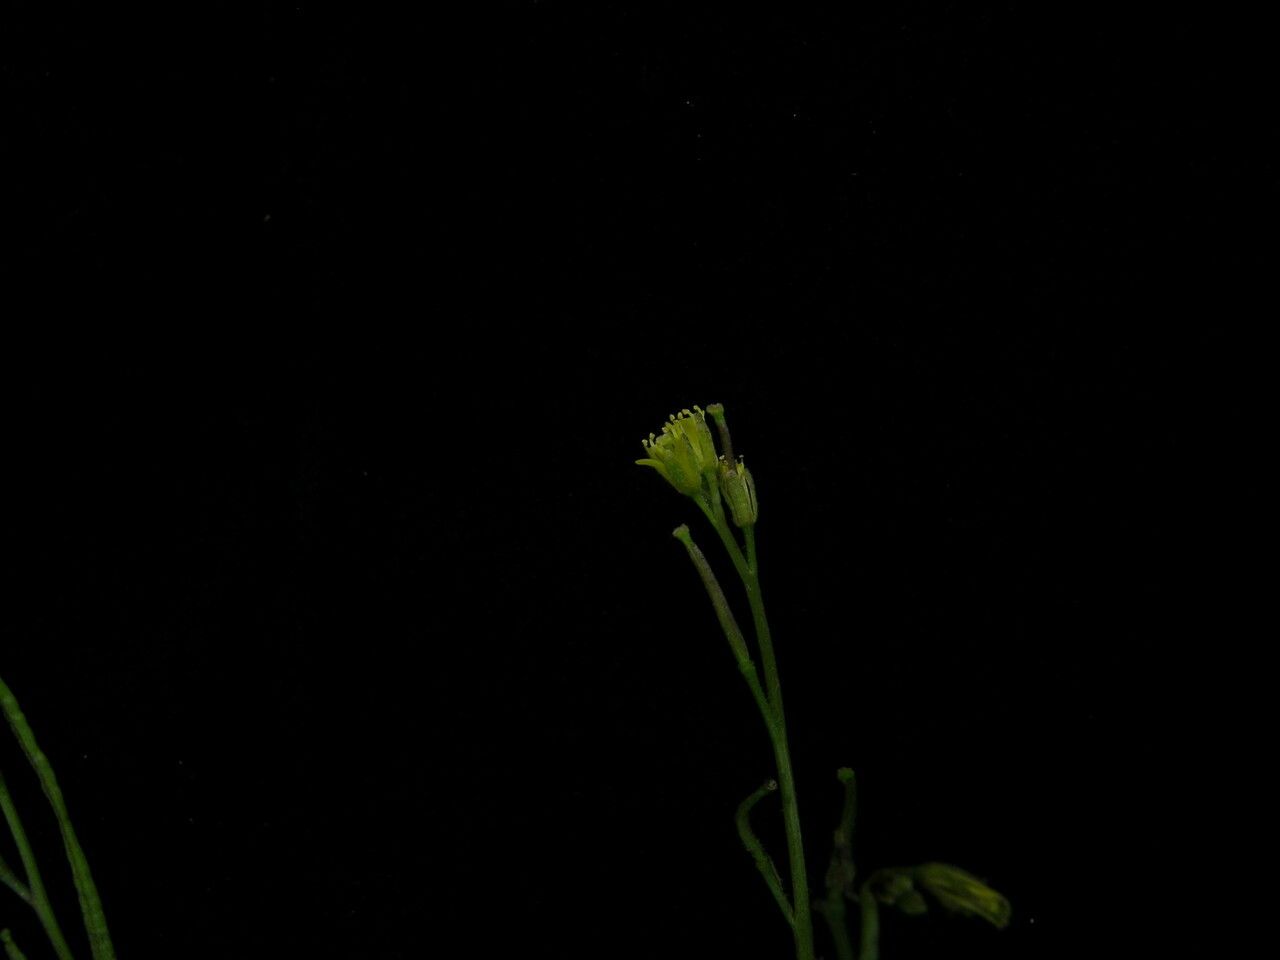
Hello there, fellow plant lovers! I’ve got a real treat for you today. We’re diving into the wonderful world of Sisymbrium nepalense, a plant I’ve grown to adore over my 20 years of getting my hands dirty. If you’re looking for a plant that brings a whisper of the Himalayas to your garden with its delicate blooms and intriguing foliage, this is it. Propagating it yourself? Pure garden joy! And guess what? You don’t need to be a seasoned pro to give it a go. I find Sisymbrium nepalense to be quite forgiving, making it a lovely project for beginners and experienced gardeners alike.
The Best Time to Start
For the best chance of success, I always reach for my pruning shears in late spring or early summer. This is when the plant is actively growing and has plenty of sap flow, which helps cuttings root more readily. You can also try taking cuttings in early autumn for a secondary batch, just be sure to get them established before the real chill sets in.
Supplies You’ll Need
Gathering your supplies is half the fun! Here’s what I usually have on hand:
- Sharp, clean pruning shears or a sharp knife: Essential for making clean cuts.
- Small pots or trays: For starting your new plants. Make sure they have drainage holes!
- Seedling or propagation mix: I prefer a light, well-draining blend. You can buy it or mix your own with peat moss, perlite, and a bit of compost.
- Rooting hormone (optional but helpful): Especially if you’re going for stem cuttings.
- A watering can with a fine rose: For gentle watering.
- Plastic bags or a propagator: To create a humid environment.
Propagation Methods
Sisymbrium nepalense is a trooper, and I’ve had great luck with a couple of methods.
Stem Cuttings
This is my go-to. It’s a really efficient way to get more of your favorite plant.
- Select your parent plant: Find a healthy, vigorous Sisymbrium nepalense.
- Take cuttings: Using your cleaned shears, cut stems that are about 4-6 inches long. Look for stems that are somewhat woody at the base but still flexible at the tip.
- Prepare the cuttings: Gently remove the lower leaves, leaving just a couple at the top. This prevents them from rotting when you plant them.
- Apply rooting hormone (optional): If you’re using it, dip the cut end of the stem into the rooting hormone, tapping off any excess.
- Plant the cuttings: Make small holes in your prepared potting mix and insert the cuttings, ensuring the nodes (where the leaves were removed) are buried. Gently firm the soil around them.
- Water gently: Water thoroughly but be careful not to disturb the cuttings.
- Create humidity: Cover the pots with a plastic bag or place them in a propagator. Make sure the leaves don’t touch the sides too much to avoid rot.
- Find a warm spot: Place them in bright, indirect light.
Division
If your plant is already a few years old and looking a bit bushy, division is a fantastic way to rejuvenate it and get new plants.
- Dig up the plant: Gently dig up the entire Sisymbrium nepalense plant.
- Separate the root ball: Carefully separate the root ball into smaller sections. You can use your hands or a clean trowel. Each section should have roots and some leafy growth.
- Replant: Plant the divided sections immediately into your garden beds or pots filled with good soil.
- Water well: Give them a good drink of water.
The “Secret Sauce” (Pro Tips)
Here are a few little tricks I’ve learned along the way:
- Bottom heat is your friend! For stem cuttings, placing the pots on a heated propagator mat can dramatically speed up root development. It mimics the warmth from the soil that roots love.
- Don’t overwater, but keep damp. It’s a fine line! You want the soil to be consistently moist, but never soggy. Soggy soil is a fast track to rot. I often check the moisture by gently poking a finger into the soil.
- Mist, don’t drench. If the leaves look a bit sad on your cuttings, a light mist of water can perk them up. But avoid heavy watering from above, which can wash away any rooting hormone and encourage fungal issues.
Aftercare & Troubleshooting
Once you see new leaf growth or feel a gentle tug when you lightly pull on a cutting, you know roots have formed! It’s time to slowly transition them out of their humid environment. Gradually remove the plastic bag over a few days. Continue to water them consistently, letting the soil dry slightly between waterings.
The most common problem you’ll encounter is rot. If your cuttings start to turn black and mushy, or if the leaves yellow and fall off without any sign of roots, it’s usually a sign of too much moisture and not enough air circulation. Don’t be discouraged! It happens to the best of us. You can try cutting your losses and starting again with fresh cuttings, paying closer attention to that moisture balance.
A Encouraging Closing
Propagating plants is a journey, and with Sisymbrium nepalense, it’s a particularly rewarding one. Be patient with your new charges, enjoy the process of watching them grow, and celebrate every little bit of progress. Happy gardening!
Resource:
https://identify.plantnet.org/k-world-flora/species/Sisymbrium%20nepalense%20Al-Shehbaz/data