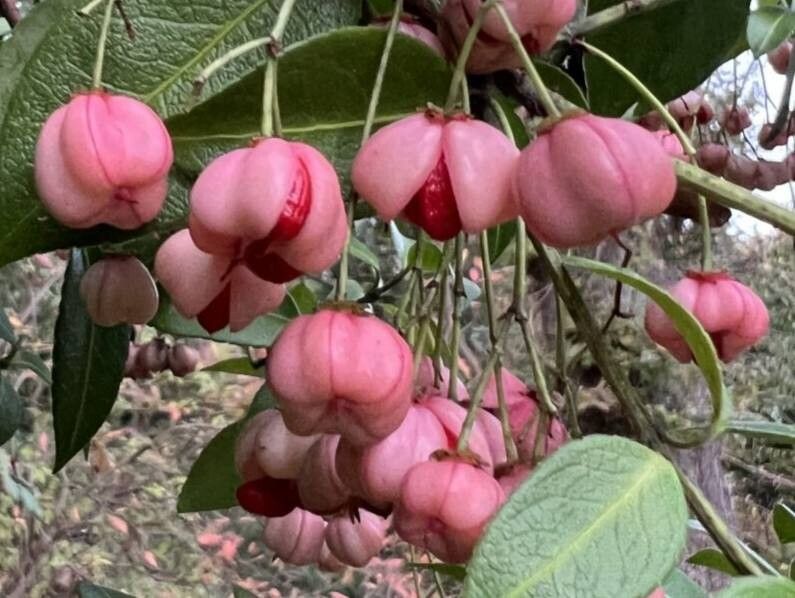
Oh, hello there! It’s so lovely to have you join me today. If you’re anything like me, you’ve probably fallen head over heels for the charm of Euonymus tingens. Its glossy leaves, often with such a lovely variegation, bring such a sophisticated touch to any garden. They’re just… happy plants, aren’t they? And the best part? You can easily bring more of that joy into your own space by propagating them!
Now, I know the word “propagation” can sometimes sound a bit daunting, especially if you’re just dipping your toes into the gardening world. But don’t you worry. Euonymus tingens is a pretty forgiving plant, and I’m here to walk you through it, step by step. It’s really quite rewarding to watch a tiny piece of a plant you love grow into something substantial.
The Best Time to Start
Timing is everything, as we gardeners know! For Euonymus tingens, the sweet spot for taking cuttings is generally in late spring to early summer. This is when the plant is in its active growth phase. You’re looking for stems that are mature but not yet woody. Think of them as semi-hardwood cuttings – they should snap cleanly when bent, not just bend limply.
Supplies You’ll Need
Gathering your tools before you begin makes the whole process so much smoother. Here’s what I usually have on hand:
- Sharp Pruning Shears or a Knife: Clean cuts are essential to prevent disease. I like to sterilize mine with rubbing alcohol.
- Rooting Hormone: This isn’t strictly necessary for Euonymus, but it can give your cuttings a helpful boost. Look for a powder or gel.
- Potting Mix: A good mix for cuttings is crucial. I usually use a blend of equal parts peat moss or coco coir and perlite or coarse sand. This provides good drainage and aeration, which these little guys need.
- Small Pots or Trays: Clean small pots (4-6 inches) with drainage holes are perfect. You can also use seedling trays.
- Plastic Bags or a Propagation Dome: This helps maintain high humidity around your cuttings.
- Watering Can with a Fine Rose: For gentle watering.
- Labels and a Marker: To keep track of what you’ve planted and when!
Propagation Methods
Let’s get our hands dirty! For Euonymus tingens, taking stem cuttings is my go-to method. It’s reliable and gives you plenty of opportunities to create new plants.
Taking Stem Cuttings:
- Select Your Stems: Head out to your Euonymus and choose healthy, non-flowering shoots from the current year’s growth. Look for stems that are about 4-6 inches long.
- Make the Cut: Using your sterilized pruners or knife, make a clean cut just below a leaf node. This is where roots are most likely to form.
- Prepare the Cutting: Gently remove the leaves from the bottom half of the cutting. We want to avoid any leaves that will end up buried in the soil or touching water, as they’ll just rot. You can leave 2-4 leaves at the top to help with photosynthesis. If the remaining leaves are very large, you can even cut them in half to reduce water loss.
- Apply Rooting Hormone (Optional but Recommended): Dip the cut end of the stem into your rooting hormone. Tap off any excess.
- Plant Your Cuttings: Fill your clean pots with your prepared potting mix. Make a small hole in the center with your finger or a pencil and gently insert the cutting. Firm the soil around the base of the cutting. You should aim to have at least one leaf node buried in the soil.
- Water Gently: Water thoroughly until the soil is moist but not soggy.
- Create a Humid Environment: Cover the pot with a clear plastic bag, securing it around the rim with a rubber band, or place it under a propagation dome. Make sure the leaves don’t touch the plastic. You can prop up the plastic with small stakes if needed.
The “Secret Sauce” (Pro Tips)
Here are a couple of things I’ve learned over the years that I think can really make a difference:
- Don’t Crowd Them: Give your cuttings a little breathing room in the pot. Overcrowding can lead to fungal issues and make it harder for them to root. I usually only put 2-3 cuttings in a 4-inch pot.
- Bottom Heat is Your Friend: If you have one of those seedling heat mats, now’s the time to use it! Placing your pots on a gentle heat source (around 70-75°F or 21-24°C) can significantly speed up root development. It mimics the warmth of the soil in the summer.
Aftercare & Troubleshooting
Once your cuttings are planted and happily covered, find them a nice spot. They don’t need direct sunlight, but bright, indirect light is perfect. Keep the soil consistently moist, but never waterlogged. This is key to preventing rot.
You’ll know your cuttings are rooted when you see new growth appearing at the top. You can also gently tug on a cutting – if you feel resistance, roots have likely formed. This can take anywhere from 4 to 8 weeks, so patience is a virtue here!
If you notice mushy, black stems or leaves turning yellow and falling off, it’s often a sign of too much moisture or rot. Don’t despair! You might be able to save some cuttings if you catch it early. Remove the affected cuttings, try to improve air circulation, and ensure the soil isn’t too wet. Sometimes, fungal gnats can be a nuisance; a layer of sand on the soil surface can help deter them.
A Encouraging Closing
And there you have it! Propagating Euonymus tingens is a wonderful way to expand your garden collection and share the beauty of these plants. It’s a process of observation, a little bit of patience, and a whole lot of love. Enjoy watching those roots form and the thrill of nurturing a new plant from a simple cutting. Happy gardening!
Resource:
https://identify.plantnet.org/k-world-flora/species/Euonymus%20tingens%20Wall./data