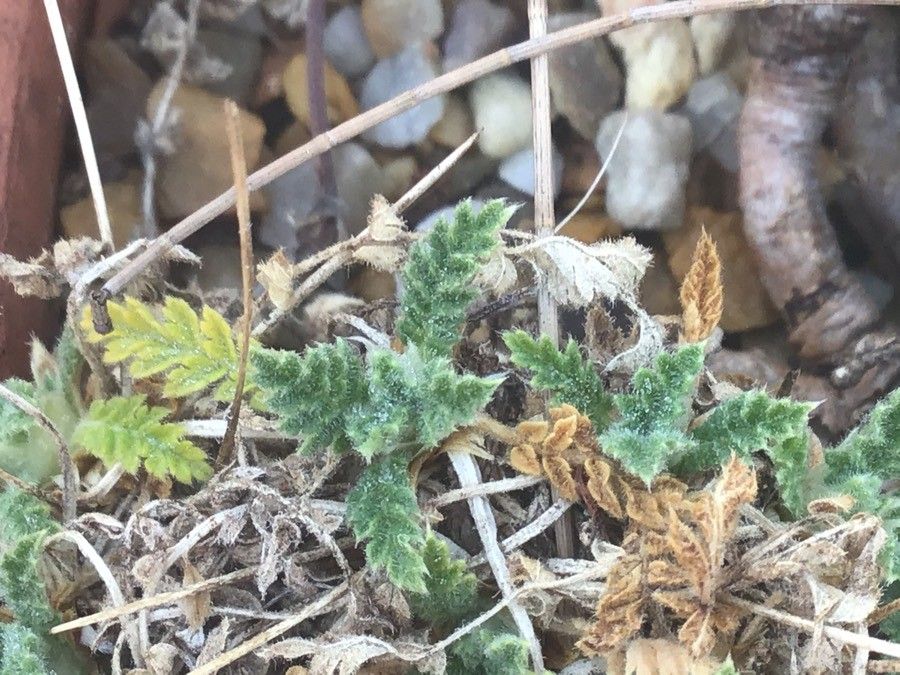
Well hello there, fellow plant enthusiast! It’s so lovely to have you join me here for a chat about a plant that I’ve grown to absolutely adore: Erodium daucoides. If you’ve ever seen its delicate, fern-like foliage and charming little flowers, you’ll understand why it captures hearts. It’s like a miniature, wild woodland jewel for your garden or pots.
And the best part? Bringing more of these beauties into your life is surprisingly straightforward! Propagating Erodium daucoides isn’t some super-secret gardening ritual. I’d say it’s moderately easy, making it a wonderful project for most skill levels. The reward of nurturing a brand new plant from a tiny piece of its parent is truly special.
The Best Time to Start
For the highest success rate, I always aim to propagate Erodium daucoides in late spring or early summer. This is when the plant is actively growing and has plenty of energy to put into developing new roots. You’ll want to look for vigorous, healthy stems that aren’t flowering. Young, supple shoots are generally your best bet.
Supplies You’ll Need
Before we dive in, let’s gather our goodies. Having everything on hand makes the process much smoother:
- Sharp, clean pruning shears or a sharp knife: For making clean cuts.
- Rooting hormone (optional, but I find it helpful): Look for one formulated for stem cuttings.
- A well-draining potting mix: I like a blend of peat moss (or coir), perlite, and coarse sand. About a 1:1:1 ratio works wonders.
- Small pots or seedling trays: Clean ones are a must to prevent disease.
- A spray bottle: For gentle misting.
- A plastic bag or propagator: To create a humid environment.
- Water: For your cuttings and eventual watering.
Propagation Methods
Erodium daucoides is quite amenable to propagation, and I’ve found stem cuttings to be your most reliable friend here.
Stem Cuttings: My Go-To Method
- Take Your Cuttings: Using your clean shears, select a healthy, non-flowering stem from your mature plant. Aim for cuttings that are about 3-4 inches long. Make your cut just below a leaf node (where a leaf attaches to the stem). Remove any lower leaves, leaving just two or three at the top.
- Prepare the Cuttings: If you’re using rooting hormone, dip the cut end of each stem into it, tapping off any excess. This step isn’t strictly necessary for Erodium, but I find it gives a little boost.
- Potting Up: Fill your small pots or trays with your prepared, moistened potting mix. Make a small hole with your finger or a pencil.
- Plant the Cuttings: Gently insert the cut end of each stem into the hole, ensuring the leaf nodes are buried. Firm the soil gently around the stem.
- Create Humidity: Water the soil lightly. Then, cover the pot or tray with a clear plastic bag or place it in a propagator. This creates a humid microclimate, which is crucial for preventing the cuttings from drying out before they form roots. Don’t seal it too tightly, a little air exchange is good.
The “Secret Sauce” (Pro Tips)
Here are a couple of things I’ve learned over the years that really seem to make a difference:
- Avoid direct leaf contact: If any leaves are touching the surface of the potting mix, trim them off. They can encourage rot before roots even have a chance to develop.
- Bottom heat is your friend: Placing your propagation pots on a seedling heat mat can significantly speed up root formation. It mimics that lovely warm soil you find in spring and gives those little root cells a real kickstart.
- Don’t be afraid to experiment: While stem cuttings are my favorite, I’ve also had success with very carefully dividing established clumps in the spring. Just be gentle with those delicate roots!
Aftercare & Troubleshooting
Once your cuttings are planted, place them in a bright spot but out of direct, harsh sunlight. Keep the soil consistently moist but not waterlogged. This is where that humidity tent really shines.
You’ll know your cuttings are starting to take when you see new growth emerging from the top. This can take anywhere from a few weeks to a couple of months. Another good sign is a gentle tug on the stem: if there’s resistance, roots have formed!
The most common issue you might encounter is rot. This usually happens if the soil is too wet and there isn’t enough air circulation. If you notice your cuttings looking limp, mushy, or developing black stems, pull them out, discard them, and start again with fresh cuttings and ensure your soil drains well.
A Little Encouragement
Propagating plants is a journey, and sometimes the path has a few bumps. But with Erodium daucoides, you’re working with a resilient little character. Be patient, observe your cuttings, and enjoy the process of nurturing life. Soon enough, you’ll have a whole new batch of these charming plants to share or simply enjoy yourself! Happy gardening!
Resource:
https://identify.plantnet.org/k-world-flora/species/Erodium%20daucoides%20Boiss./data