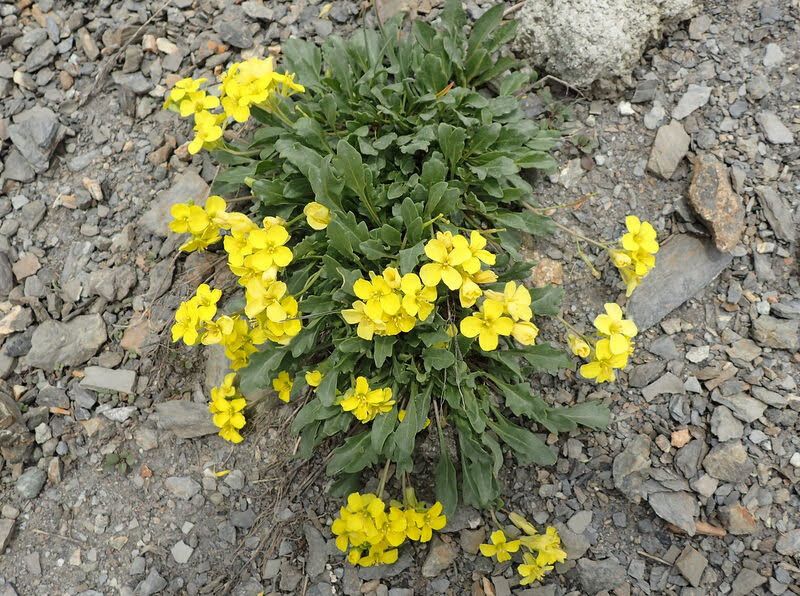
Hello fellow plant enthusiasts! Today, we’re diving into something truly special: propagating Brassica repanda. This plant, with its unique foliage and surprising resilience, can add such character to any garden space. I find its architectural beauty incredibly appealing, and there’s a deep satisfaction in coaxing a new life from an existing one. If you’re curious about trying your hand at propagation, you might be wondering about the difficulty. Honestly, Brassica repanda is quite forgiving, making it a fantastic plant for beginners looking to expand their green family.
The Best Time to Start
When it comes to coaxing new life from Brassica repanda, spring is your best friend. This is when the plant is actively growing, full of vigor, and its stems are producing sugars that will fuel root development. Aim for a time when new shoots are easily identifiable and have started to firm up a bit – not the super soft, floppy new growth, but not the woody old stems either.
Supplies You’ll Need
To get started on your propagation adventure, gather these handy tools:
- A clean, sharp pruning shear or knife. This is key to making clean cuts that heal faster.
- Rooting hormone (optional, but recommended for faster results). Look for one formulated for stem cuttings.
- Well-draining potting mix. A good blend for succulents or a standard potting mix with extra perlite or sand works wonders.
- Small pots or trays. Anything that will hold your cuttings and allow for good airflow.
- A spray bottle filled with clean water.
- Plastic bags or a propagation dome. To maintain humidity.
- A warm location. This is crucial for encouraging root growth.
Propagation Methods
Brassica repanda is a joy to propagate, and stem cuttings are your most reliable bet.
Stem Cuttings:
- Select Your Donor Plant: Find a healthy, mature Brassica repanda. Look for stems that are roughly the thickness of a pencil and have started to lignify (harden slightly) but aren’t completely woody.
- Take Your Cuttings: Using your sharp prune shears, make a clean cut just below a leaf node (where a leaf attaches to the stem). You want cuttings that are about 4-6 inches long. Remove the lower leaves, leaving only a few at the very top.
- Apply Rooting Hormone (Optional): Dip the cut end of each stem lightly into rooting hormone, tapping off any excess.
- Plant Your Cuttings: Fill your small pots with your prepared potting mix. Make a small hole with a pencil or your finger and gently insert the cut end of the Brassica repanda cutting. Firm the soil gently around the stem.
- Provide Humidity: Water the soil lightly until it’s moist. Then, cover the pot with a plastic bag or place it inside a propagation dome. Make sure the leaves aren’t touching the sides of the bag where condensation will form.
- Find a Warm Spot: Place your potted cuttings in a bright location, but out of direct, harsh sunlight. A sunny windowsill is often perfect.
The “Secret Sauce” (Pro Tips)
Here are a few things I’ve learned over the years that make all the difference:
- The cleanest possible cuts are non-negotiable. A dull or dirty tool can introduce diseases and hinder rooting. I always sterilize my shears with rubbing alcohol before I start.
- Bottom heat is your secret weapon for speeding up root development. Placing your pots on a gently heated propagation mat can significantly shorten the time it takes for your cuttings to root. It’s like giving your little plant babies a cozy, warm bed to grow in!
- Don’t be tempted to overwater! It’s a common mistake that leads to rot. The goal is consistently moist, not soggy. Once you see new growth appearing, you can start watering a bit more freely.
Aftercare & Troubleshooting
Once your Brassica repanda cuttings have developed a decent root system (you can gently tug on a cutting – if there’s resistance, they’ve likely rooted), it’s time to give them a bit more TLC.
- Acclimatize: Gradually remove the plastic bag or dome over a few days to allow the new plants to adjust to lower humidity.
- Potting Up: Once they’ve established, you can transplant them into slightly larger pots with fresh potting mix.
- Troubleshooting: The most common issue you’ll encounter is rot, usually caused by overwatering or poor drainage. If a cutting starts to look mushy or black at the base, it’s likely succumbed to rot. Discard it to prevent the spread of any potential fungal issues. Yellowing leaves can sometimes indicate inconsistent watering or too much direct sun.
A Little Patience Goes a Long Way
Propagating Brassica repanda is a rewarding journey. It takes a bit of patience, but seeing those tiny roots emerge and then watching your new plants thrive is a feeling like no other. Don’t get discouraged if every single cutting doesn’t make it; that’s part of the learning process. Enjoy the experience, celebrate your successes, and soon you’ll have a small army of beautiful Brassica repanda to enjoy! Happy planting!
Resource:
https://identify.plantnet.org/k-world-flora/species/Brassica%20repanda%20(Willd.)%20DC./data