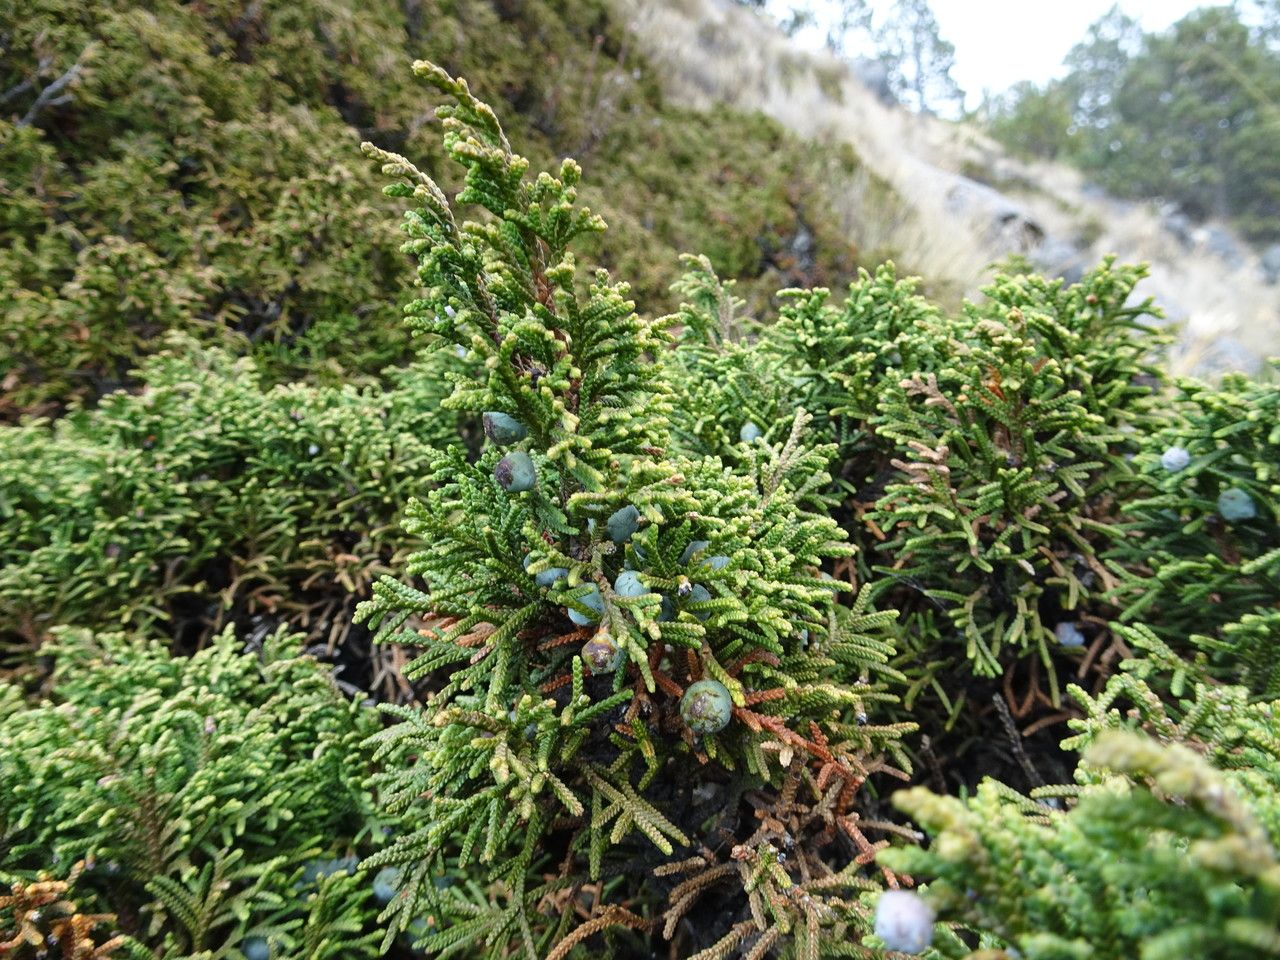
Hey there, fellow garden enthusiasts! Today, we’re diving into the wonderful world of propagating Juniperus monticola – the handsome mountain juniper. You know the one, with its lovely blue-green foliage and often picturesque, rugged form? It’s a plant that brings a touch of wild beauty to any landscape. Growing more of these beauties yourself is incredibly satisfying, like giving a gift of nature for years to come.
Now, I won’t lie, propagating junipers can be a little more challenging than, say, a pothos plant, but don’t let that deter you! With a bit of patience and a few key techniques, you’ll be well on your way to success. It’s a rewarding journey, and I’m thrilled to guide you through it.
The Best Time to Start
For the highest success rate with Juniperus monticola, I always recommend working with semi-hardwood cuttings. This typically means aiming for late summer or early fall, usually August through September. You’ll be looking for stems that have started to harden off from their spring growth but are still a bit flexible. Think of it as the perfect in-between stage – not too soft and not too woody.
Supplies You’ll Need
Gathering your tools beforehand makes the whole process smoother. Here’s what I always have on hand:
- Sharp, clean pruning shears or a sharp knife: Crucial for making clean cuts that heal well.
- Rooting hormone: A powdery or gel form will do beautifully. It really gives those cuttings a boost.
- A well-draining potting mix: I like a 50/50 mix of perlite and peat moss or a commercial succulent/cactus mix. Good aeration is key!
- Small pots or seed trays: Clean ones, please!
- A plastic bag or propagation dome: To create a humid environment for your cuttings.
- A spray bottle: For misting.
- Sharpie marker and plant labels: To keep track of what you’ve propagated.
Propagation Methods: Stem Cuttings
For Juniperus monticola, stem cuttings are my go-to method. Division works for some junipers, but cuttings are often more successful for this specific species. Here’s how I do it:
- Take the Cuttings: Using your clean shears, select healthy, vigorous shoots from your mother plant. Cut pieces that are about 4 to 6 inches long. Make the cut just below a leaf node (where the leaves attach to the stem).
- Prepare the Cuttings: Gently strip off the lower leaves from the bottom couple of inches of each cutting. This is important because any leaves below the soil line can rot.
- Apply Rooting Hormone: Dip the cut end of each prepared cutting into your rooting hormone, ensuring it’s coated well. Tap off any excess.
- Plant the Cuttings: Fill your small pots or trays with your well-draining potting mix. Make a hole in the center of the mix with a pencil or your finger. Carefully insert the cutting into the hole, making sure the rooting hormone stays on the cut end. Gently firm the soil around the base of the cutting.
- Water Gently: Water your cuttings thoroughly but gently. You want the soil to be moist, not waterlogged.
- Create a Humid Environment: Place a clear plastic bag over the pot or close the lid of your propagation dome, creating a mini greenhouse effect. This traps humidity, which is vital for cuttings to root. Make sure the plastic doesn’t touch the leaves.
The “Secret Sauce” (Pro Tips)
Here are a couple of things I’ve learned over the years that really make a difference:
- Don’t Crowd Them! Give each cutting a bit of breathing room in its pot. Overcrowding can lead to fungal issues and poor air circulation, which none of us want for our precious new plants.
- A Little Bottom Heat Goes a Long Way: If you have one, placing your pots on a gentle heating mat can really speed up root development. It mimics the warmth of the soil in the summer and encourages those roots to form more actively. Just make sure it’s not too hot – think of it as a cozy warm bed, not a sauna!
Aftercare & Troubleshooting
Once your cuttings are planted and tucked into their humid environment, the real waiting game begins. Keep them in a bright spot with indirect light. Avoid direct sun, which can scorch the delicate leaves.
Check the moisture levels regularly. You want the soil to stay consistently moist but not soaking wet. If the soil starts to dry out, give it a gentle misting or a light watering.
The first sign of success is new growth. You’ll see tiny new leaves emerging or the tips of the cuttings starting to look fresh and green. This is usually a good indicator that roots are forming. You can also give them a very gentle tug; if there’s resistance, they’ve likely rooted.
If you see wilting, yellowing leaves, or mold developing on the cuttings or the soil, it’s a sign of overwatering or poor air circulation. Immediately remove any affected cuttings, improve ventilation (you might need to poke a few air holes in your plastic bag), and let the soil dry out a bit more before watering again. Sometimes, despite our best efforts, not all cuttings take. Don’t get discouraged; it’s part of the learning process!
A Encouraging Closing
Growing new plants from cuttings is a magical process. It takes time, and it’s okay if you don’t have a 100% success rate right away. Be patient with your little juniper babies, observe them closely, and celebrate every bit of progress. The joy of nurturing a new plant from a simple stem is truly one of gardening’s greatest pleasures. Happy propagating!
Resource:
https://identify.plantnet.org/k-world-flora/species/Juniperus%20monticola%20Martínez/data