Oh, hello there! Pull up a chair and let’s chat about something truly special: propagating Trillium lancifolium. If you’ve ever seen one of these native woodland beauties gracing your garden, you know precisely what I mean. Their elegant, three-petaled flowers and striking foliage add such a touch of wild charm. And the best part? Bringing more of them into your life is a deeply rewarding, though I must admit, a slightly more involved journey than, say, growing petunias. Don’t let that deter you, though! With a little patience and these tips, you’ll be well on your way.
The Best Time to Start
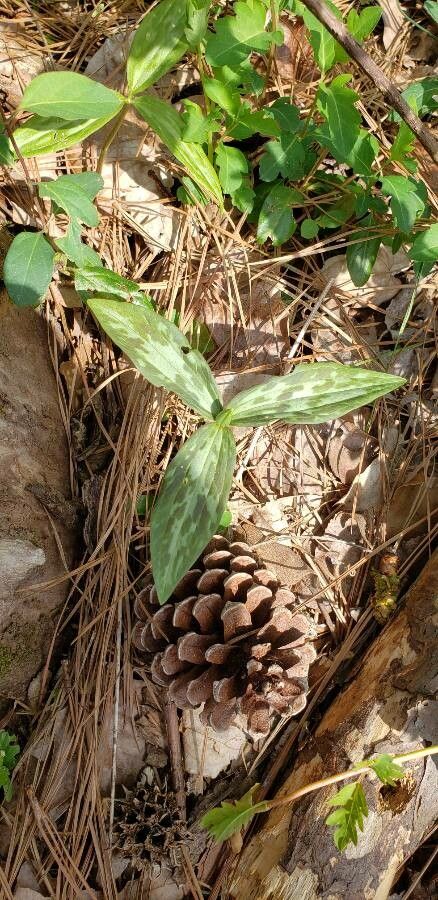
For Trillium lancifolium, I always find the most success when I work with them just as they are finishing their bloom and starting to go dormant. You’ll notice the leaves might begin to turn a bit yellow. This is your signal! Mid-to-late summer is generally the sweet spot. Trying to propagate them when they’re in full spring growth can be a bit too much stress for the plant, and frankly, for you, too.
Supplies You’ll Need
Here’s what I always have on hand when I’m getting ready to work with Trillium:
- Sharp pruning shears or a clean knife: For making clean cuts. Sterilize them, please! We don’t want any nasty surprises.
- Well-draining potting mix: I like a blend of peat moss, perlite, and a bit of compost. Trilliums hate soggy feet.
- Small pots or seed trays: Enough for your divisions or cuttings. Make sure they have drainage holes.
- Perlite or coarse sand: To further improve drainage in your mix.
- Rooting hormone (optional but helpful): Especially if you’re trying cuttings, it can give them a little boost.
- A plastic bag or cloche: For maintaining humidity around cuttings.
- Watering can with a fine rose: Gentle watering is key.
Propagation Methods
Trillium lancifolium is primarily propagated through division, and occasionally, if you’re feeling adventurous, from seed. Cuttings are generally not the most reliable method for these woodland wonders.
Division (The Most Rewarding Way!)
This is really the cornerstone of propagating Trilliums. You’re essentially splitting a mature plant into smaller, viable pieces.
- Wait for dormancy: As I mentioned, wait until the foliage has started to die back. This is crucial.
- Gently excavate: Carefully dig around the mature Trillium plant. I use my trowel to loosen the soil, and then I gently lift the entire clump out of the ground. Be as gentle as possible to avoid damaging the rhizomes.
- Locate the rhizomes: You’ll see the thick, fleshy rhizome (that’s the underground stem). These often have small buds or “eyes” where new growth will emerge.
- Separate the pieces: Many Trillium rhizomes will naturally have sections that are already beginning to separate. You can often gently pull these apart with your hands. If a division is a bit stubborn, use your clean knife or shears to make a clean cut. Each piece needs at least one bud or growing point.
- Pot them up: Fill your pots with your well-draining mix. Plant each division so the top of the rhizome is just at or slightly below the soil surface.
- Water gently: Give them a good, gentle watering to settle the soil.
From Seed (A Game of Patience!)
Growing Trilliums from seed is an exercise in extreme patience. They have a notoriously long germination process, often requiring a period of cold stratification and then warm stratification. Honestly, for most home gardeners, division is a much more practical and faster route to success. If you do decide to try seeds, collect them right after they ripen in late spring or early summer and sow them immediately in a well-draining mix. Then, prepare for a wait of at least a year, and often longer, before you see any germination.
The “Secret Sauce” (Pro Tips)
Here are a couple of things I’ve learned over the years that make a real difference:
- Don’t rush the division: I know it’s tempting to get those divisions in the ground quickly, but letting the parent plant fully mature and showing signs of dormancy is the most critical factor for success. If you divide too early, you risk harming the parent plant and having your divisions fail.
- Mimic their natural habitat: Trilliums love cool, moist, shady conditions. When you’re re-potting or planting your divisions, think about that. A spot that doesn’t dry out too quickly, but also doesn’t stay waterlogged, is ideal. A light mulch on top can really help retain that consistent moisture.
Aftercare & Troubleshooting
Once your divisions are in their new pots, keep them in a cool, shady spot. Water them regularly, but never let them sit in soggy soil. You want the soil to be consistently moist, not wet.
The most common issue you’ll encounter is rot. If you see a rhizome turning mushy, black, and smelly, it’s likely rotted. This is almost always due to overwatering and poor drainage. Pull the affected plant out, discard the rotted material, and consider improving the drainage of your potting mix. Sometimes, a plant might just not take. Don’t get discouraged! It happens to the best of us.
A Encouraging Closing
Propagating Trillium lancifolium is a beautiful way to connect with these incredible native plants. It teaches us about their life cycles and rewards us with more blooms to admire. Be patient, observe your plants, and trust your instincts. Each successful division feels like a little victory, and before you know it, you’ll have a whole woodland glade of your own. Happy gardening!
Resource:
https://identify.plantnet.org/k-world-flora/species/Trillium%20lancifolium%20Raf./data