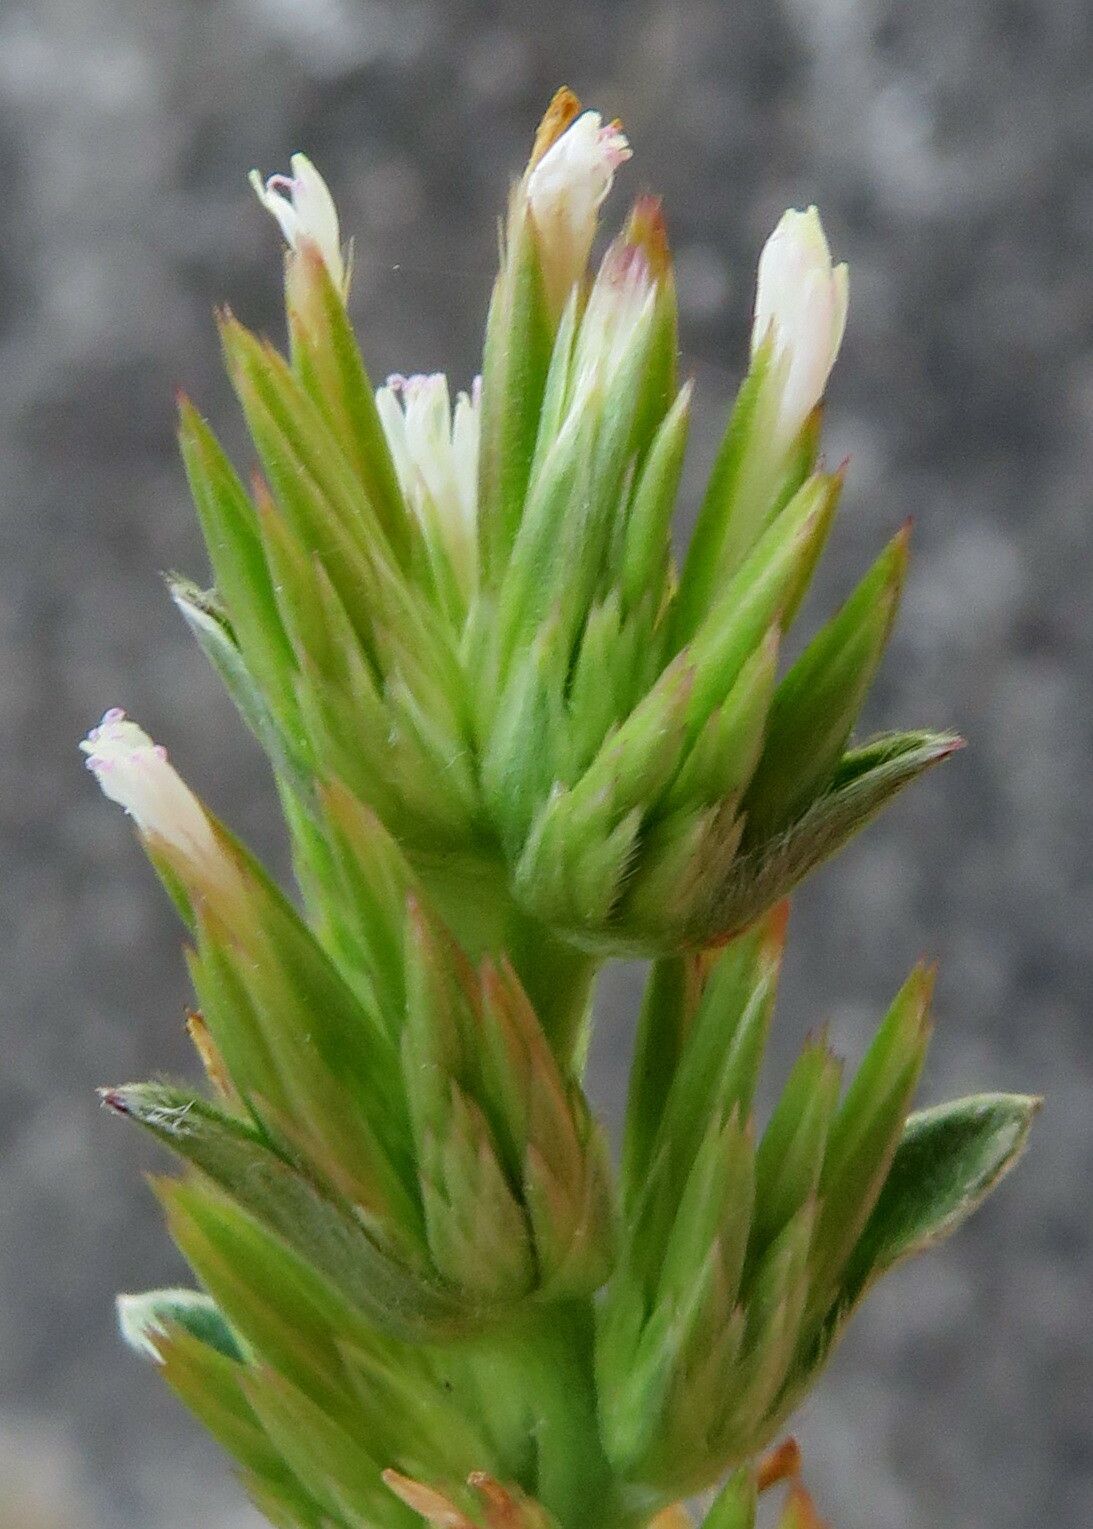
Oh, hello there! Come on in and pull up a chair. I’m so glad you’re interested in Castilleja attenuata, also known as Valley Bottlebrush or Foothill’s Painter’s Brush. It’s such a charming native wildflower with those vibrant, almost painted-on scarlet bracts. Seeing a patch of them in bloom is like stumbling upon a little bit of pure joy in the landscape. And the best part? These beauties can be surprisingly rewarding to propagate, even for those of you just dipping your toes into the world of plant midwifery. While not always the easiest for absolute beginners, with a little care and attention, you can absolutely have success.
The Best Time to Start
For Castilleja attenuata, I’ve found the sweet spot for propagation is late spring to early summer. This is when the plant is actively growing, but before it gets bogged down in the full heat of mid-summer. You’re looking for new, healthy growth. If you’re thinking about division, doing it right after the spring bloom has finished is also a great window.
Supplies You’ll Need
Here’s what I like to have on hand before I get started:
- Clean, sharp pruning shears or a knife: Hygiene is key to preventing diseases.
- Seedling pots or small nursery containers: With good drainage holes, of course!
- A well-draining potting mix: I often use a blend of perlite, coarse sand, and a good quality potting soil in roughly equal parts. For Castilleja, excellent drainage is super important.
- Rooting hormone (optional for stem cuttings): A powder or gel can give your cuttings a helpful boost.
- A spray bottle: For misting.
- Labels and a marker: To keep track of what you’ve planted.
- A small trowel or dibber: For planting seeds or divisions.
Propagation Methods
Let’s dive into how we can multiply these lovely plants.
Stem Cuttings
This is one of my favorite ways to go.
- Select your material: Look for healthy, non-flowering stem tips that are about 3-4 inches long. It’s best to take these in the morning after the dew has dried.
- Make the cut: Use your clean shears to make a clean cut just below a leaf node. This is where new roots are most likely to form.
- Prepare the cutting: Gently remove the lower leaves, leaving just a few at the top. If you’re using rooting hormone, dip the cut end into it according to the product’s instructions.
- Plant the cutting: Make a small hole in your prepared potting mix with your dibber or finger. Insert the cutting so that at least one leaf node is buried. Gently firm the soil around it.
- Water and cover: Water gently to settle the soil. You can then cover the pot with a plastic bag or place it in a propagator to keep humidity high. Just make sure the leaves aren’t touching the plastic.
Seed Propagation
While sometimes a bit slower, seeds can be very satisfying.
- Collect seeds: Harvest seeds when the seed pods have turned brown and started to dry. Let them dry completely indoors for a few days.
- Sow the seeds: Fill your pots with your well-draining mix. Sow the seeds thinly on the surface. You can lightly press them into the soil or cover them with a very thin layer of fine grit.
- Water and provide cool conditions: Water gently and place the pots in a cool, bright location. Some gardeners find that Castilleja seeds benefit from a period of cold stratification – meaning a few weeks in the refrigerator before sowing. This often mimics winter conditions and encourages germination.
- Patience is key: Germination can be erratic and may take several weeks or even months.
Division
If you have an established plant, division is a fantastic way to get more plants.
- Gently excavate: In late spring after flowering, carefully dig up your Castilleja plant. Try to disturb the root ball as little as possible.
- Separate the crowns: You’ll often see multiple stems arising from a central root system. Gently tease apart the root ball with your fingers or use a sterilized spade or knife to slice through thicker roots if necessary. Aim to give each new division at least one healthy stem and a good portion of roots.
- Replant immediately: Plant each division as you would a new plant, in well-draining soil. Water them in well.
The “Secret Sauce” (Pro Tips!)
Here are a couple of things I’ve learned over the years that can make a big difference:
- Air Circulation is Crucial: For stem cuttings especially, good air circulation is your best friend. Once roots start to form and you’re not keeping them under a cover, ensure there’s some airflow around them. This is where that well-draining mix really shines, helping to prevent those dreaded fungal issues.
- Bottom Heat is a Game Changer: If you’re struggling with rooting cuttings or getting seeds to sprout, consider using a heat mat underneath your pots. This provides gentle warmth to the soil, encouraging root development without drying out the rest of the plant. It can really speed things up!
Aftercare & Troubleshooting
Once you see those first signs of roots developing (you might see new leaf growth or feel a slight tug when gently testing a cutting), it’s time to adjust your care.
- Gradual Acclimation: If your cuttings were under cover, gradually introduce them to less humid conditions by opening the plastic bag a little more each day.
- Watering: Water when the top inch of soil feels dry. Avoid waterlogging.
- Light: Continue to provide bright, indirect light. As they grow stronger, you can slowly introduce them to more direct sunlight, depending on the species’ preferences.
- Troubleshooting: The most common issue is rot. This usually happens when the soil stays too wet, or if there isn’t enough air circulation. Discard any cuttings that turn black or mushy. For seeds that don’t germinate, check your conditions. Sometimes, they just need a little more time, or perhaps that cold treatment they missed.
A Encouraging Closing
Propagating plants is a journey of observation and patience. Don’t be disheartened if not every attempt is a roaring success. Each plant you nurture, each seed you sow, is a chance to learn and connect with the natural world. Enjoy the process, celebrate every new sprout, and before you know it, you’ll have a beautiful display of Castilleja attenuata gracing your garden. Happy propagating!
Resource: