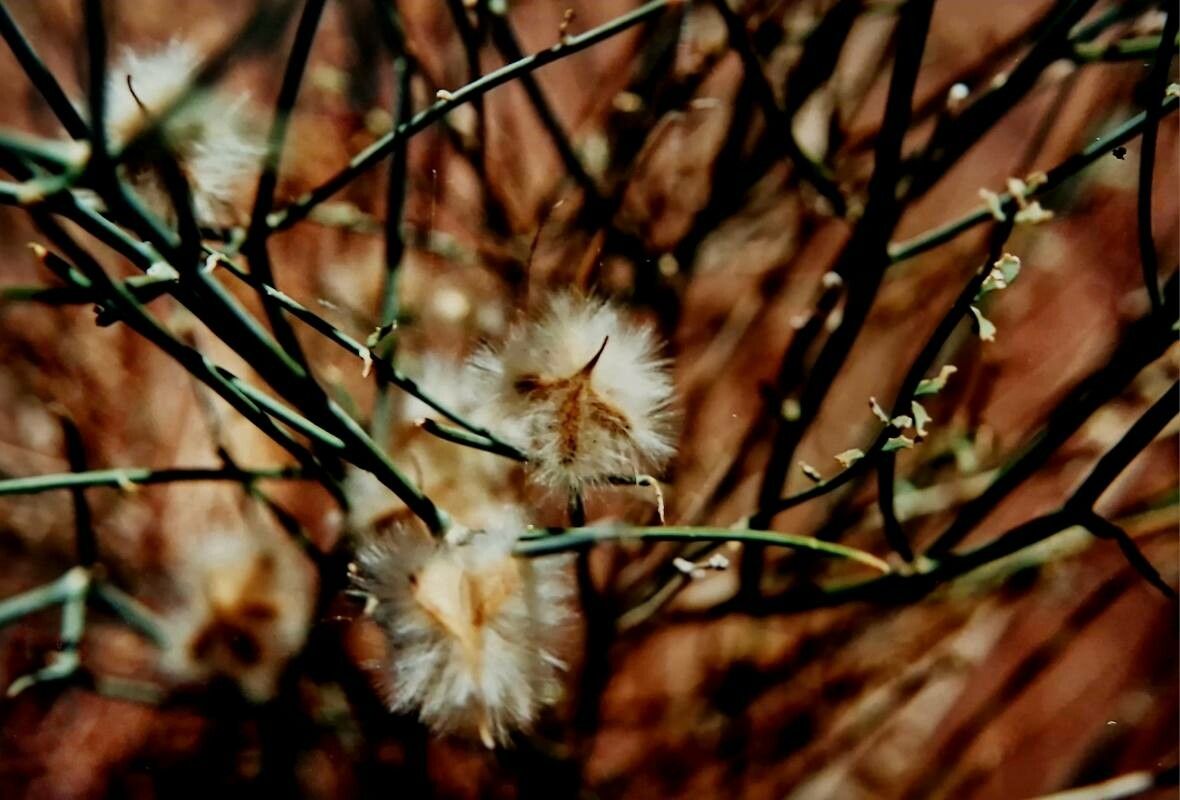
Hello fellow garden enthusiasts! Today, I want to talk about a plant that truly captures the spirit of the desert and brings a unique charm to any space: Calligonum polygonoides, also known as Sand Gum or Polygonum. Its delicate, wispy stems and ethereal bloom make it a real showstopper, and there’s something incredibly satisfying about coaxing new life from a parent plant. Now, will it be your first foray into propagation? Honestly, Calligonum polygonoides can be a little bit of a beginner’s challenge. It takes a bit of understanding its natural leanings, but with a little patience and the right approach, you’ll be rewarded with your own little desert beauties.
The Best Time to Start
For the highest success rate with Calligonum polygonoides, I’ve found that starting in late spring or early summer is your best bet. This is when the plant is actively growing and has the energy reserves to put into developing new roots. You want to be working with cuttings that are firm but not yet woody. Think of it as catching the plant at its most vigorous, ready to embrace new beginnings.
Supplies You’ll Need
Gathering your supplies beforehand makes the whole process much smoother. Here’s a little list of what I usually have on hand:
- Sharp Pruning Shears or a Clean Knife: For making clean cuts. A dull tool can crush stems and invite disease.
- Rooting Hormone (Optional but Recommended): I prefer a powdered form, as it’s easy to dip the cuttings into.
- Well-Draining Potting Mix: This is crucial! A good mix for succulents or cacti is ideal. You can also make your own by combining equal parts perlite, coarse sand, and peat moss. Avoid heavy, moisture-retentive soils.
- Small Pots or Propagation Trays: Clean pots are a must to prevent the spread of any pathogens.
- Watering Can with a Fine Rose or a Spray Bottle: For gentle watering.
- Labels and a Permanent Marker: To keep track of what you’ve planted and when.
- A Sunny Spot or Grow Light: Your new cuttings will need bright, indirect light.
Propagation Methods
Calligonum polygonoides is best propagated through stem cuttings. It’s straightforward, but there are a few nuances to keep in mind.
- Taking the Cuttings: Gently select healthy, non-flowering stems from your mature plant. Use your clean pruning shears to cut pieces that are about 4-6 inches long. Make the cut just below a leaf node (where a leaf meets the stem).
- Preparing the Cuttings: Gently remove any lower leaves from the cutting, leaving just a few at the top. This prevents them from rotting in the soil. If you’re using rooting hormone, dip the cut end into the powder, tapping off any excess.
- Planting the Cuttings: Fill your clean pots with your well-draining potting mix. Make a small hole in the center of the soil with your finger or a pencil. Carefully insert the cut end of the stem into the hole, making sure it’s deep enough to stand upright. Gently firm the soil around the base of the cutting.
- Initial Watering: Water your cuttings lightly. The goal is to moisten the soil, not to make it soggy. A spray bottle can be helpful for this initial watering to avoid disturbing the cuttings.
The “Secret Sauce” (Pro Tips)
Over the years, I’ve picked up a few little tricks that can really boost your success rate.
- Let Them Callus Over: Before dipping in rooting hormone and planting, I often let my cuttings sit out in a dry, airy place for a day or two. This allows the cut end to form a slight callus. This scab-like protection helps prevent rot when the cutting is in the soil.
- Bottom Heat is Your Friend: For cuttings that can be a bit slow to root, a gentle heat source from below can make a world of difference. A heating mat designed for seedlings can provide consistent warmth, encouraging root development without overheating the delicate top growth.
- Don’t Over-Water in the Beginning: This is probably the most common mistake. Calligonum polygonoides is a drought-tolerant plant, and its cuttings are no different. Err on the side of underwatering until you see signs of rooting. The soil should be barely moist to the touch.
Aftercare & Troubleshooting
Once your cuttings have been planted and settled in, it’s time for a bit of watchful waiting. Keep them in a spot with bright, indirect light. Avoid direct sun, especially during the hottest part of the day, as this can scorch the tender new growth. Water only when the top inch of soil feels dry.
The first sign that your cuttings are taking is when you see new growth appearing. This could be tiny new leaves or the tip of the stem starting to elongate. It might take anywhere from a few weeks to a couple of months, so patience is key!
Now, what if things aren’t going as planned? The most common culprit is rot. If a cutting turns mushy, black, or falls over, it’s likely due to too much moisture. Unfortunately, once rot sets in, it’s very difficult to save the cutting. If you see rot, remove the affected cutting immediately to prevent it from spreading to others. Another sign of failure is if the cutting simply dries out and shrivels. This could mean it’s not getting enough light or the soil is consistently too dry.
Enjoy the Journey!
Watching a new plant emerge from a simple cutting is one of the most rewarding experiences for any gardener. Calligonum polygonoides may ask for a little extra attention, but the payoff is well worth it. Be patient, observe your cuttings closely, and celebrate every little sign of progress. Happy propagating, and may your desert beauties bloom!
Resource:
https://identify.plantnet.org/k-world-flora/species/Calligonum%20polygonoides%20L./data