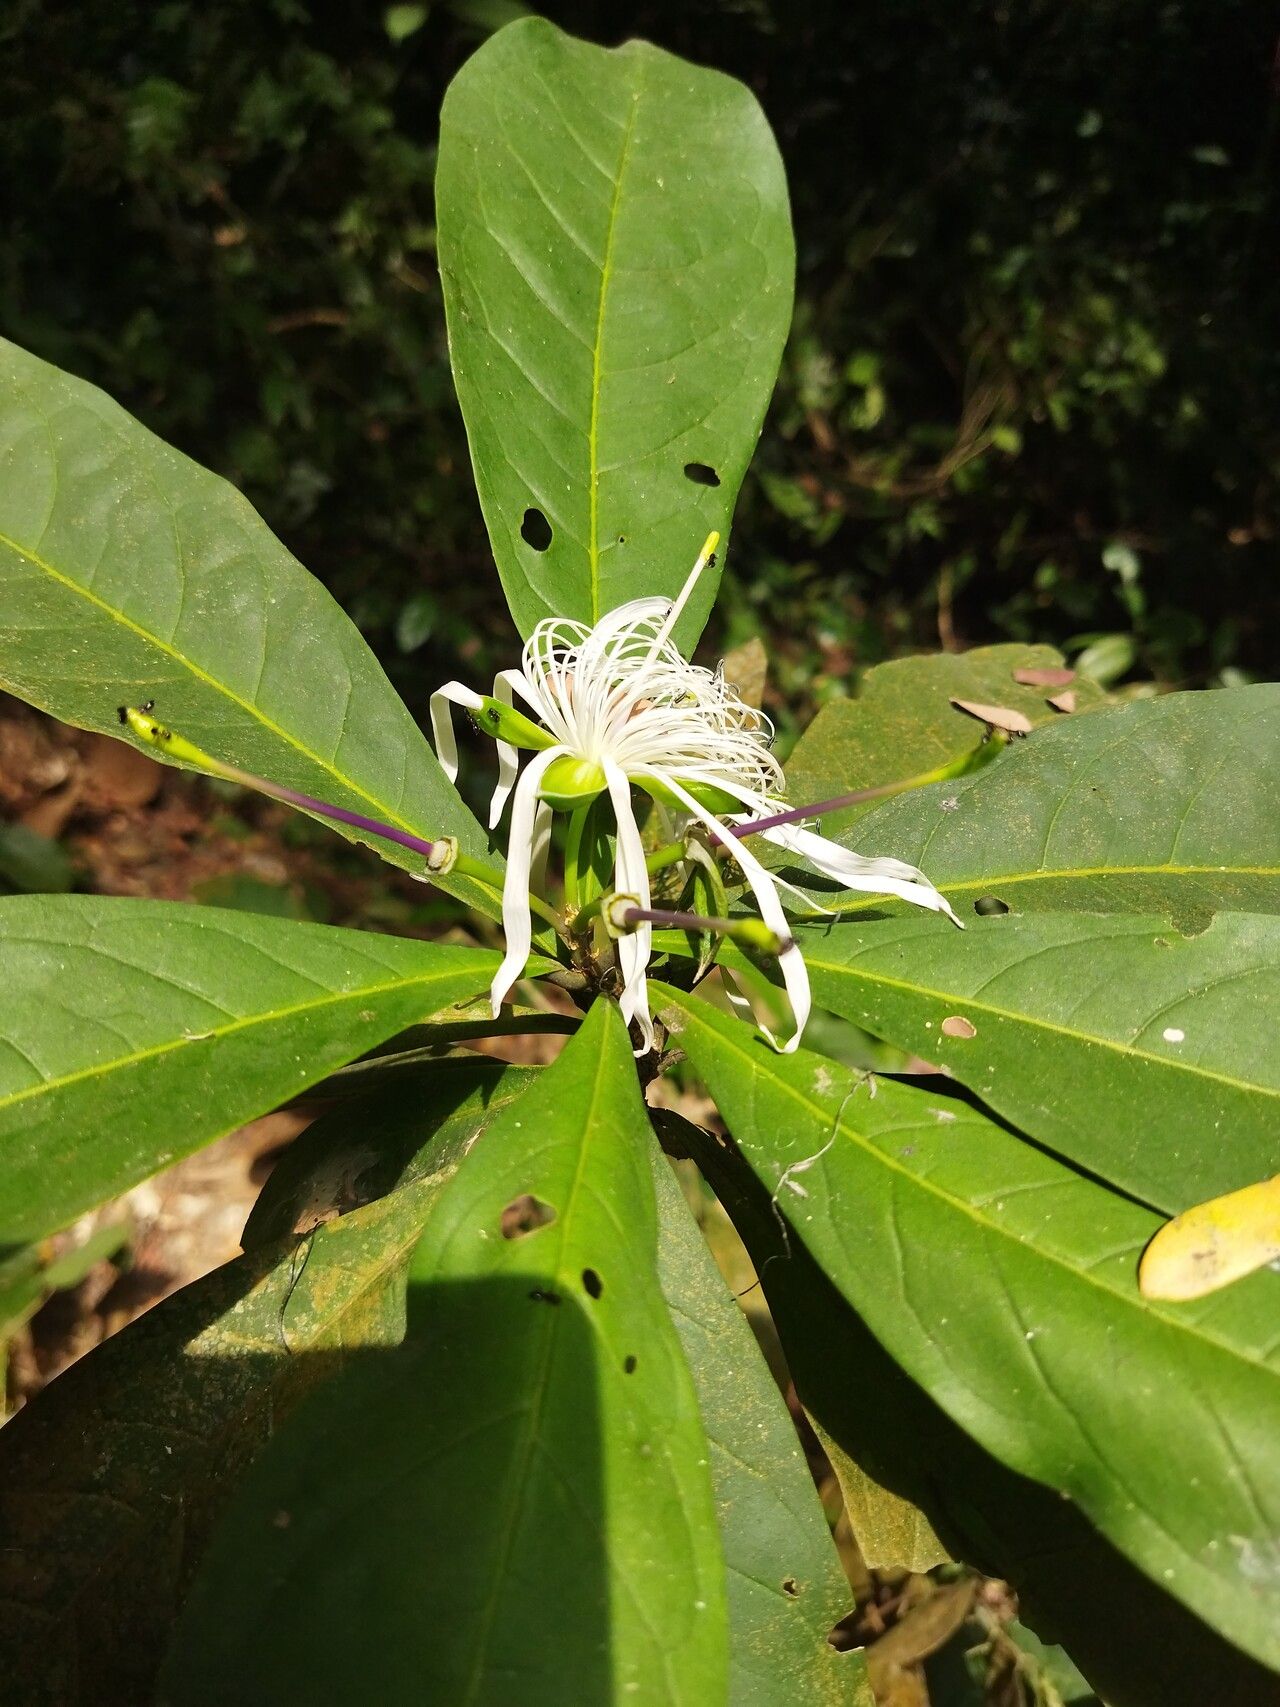
Oh, Ritchiea simplicifolia! If you’re looking for a plant that offers a delightful splash of vibrant green and a wonderfully rewarding propagation journey, you’ve come to the right place. I’ve spent many happy hours with these beauties over the years, and I’m always thrilled when someone else discovers their charm.
Why Propagate Ritchiea?
There’s something incredibly satisfying about creating new life from your existing plants. With Ritchiea, it’s especially nice because they tend to grow into lovely, lush specimens. Plus, who doesn’t love having more plants to share with friends or to fill up those empty spots in the garden? Good news – Ritchiea is generally quite forgiving, making it a great plant for those just dipping their toes into propagation.
The Best Time to Start
For Ritchiea, I find the spring is truly the golden ticket. As the days start to lengthen and plants are actively putting on new growth, your cuttings will have the energy they need to root successfully. Aim for when the plant is vigorous and producing fresh, healthy stems.
Supplies You’ll Need
Gathering your tools beforehand makes the whole process smoother. Here’s what I usually have on hand:
- Sharp, clean pruning shears or a sharp knife. Sterilize them!
- Rooting hormone (optional, but it gives your cuttings a nice boost). Gel or powder works well.
- A well-draining potting mix. I like a mix of peat moss, perlite, and a bit of coir. You can also buy specialized seedling mixes.
- Small pots or propagation trays with drainage holes.
- A plastic bag or clear plastic dome to create a humid environment.
- A spray bottle filled with clean water.
- Labels and a marker to keep track of what you’ve planted.
Propagation Methods: Stem Cuttings
Stem cuttings are my go-to for Ritchiea. They’re generally the most straightforward and successful.
- Select Your Cuttings: Look for a healthy, non-flowering stem on your Ritchiea plant. You want a piece that’s about 4-6 inches long. It should have at least a couple of leaf nodes (where the leaves attach to the stem).
- Make the Cut: Using your clean shears or knife, make a clean cut just below a leaf node. This is where the magic of rooting often happens.
- Prepare the Cutting: Gently remove the lower leaves from the cutting, leaving just a few at the top. This prevents them from rotting in the soil and encourages the plant to focus its energy on rooting.
- Apply Rooting Hormone (Optional): If you’re using rooting hormone, dip the cut end of the stem into the powder or gel. Tap off any excess.
- Plant the Cutting: Fill your small pots or trays with your prepared potting mix. Make a small hole in the center using your finger or a pencil. Gently insert the cut end of the Ritchiea cutting into the hole, ensuring at least one leaf node is buried in the soil.
- Firm the Soil: Gently firm the soil around the cutting to ensure good contact.
- Water Gently: Water the soil lightly until it’s moist but not waterlogged.
The “Secret Sauce” (Pro Tips)
Here are a couple of things that have really made a difference for me over the years:
- Don’t Let Leaves Touch the Water (if you try water propagation): While I’m focusing on soil cuttings here, if you ever experiment with water propagation, make sure the leaves of your Ritchiea cutting aren’t submerged. They’ll rot much faster if they are, delaying or preventing root formation.
- The Humidity Tent is Your Friend: Once you’ve planted your cuttings, gently water them and then cover the pot with a clear plastic bag or a plastic dome. This creates a mini-greenhouse, keeping the humidity high. Roots form much more readily in a moist environment. Make sure the bag doesn’t touch the leaves. You can prop it up with a couple of sticks if needed.
Aftercare & Troubleshooting
Once your cuttings are planted and covered, place them in a bright location, but out of direct sunlight. Over the next few weeks, you’ll want to keep the soil consistently moist but not soggy. I usually peek under the plastic every few days to check the moisture level and air things out for a bit.
You’ll know your Ritchiea has rooted when you see new growth appearing at the top of the cutting, or when you gently tug on the stem and feel resistance. This can take anywhere from 4-8 weeks, sometimes longer.
The most common issue you might face is rot. If you see the stem turning black and mushy, or the leaves wilting dramatically and falling off despite moist soil, it’s likely rot. This usually happens from overwatering or poor air circulation. If it happens, unfortunately, you’ll have to discard that cutting and try again, making sure to err on the side of slightly drier soil and good airflow.
Keep Growing!
Propagating Ritchiea simplicifolia is a journey worth taking. Be patient with your little cuttings, give them the right conditions, and celebrate those first signs of life! Enjoy the process, and soon you’ll have a whole new collection of your own. Happy gardening!
Resource:
https://identify.plantnet.org/k-world-flora/species/Ritchiea%20simplicifolia%20Oliv./data