Well hello there, fellow plant enthusiast! It’s so lovely to have you join me today. We’re going to chat about a truly special palm: the Medemia argun, also known as the Argun Palm.
The Allure of the Argun Palm
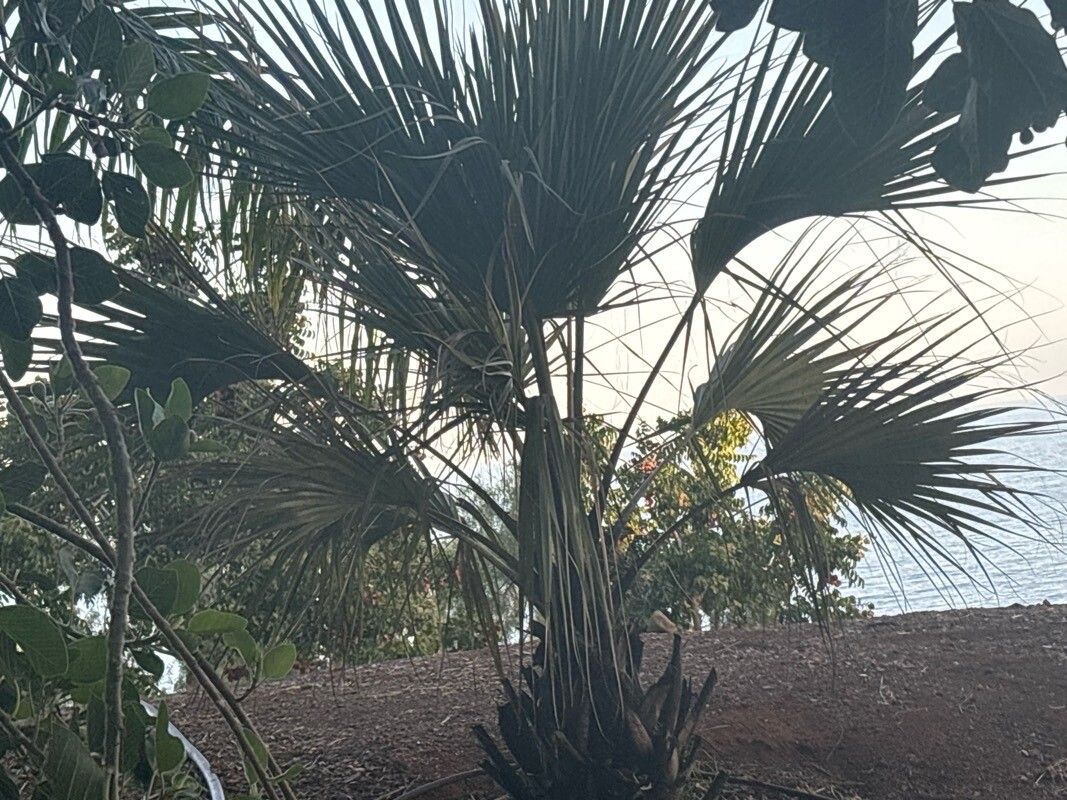
If you’re looking for a palm with a bit of flair, the Argun Palm might just steal your heart. It’s a stunning dwarf palm, often found with a beautiful clustering habit and elegant, feathery fronds. Growing one yourself from a cutting or seed is an incredibly satisfying journey. It’s not the absolute easiest plant for a complete beginner to propagate, I’ll admit, but with a little patience and these tips, you’ll do wonderfully. Think of it as a slightly more involved, but exceptionally rewarding, endeavor. The joy of watching a new palm unfurl its first leaves, knowing you helped bring it into the world, is truly unparalleled.
The Best Time to Start
For the Argun Palm, just like many other tropical plants, the spring and early summer are your golden ticket. This is when the plant is actively growing and has all the energy it needs to put into developing roots. Starting after the last frost, when temperatures are consistently warm, gives your new propagations the best chance to thrive. Try to pick a time when your existing Argun Palm is looking healthy and vigorous.
Supplies You’ll Need
To set yourself up for success, gather these items:
- Sharp, clean pruning shears or a sharp knife: For making clean cuts.
- Well-draining potting mix: A good blend of perlite, peat moss, and coir works well. You can also find specialized palm mixes.
- Rooting hormone (optional but recommended): A powder or gel can give your cuttings a helpful boost.
- Small pots or propagation trays: Make sure they have drainage holes!
- Plastic bags or a clear propagation dome: To create a humid environment.
- Soft water (rainwater or distilled water): Tap water can sometimes contain minerals that aren’t ideal for sensitive young roots.
- A spray bottle: For misting.
Propagation Methods
The Argun Palm can be a bit tricky, but for me, dividing the clumps has yielded the most consistent results. While stem cuttings are possible for some palms, the Argun often prefers this method.
Division: Unveiling New Possibilities
Your Argun Palm might naturally grow into a clump, forming several smaller plants from its base. This is where division comes in.
- Gently remove the parent plant from its pot. Try to loosen the soil from the sides of the pot first. It’s best to do this when the soil is slightly dry, making it easier to work with.
- Inspect the root ball. You’re looking for distinct sections that have their own root systems. You might see several smaller crowns or pups emerging from the main plant.
- Carefully tease apart the clumps. Use your fingers or a clean trowel to gently separate the sections. If the roots are tightly bound, you might need to use your clean pruning shears or knife to make a cut, ensuring each new division has a good amount of roots attached.
- Pot up your new divisions. Fill your small pots with your well-draining potting mix. Make a small hole in the center and place each division, ensuring the base of the plant is at soil level.
- Water them in gently. Use your soft water to lightly moisten the soil.
- Create a humid environment. Cover each pot with a clear plastic bag secured with a rubber band, or place them in a propagation tray with a lid. This is crucial for reducing stress on the newly separated plant.
The “Secret Sauce” (Pro Tips)
Here are a couple of things I’ve learned over the years that really make a difference with palms like the Argun:
- Don’t overwater after division. This is where many go wrong. The roots are compromised, and too much moisture can lead to rot very quickly. Keep the soil lightly moist, not soggy. Think of it as helping them recover, not drowning them!
- Provide gentle warmth. Palms love heat, so placing your newly divided plants in a spot with consistent, mild bottom heat can significantly speed up root development. A heat mat designed for seedlings is perfect for this. You’ll feel the difference it makes!
- Patience is your best friend. Argun Palms aren’t the fastest growers, especially when young. Don’t be tempted to dig them up to check for roots every other day! Give them time to settle in.
Aftercare & Troubleshooting
Once your Argun Palm divisions start to show signs of new growth—a tiny unfurling leaf, for instance—that’s a fantastic sign they’ve rooted!
- Gradually acclimate them. Slowly remove the plastic bags or open the propagation dome for increasing periods each day over a week or two to get them used to normal humidity.
- Continue with bright, indirect light. Avoid direct sun, which can scorch young leaves.
- Water when the top inch of soil feels dry. Always check the moisture level before watering.
Now, what if things don’t go as planned? The most common sign of failure is leaf browning or wilting, often followed by a mushy base – that’s usually rot, a sure sign of too much moisture. If you see this, sadly, that particular division likely won’t make it. Don’t despair! Learn from it, adjust your watering, and try again. It’s all part of the learning curve.
Keep Growing!
Propagating any plant, especially something as lovely as the Argun Palm, is an adventure. There might be a few bumps along the way, but each attempt teaches you something new. Be patient with your new charges, celebrate every little success, and most importantly, enjoy the process of nurturing life from your own hands. Happy gardening!
Resource: