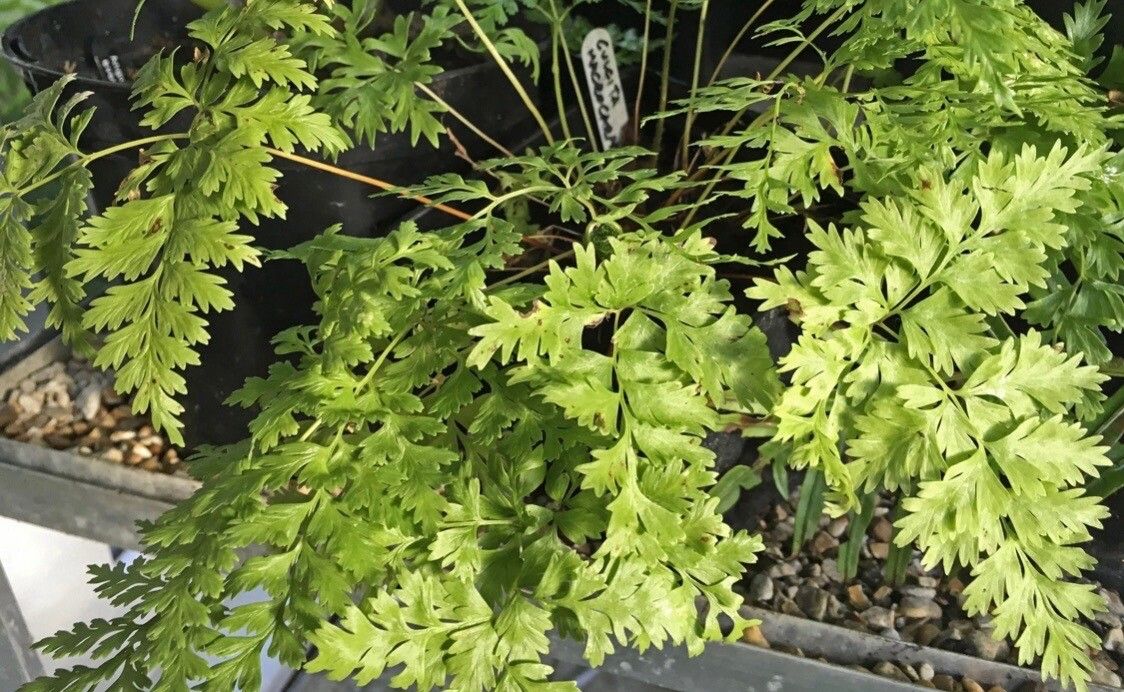
Oh, Culcita coniifolia! What a charmer. This fern, with its delicate, almost feathery fronds and that lovely arching habit, brings such graceful texture to any shady nook. And the best part? It’s surprisingly rewarding to bring more of its beauty into your garden. For those of you just dipping your toes into the world of plant propagation, I’d say Culcita coniifolia is a moderately rewarding experience. It’s not quite as forgiving as a pothos, but with a little care and attention, you’ll be well on your way to success.
The Best Time to Start
For the highest chance of success with Culcita coniifolia, I always aim for late spring to early summer. This is when the plant is actively growing after its winter rest. You’ll see the freshest, most vigorous new growth, which is exactly what we want for cuttings and divisions. Trying to propagate too late in the season, when things are starting to slow down for autumn, can make rooting much trickier.
Supplies You’ll Need
Gathering your tools before you begin makes the whole process smoother. Here’s what I recommend:
- Sharp, clean pruning shears or a sharp knife: For taking clean cuts.
- A rooting hormone powder or gel: While not strictly essential for all ferns, it can give your Culcita a helpful boost.
- A good quality potting mix: I like a blend of equal parts peat moss, perlite, and compost. This provides good drainage and a bit of nutrition. You might even add a handful of orchid bark for extra aeration.
- Small pots or trays: Clean ones, of course! Four-inch pots are usually a good size to start.
- A clear plastic bag or a humidity dome: To create that essential humid microclimate.
- Watering can with a fine rose: For gentle watering.
- Optional: A heat mat: I find this can really speed up root development.
Propagation Methods
Now, for the exciting part! Culcita coniifolia can be propagated primarily through division and, with a bit of patience, stem cuttings.
Division: The Easiest Route
This is often the most straightforward way to multiply your ferns.
- Gently unpot your established plant. Try to disturb the roots as little as possible.
- Inspect the root ball. Look for natural divisions – areas where the rhizome (the thick, creeping stem often found at the soil surface) has multiple crowns or distinct root masses.
- Carefully tease apart the divisions. You can use your hands for this, or if it’s a bit stubborn, a clean knife can help you make a cut through the rhizome. Ensure each piece has at least one healthy frond and a good portion of roots.
- Pot up each division. Use your well-draining potting mix. Plant them at the same depth they were growing before.
- Water gently. Make sure the soil is evenly moist but not waterlogged.
- Place in a humid environment. This is where that plastic bag or humidity dome comes in handy. Keep it out of direct sun.
Stem Cuttings: For the Adventurous
This method requires a bit more attention.
- Select healthy, non-flowering stems. Look for stems that are about 4-6 inches long and have at least two or three sets of healthy fronds. You want vibrant green, not anything yellowing or stunted.
- Make a clean cut. Using your sharp shears or knife, cut the stem just below a node (where a frond emerges from the stem).
- Prepare the cutting. Gently remove the bottom set of fronds. This exposes the node, which is where roots will emerge.
- Dip in rooting hormone. If you’re using it, dip the cut end into the powder or gel. Tap off any excess.
- Plant the cutting. Insert the prepared end into your potting mix, ensuring the node is buried for about an inch.
- Water gently. Moisten the soil thoroughly but avoid making it soggy.
- Create a humid environment. Cover the pot with a plastic bag (making sure the fronds don’t touch the plastic if possible) or place it under a humidity dome.
The “Secret Sauce” (Pro Tips)
Here are a couple of things I’ve learned that have made a real difference for me:
- Don’t let those delicate fern fronds touch the water if you’re doing water propagation (which I generally avoid for Culcita as it prefers soil). Water sitting on fronds can lead to fungal issues. Even in a humid dome, ensure good air circulation when you can.
- Bottom heat is your friend. For cuttings, placing the pot on a gentle heat mat (around 70-75°F or 21-24°C) can significantly speed up rooting hormones and encourage root development from below. It mimics the warmth of spring soil.
- Patience is a virtue, especially with ferns. Sometimes it takes weeks, even months, before you see real signs of growth. Don’t give up too soon!
Aftercare & Troubleshooting
Once your divisions or cuttings start showing signs of life – like new frond growth – you can slowly acclimate them to less humid conditions.
- Gradually increase airflow: If you’re using a plastic bag, start opening it for a few hours each day, then gradually increase the time. Eventually, you can remove it entirely.
- Consistent moisture: Keep the soil consistently moist, but never waterlogged. Overwatering is a common culprit for root rot, which may manifest as yellowing, wilting, or a mushy base.
- Provide bright, indirect light: Avoid direct sunlight, which can scorch those tender new leaves. A north-facing window or a spot shaded by larger plants is ideal.
The most common sign of trouble is rot. If your cutting or division starts to look black, mushy, or just generally unhealthy, it’s likely gone too far. Often, the best course of action is to discard it to prevent issues from spreading to other plants. Brown, crispy fronds can indicate too little humidity or drying out.
A Warm Wrap-up
Propagating Culcita coniifolia is a gentle introduction to the wonderful world of plant multiplication. Be patient with yourself and your new baby plants. Watch them closely, offer them what they need, and most importantly, enjoy the incredibly satisfying process of watching something new grow under your care. Happy propagating!
Resource:
https://identify.plantnet.org/k-world-flora/species/Culcita%20coniifolia%20(Hook.)%20Maxon/data