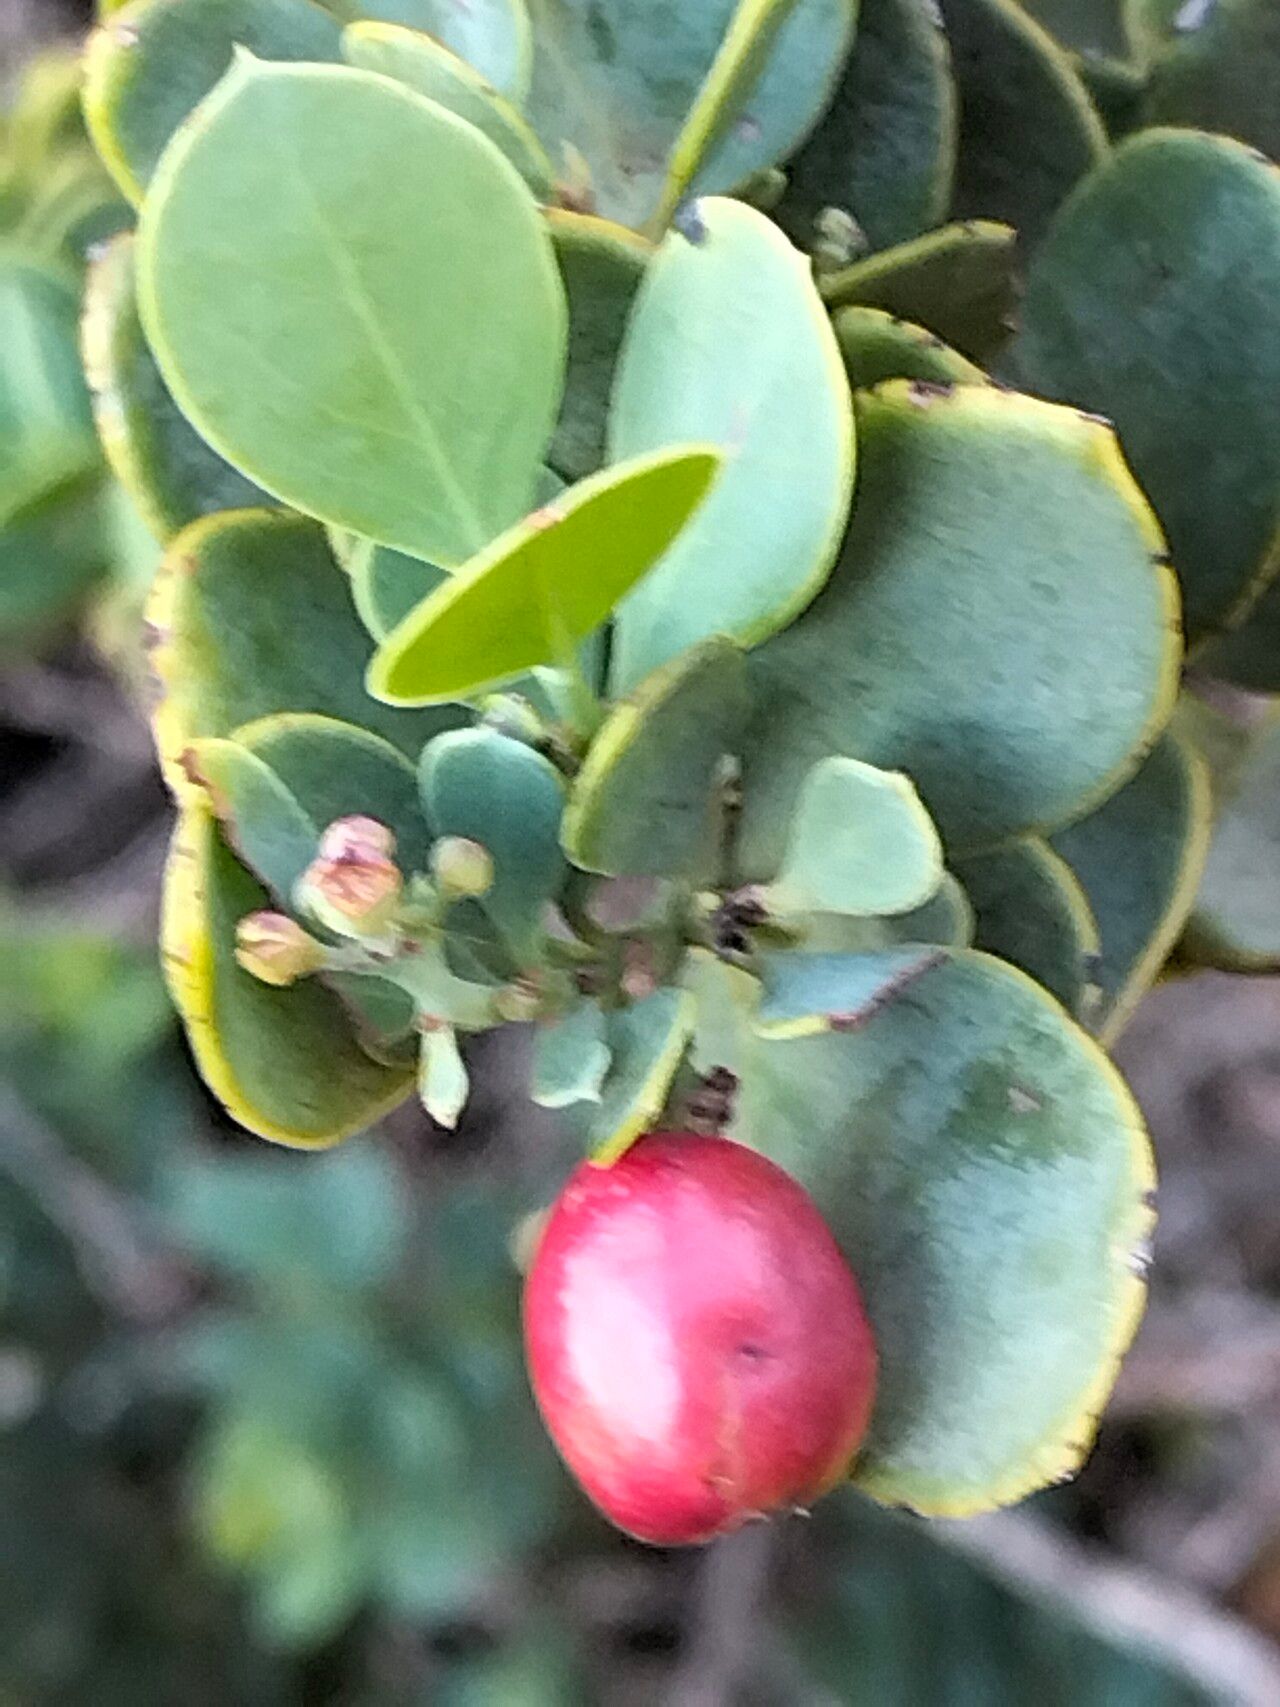
Hello fellow plant lovers! It’s so wonderful to connect with you all again. Today, we’re diving into the delightful world of propagating Osyris compressa, a plant that truly brings a touch of understated elegance to any garden. You might know it as the Cape May bush or sometimes as “Moutain Olive” for its lovely, silvery-green foliage and elegant, arching habit. The real magic, though, is in its ability to produce beautiful, small, white, fragrant flowers in late spring, followed by striking red berries in autumn – a real treat for the eyes and the local birds!
Propagating Osyris compressa can be a deeply satisfying endeavor. There’s something incredibly special about taking a piece of a beloved plant and coaxing it to grow into a new life. Now, I wouldn’t call Osyris compressa a beginner’s free-for-all, but with a little patience and the right approach, it’s certainly achievable, even for those of you who are just getting your green thumbs a bit more established. Let’s get our hands a little dirty, shall we?
The Best Time to Start
For the highest success rate with Osyris compressa, spring is your golden ticket. This is when the plant is actively growing after its winter dormancy. You want to capture that fresh, vigorous energy. Aim for a time when new growth is just starting to firm up – not the super soft, floppy tips, but not the old, woody stems either. This offers the perfect balance of pliability and readiness to root.
Supplies You’ll Need
Here’s a little gathering of what you’ll want to have on hand:
- Sharp, clean pruning shears or a craft knife: Cleanliness is crucial to prevent disease.
- Rooting hormone: This is a helpful booster, especially for woody plants. Look for one with a fungicide if you’re prone to damping off.
- A well-draining potting mix: I prefer a blend of equal parts peat moss or coco coir and perlite or coarse sand. A commercial seedling or potting mix with added perlite works too.
- Small pots or seed trays with drainage holes: Clean plastic or terracotta pots are fine.
- Plastic bags or a propagator: To create a humid environment.
- Watering can or spray bottle: For gentle watering.
- Labels and a marker: Because we all forget what we planted where!
Propagation Methods
I find that taking stem cuttings is the most reliable method for Osyris compressa. It’s a direct way to replicate the parent plant’s qualities.
Stem Cuttings:
- Take your cuttings: On a mild spring day, select healthy, non-flowering shoots from your mature plant. Cut a piece about 4-6 inches long. Make your cut just below a leaf node (where a leaf attaches to the stem). This is where the magic of rooting is most likely to happen.
- Prepare the cutting: Gently remove the lower leaves from the cutting, leaving just 2-3 leaves at the top. If the remaining leaves are large, you can cut them in half horizontally to reduce water loss.
- Apply rooting hormone: Dip the cut end of the stem into your rooting hormone, tapping off any excess. This gives the cutting a little head start in the root-forming process.
- Plant your cuttings: Fill your small pots with your prepared, moist potting mix. Make a small hole in the center with a pencil or your finger and insert the cutting, ensuring the leaf node is buried. Gently firm the soil around the stem.
- Create humidity: Water the soil gently. Then, cover the pot with a clear plastic bag, securing it gently around the base to create a mini greenhouse. If you have a propagator, now’s the time to use it!
The “Secret Sauce” (Pro Tips)
Here are a couple of things I’ve learned over the years that can really make a difference:
- Don’t overcrowd your cuttings: Give each cutting a little breathing room in its pot. If they’re too tightly packed, airflow is reduced, and you increase the risk of fungal issues.
- Consider bottom heat: If you have a heat mat designed for propagation, placing your pots on it can significantly speed up the rooting process. It mimics the warmth of spring soil, encouraging root development.
- Sterilize EVERYTHING: I can’t stress this enough. Clean pots, clean tools, even clean hands. A tiny bit of disease early on can ruin your whole batch.
Aftercare & Troubleshooting
Once your cuttings are planted, find a spot for them that offers bright, indirect light. Keep the soil consistently moist but not waterlogged. You can peek under the plastic bag every few days to check moisture levels and give them a gentle misting if needed.
You’ll know your cuttings are rooting when you see new leaf growth or feel a slight resistance when you gently tug on the stem. This usually takes anywhere from 4-8 weeks, sometimes longer. Once they’ve got a good root system, you can gradually acclimate them to normal humidity by removing the plastic bag for increasing periods over a week.
The most common culprit for failure is rot. If your cuttings turn black and mushy, it’s usually a sign of too much moisture and not enough air circulation, or sometimes a fungal infection. If this happens, unfortunately, those cuttings are likely lost. Don’t despair, though! Just clean up the pot and start again, perhaps with a slightly drier mix or more airflow.
A Encouraging Closing
Propagating plants is a journey, and like any good journey, it requires a bit of patience. Enjoy the process of nurturing these little ones. Watching roots emerge and new leaves unfurl is one of the most rewarding aspects of gardening. Be patient with your Osyris compressa cuttings, and before you know it, you’ll have sweet new plants to share or to fill your own garden with. Happy propagating!
Resource:
https://identify.plantnet.org/k-world-flora/species/Osyris%20compressa%20(P.J.Bergius)%20A.DC./data