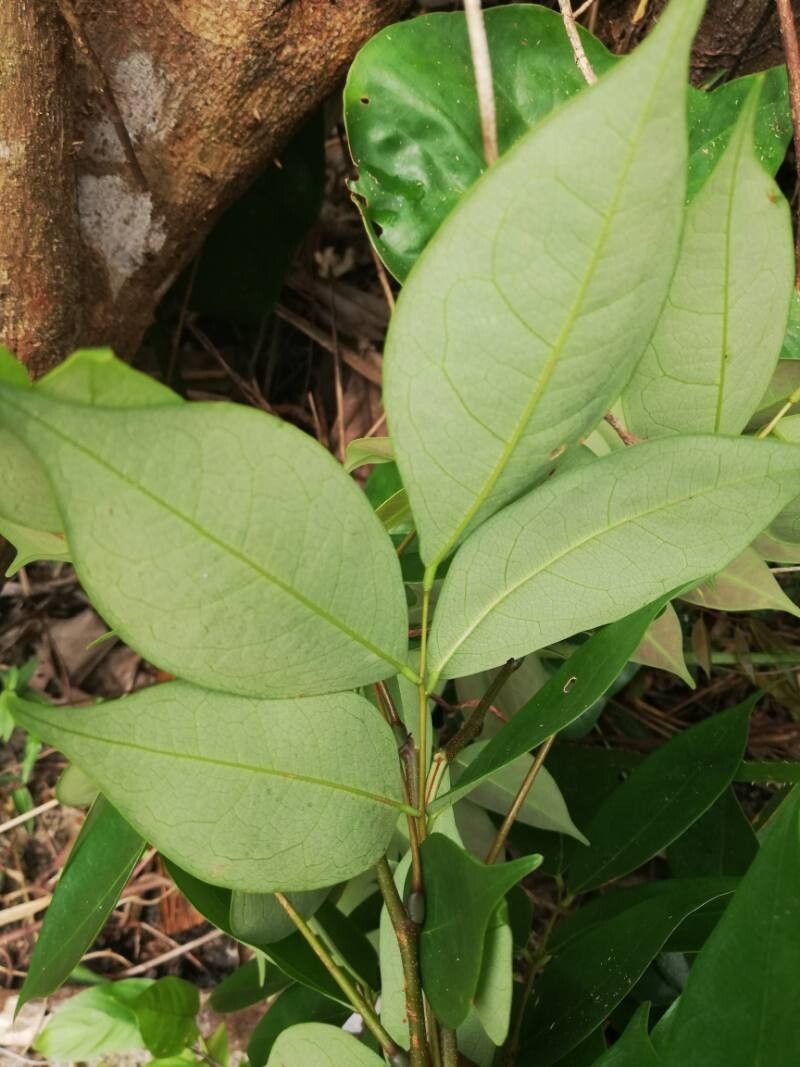
Hello fellow garden lovers! Today, I want to chat about a plant that’s truly stolen a piece of my heart: Dialium bipindense. If you haven’t encountered it before, imagine deep, glossy leaves that have this incredible, almost leathery texture, often with a rich, dark green hue. Some varieties even boast a subtle shimmer, catching the light beautifully. It’s a plant that brings a touch of the exotic into our homes, and there’s something incredibly satisfying about coaxing a new one to life from a tiny piece of a parent plant. Now, I won’t lie – Dialium bipindense can be a little bit fussy, so it might be a slightly bigger challenge for absolute beginners. But trust me, with a little patience and a few key techniques, you’ll be celebrating the arrival of new baby Dialiums before you know it!
The Best Time to Start
When it comes to giving your new Dialium propagation the best possible start, spring and early summer are your best friends. This is when the plant is actively growing, full of vigor, and just bursting with energy. It’s much more likely to put its energy into developing roots rather than just sitting there. You’re looking for new growth, usually the softer, brighter green shoots, rather than the older, woody stems.
Supplies You’ll Need
Here’s what I always gather before I get started. It’s good to have everything ready before you begin snipping!
- Sharp pruning shears or a clean cutting knife: For making clean cuts, which helps prevent disease.
- A good quality rooting hormone: This is a gentle booster that significantly speeds up root development. I prefer powder for its ease of use.
- Well-draining potting mix: A mix specifically designed for houseplants or a blend of peat moss, perlite, and a little bit of sand works wonders.
- Small pots or propagation trays: Even something as simple as yogurt cups with drainage holes can work in a pinch!
- A clear plastic bag or a propagation dome: To create a humid microclimate.
- Watering can with a fine rose: For gentle watering.
Propagation Methods
While Dialium bipindense can be a touch particular, stem cuttings are generally the most successful and common method. Let’s dive in!
Stem Cuttings:
- Select your cutting: Look for a healthy stem with at least two or three sets of leaves. Gently bend a stem; if it breaks cleanly, it’s likely a good candidate. Aim for a cutting that’s about 4-6 inches long.
- Make the cut: Using your sharp pruning shears or knife, make a clean cut just below a leaf node (where a leaf attaches to the stem). This is where roots are most likely to emerge.
- Prepare the cutting: Carefully remove the lower leaves from the bottom half of your cutting. This prevents them from rotting when submerged in soil or water. You can leave the top two or three leaves intact, but if they’re very large, consider cutting them in half horizontally to reduce water loss.
- Apply rooting hormone: Dip the cut end of your stem into the rooting hormone powder, tapping off any excess.
- Pot it up: Fill your small pot with your well-draining potting mix. Make a small hole in the center with your finger or a pencil. Gently insert the cut end of your Dialium cutting into the hole, ensuring the rooting hormone stays in place. Firm the soil gently around the stem.
- Create a humid environment: Water the soil lightly. Then, cover the pot with a clear plastic bag, creating a mini greenhouse effect. You can use stakes or skewers to keep the bag from touching the leaves. Alternatively, use a propagation dome. Place the pot in a bright spot, but out of direct sunlight.
The “Secret Sauce” (Pro Tips)
Here are a couple of tricks I’ve learned over the years that really make a difference with these beauties:
- Bottom heat is your friend: Dialium bipindense really loves warmth, especially when it’s trying to root. Placing your potted cuttings on a heat mat specifically designed for plants can dramatically speed up root formation. It mimics the cozy warmth of spring soil.
- Don’t let leaves touch the soil: When you’ve potted your cutting, make sure no leaves are touching the surface of the soil inside the pot. Anything in contact with damp soil is prime real estate for rot to set in before roots even have a chance to form.
Aftercare & Troubleshooting
Once your cutting is potted, keep the soil consistently moist, but not soggy. Think of it like a wrung-out sponge. Check the soil moisture regularly by gently poking your finger into it.
You’ll know your cutting is happy and growing roots when you see new leaf growth. This can take anywhere from 4-8 weeks, sometimes longer. When you start to see this, you can gradually remove the plastic bag or dome over a few days to let the plant acclimate to normal humidity.
The most common issue you’ll encounter is rot. If you notice the stem turning mushy and dark near the soil line, it’s a sign of overwatering or poor drainage. Unfortunately, if rot sets in, it’s usually too late to save the cutting. The key is prevention: good drainage, not overwatering, and good air circulation. If your cutting just seems to be sitting there doing nothing for a very long time, this isn’t necessarily failure! Some plants are just slower to get going. Patience is key.
A Warm Encouragement
Propagating Dialium bipindense can be a journey, but it’s such a rewarding one. Don’t get discouraged if your first few attempts aren’t perfect. Every gardener has lost a cutting or two! The most important thing is to learn from each experience and keep trying. Enjoy the process of nurturing these new little plants, and celebrate every sign of life. Happy gardening!
Resource:
https://identify.plantnet.org/k-world-flora/species/Dialium%20bipindense%20Harms/data