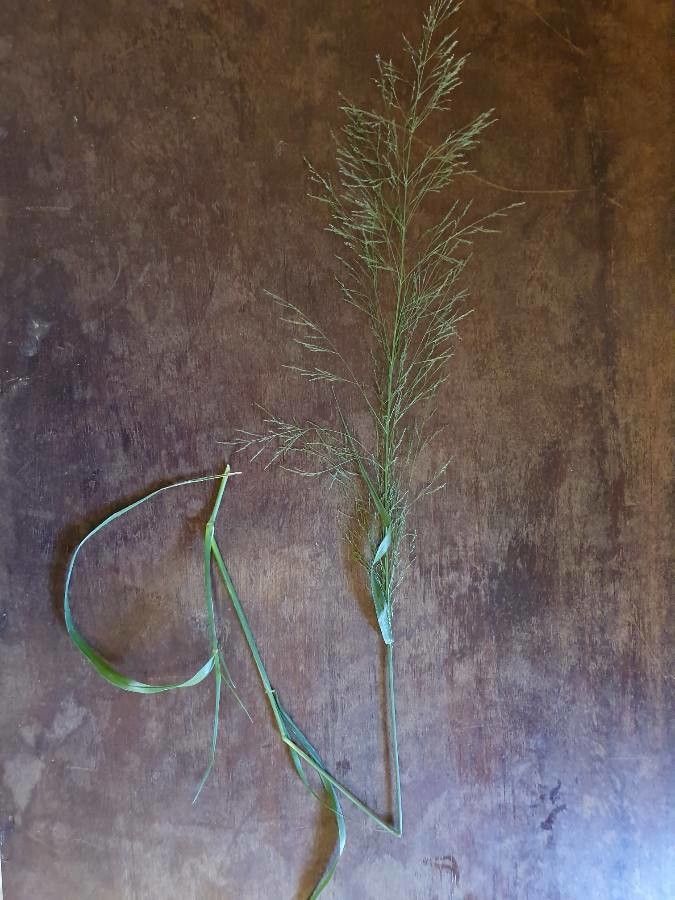
Ah, Sporobolus airoides, or as many of us affectionately call it, alkali sacaton! I’ve spent years admiring this resilient beauty in gardens and wild spaces. Its feathery plumes bring such a lovely, airy texture, swaying with the slightest breeze. And the color! That soft, silvery-green foliage really shines, especially when the light catches it just right. Propagating it is one of those truly satisfying gardening experiences. It’s not overly fussy, which is always a relief, and honestly, seeing your own new plants spring to life from a parent specimen is an absolute joy. For beginners, I’d say it’s a moderately easy plant to propagate, especially if you pick the right method and timing.
The Best Time to Start
When it comes to getting the most bang for your propagation buck, spring is your golden season. Wait until the plant has really woken up from its winter slumber and is actively putting on new growth. This typically means after the last hard frost has passed in your area. Starting your new Sporobolus then gives them the entire growing season to establish a robust root system before winter rolls around again. Aim for when the soil is warming up, and the days are getting longer and brighter.
Supplies You’ll Need
Gathering your tools beforehand makes the whole process much smoother. Here’s what I usually have on hand:
- Sharp, clean pruning shears or a sharp knife: For making clean cuts.
- Well-draining potting mix: Something like a cactus/succulent mix, or a blend of perlite and peat moss.
- Small pots or trays: With drainage holes, of course!
- Identifiable labels: So you don’t forget what you’ve planted!
- Watering can or mister: For gentle hydration.
- (Optional) Rooting hormone: While not strictly necessary for alkali sacaton, it can give an extra boost.
- (Optional) Heat mat: For a little bottom warmth, which can speed things up.
Propagation Methods
-
Division – My Top Recommendation!
This is by far the easiest and most successful method for Sporobolus airoides. It’s essentially splitting a mature plant into smaller, viable sections.
- Gently excavate: In the spring, carefully dig up your mature alkali sacaton plant. You can use a spade or a garden fork to loosen the soil around its base.
- Clean the roots: Gently shake off or brush away excess soil from the root ball. This allows you to see the structure of the plant clearly.
- Locate natural divisions: Look for where the plant naturally wants to split. You’ll often see distinct crowns or offsets.
- Make the cut: Using your sharp pruning shears or a knife, carefully divide the plant. You want each new section to have a good portion of roots and at least one healthy shoot or growing point. If the root ball is very dense, you might need to work it apart with your hands or even use two trowels inserted back-to-back.
- Plant the divisions: Immediately pot up your new divisions into pots filled with your well-draining potting mix. Water them gently but thoroughly.
-
Seed Propagation (A Bit More Patience Needed!)
While division is quicker, growing from seed is a rewarding option if you have the patience.
- Collect seeds: Harvest seeds from mature seed stalks in late fall or early winter, after they have dried on the plant.
- Stratify: Many grasses benefit from a cold stratification period to break dormancy. Mix your seeds with a little lightly moist sand or peat moss in a plastic bag and store them in the refrigerator for 4-6 weeks.
- Sow seeds: In the spring, sow seeds thinly on the surface of your well-draining potting mix in trays or pots. Do not bury them deeply, as they need light to germinate.
- Mist and cover: Lightly mist the surface and cover the pots with a clear plastic dome or cling film to maintain humidity.
- Provide warmth and light: Place the pots in a warm spot (around 70°F / 21°C) with bright, indirect light. Bottom heat from a heat mat can be very helpful here.
- Germination: Germination can be slow and erratic, sometimes taking several weeks or even months. Be patient!
- Transplant seedlings: Once seedlings are large enough to handle, carefully transplant them into individual pots.
The “Secret Sauce” (Pro Tips)
- Don’t overwater divisions initially: When you’ve divided a plant, give those new divisions a good drink, but then let them dry out slightly between waterings. Overwatering at this vulnerable stage can lead to rot. They’ve just been stressed, and they need time to recover their roots, not sit in soggy soil.
- Think about airflow: Especially with seed propagation in trays, good air circulation is crucial. If you’re using a plastic dome, lift it daily for a few minutes to allow air exchange. This helps prevent fungal issues that can quickly decimate delicate seedlings.
- Tag everything! Seriously, I can’t stress this enough. You’ll think you’ll remember which pot is which, but trust me, come fall when that one grass starts looking different, you’ll wish you had a label. And if you’re trying different propagation methods, it’s even more important to track your successes (and failures!).
Aftercare & Troubleshooting
Once your divisions or seedlings have started to show new growth, it’s a sign that roots are forming!
- Gradual acclimatization: If you’ve covered your pots, start gradually removing the covers over a week or so to let them get used to drier air.
- Watering: Continue to water consistently, allowing the soil to dry out slightly between waterings. As the plants grow, you can begin to water them as you would mature alkali sacaton, ensuring good drainage.
- Fertilizing: Wait until your new plants have a decent root system – usually a few weeks after they’ve actively started growing – before giving them a very diluted liquid fertilizer. Too much, too soon can burn those young roots.
The most common reason for propagation failure with Sporobolus airoides is rot due to overwatering or poor drainage. You might see wilting that doesn’t improve even after watering, or a mushy base. If you notice this, try to pull the plant out gently. If the roots are mushy and black, it’s likely gone. If there are still some firm, white roots, you can try repotting in fresh, dry soil. Another sign is a lack of new growth after a reasonable amount of time – this could indicate weak or nonexistent roots.
A Encouraging Closing
Growing any plant from scratch is a journey, and Sporobolus airoides is a wonderful companion for that journey. Patience is key, my friends. Don’t get discouraged if your first attempt isn’t perfect. Learn from it, adjust your approach, and enjoy the process of bringing more of that lovely, airy beauty into your garden. Happy propagating!
Resource:
https://identify.plantnet.org/k-world-flora/species/Sporobolus%20agrostoides%20Chiov./data