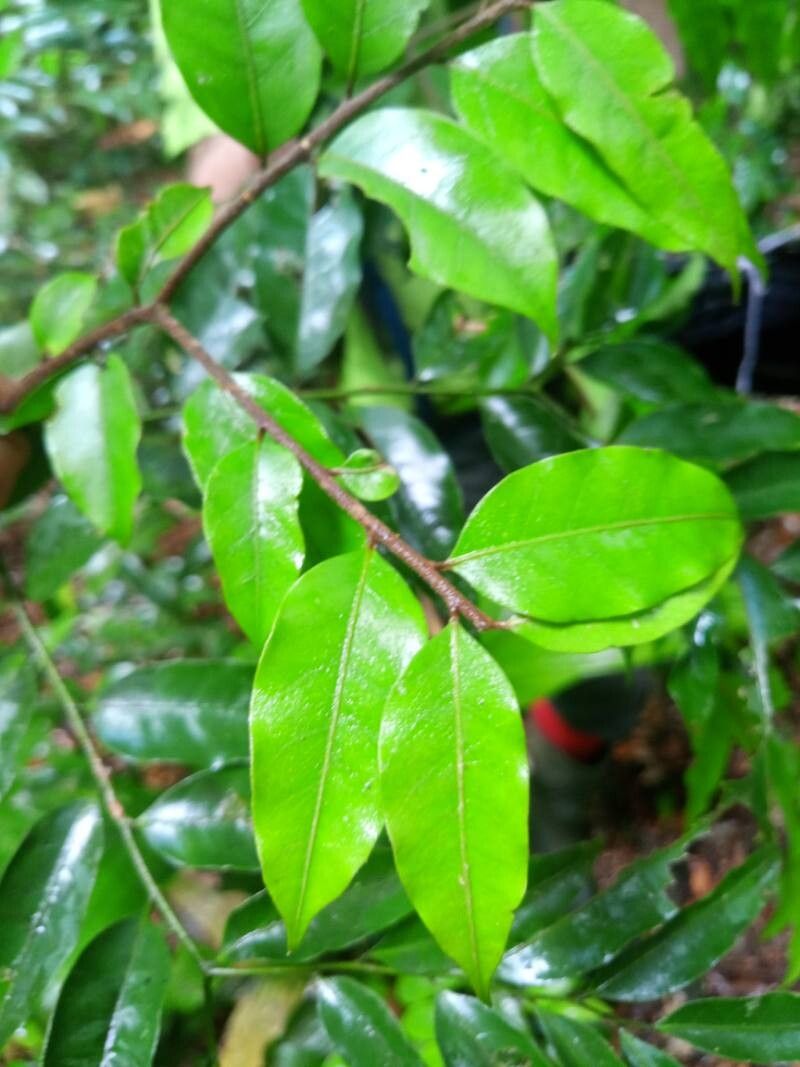
Oh, hello there! Pull up a chair and let’s chat about a truly special plant: Geissospermum sericeum. You might know it as the “Silk Wood,” and honestly, the name just hints at its allure. Its velvety leaves and graceful, almost ethereal presence make it a real showstopper in any garden or indoor space. And the best part? Bringing more of these beauties into your life through propagation is incredibly rewarding, giving you that lovely sense of accomplishment. Now, I won’t lie to you – Geissospermum sericeum can be a bit of a diva sometimes, and it’s not the easiest plant for a complete beginner. But with a little patience and careful attention, you’ll be well on your way!
The Best Time to Start
When it comes to coaxing new life from your established plant, spring is your absolute best friend. Think of it as the plant’s natural awakening. The warmer weather and increasing daylight hours signal to the plant that it’s time to grow, and that energetic momentum will translate into successful cuttings. You’re looking for healthy, actively growing stems, not the woody, old stuff or the brand new, super soft shoots.
Supplies You’ll Need
Here’s what you’ll want to have gathered before you get started:
- Sharp, clean pruning shears or a sharp knife: Essential for making clean cuts that heal well.
- Rooting hormone (powder or gel): This is your secret weapon for encouraging roots.
- A well-draining potting mix: I like a blend of equal parts perlite, coco coir, and a bit of compost. This gives good aeration.
- Small pots or propagation trays: Don’t go too big; smaller pots are easier to keep just right. Make sure they have drainage holes!
- Plastic bags or a propagation lid: To create a humid environment for your cuttings.
- Water: For the initial watering and, if you choose, for water propagation.
- Labels: So you don’t forget what you planted where!
Propagation Methods
Let’s dive into how we’ll bring these gorgeous plants into being.
Stem Cuttings
This is my go-to method for Geissospermum sericeum.
- Take Your Cuttings: On a healthy, mature stem, make a clean cut just below a leaf node (where a leaf grows). You want cuttings that are about 4-6 inches long. Remove any lower leaves, leaving just a few at the top.
- Dip in Rooting Hormone: Lightly dip the cut end of the stem into your rooting hormone, tapping off any excess.
- Plant Them Up: Fill your small pots or trays with your well-draining potting mix. Make a small hole with your finger or a pencil and insert the cutting, firming the soil around it gently.
- Water Gently: Water thoroughly but gently, ensuring the soil is moist but not soggy.
- Create a Humid Environment: Cover the pots with a plastic bag (making sure the leaves don’t touch the plastic) or pop them under a clear propagation lid. This traps moisture and humidity, which is crucial for successful rooting.
- Find the Right Spot: Place your cuttings in a warm spot with bright, indirect light. Avoid direct sun; it can scorch young cuttings.
Water Propagation (with a caveat)
While some plants root beautifully in water, I find Geissospermum sericeum can be prone to rot in plain water if not managed carefully. If you do try this:
- Prepare Your Cutting: Similar to stem cuttings, take a healthy 4-6 inch tip cutting. Remove all but the top few leaves.
- Place in Water: Put the cutting in a clean jar or glass of water.
- The Crucial Step: Ensure no leaves are submerged in the water. Leaves in water will quickly decay and can cause the entire cutting to rot.
- Change Water Regularly: Change the water every 2-3 days to keep it fresh and oxygenated.
- Wait for Roots: You should see tiny white roots forming. Once they are about an inch long, it’s time to pot them up into soil.
The “Secret Sauce” (Pro Tips)
Alright, lean in, because this is where the real magic happens.
- Bottom Heat is Your Friend: If you can, place your pots on a gentle propagation heat mat. This little bit of warmth from beneath really encourages those roots to start forming much faster and more reliably.
- Don’t Rush It: I know it’s exciting, but resist the urge to constantly poke and prod! Check for roots by gently tugging on the cutting. If there’s resistance, you’ve got roots! It can take anywhere from 4 to 12 weeks, sometimes longer. Patience is key.
- Sterilize, Sterilize, Sterilize: I can’t stress this enough. Before you even start, make sure your pruning shears, knife, and pots are immaculately clean. A quick wipe with rubbing alcohol or a dip in a bleach solution (and then rinsed well!) can prevent the spread of diseases that might kill your precious cuttings.
Aftercare & Troubleshooting
Once you see those little roots peeking out from the drainage holes or feel that resistance when you gently tug, congratulations! You’ve successfully propagated!
- Gradual Acclimation: Slowly start to remove the plastic bag or propagation lid for a few hours each day over a week. This helps your new plant adjust to lower humidity without shock.
- Watering: Water whenever the top inch of soil feels dry. Always water from the bottom if you can, to encourage those roots to grow downwards.
- Light: Continue to provide bright, indirect light. As the plant gets stronger, you can gradually introduce it to slightly more light, but still avoid harsh, direct sun.
What if things go wrong? The most common culprit is rot. If your cutting turns black and mushy, especially at the base, it’s a sign of too much moisture and not enough air circulation, or possibly a fungal issue. In this case, sadly, it’s time to start again. Yellowing leaves on an otherwise healthy-looking cutting can sometimes mean a bit too much water or not enough light. Don’t despair; observe and adjust!
A Encouraging Closing
See? It’s not rocket science, just a little bit of nurturing and knowing what your plant needs. Take your time, be observant, and enjoy the process of creating new life. There’s such a wonderful satisfaction in watching a tiny cutting transform into a thriving new plant. Happy propagating, and may your Geissospermum sericeum flourish!
Resource:
https://identify.plantnet.org/k-world-flora/species/Geissospermum%20sericeum%20Miers/data