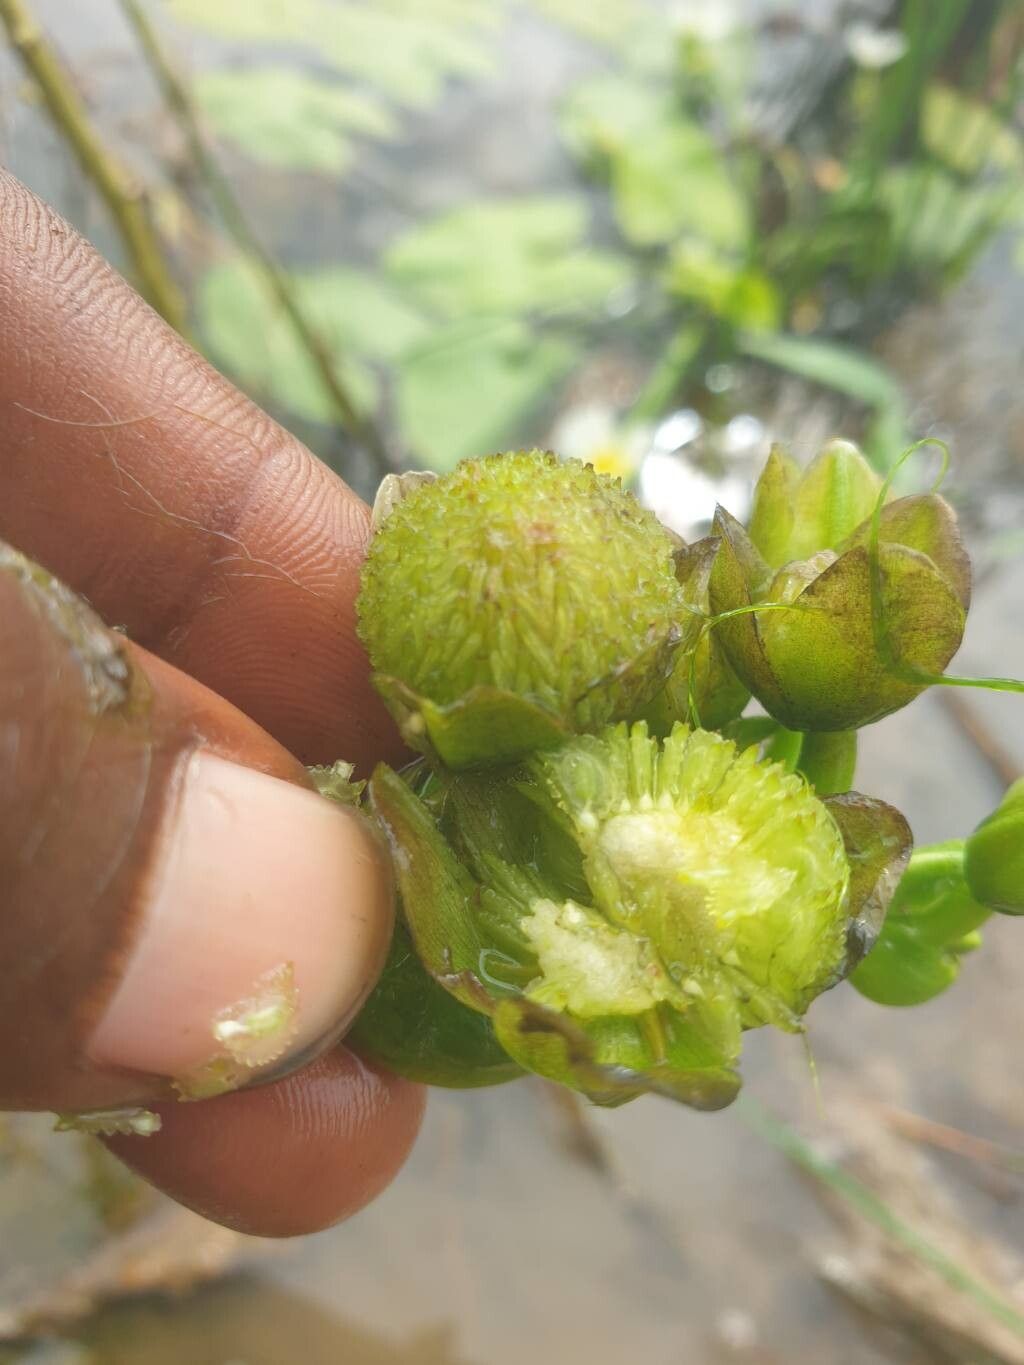
Hello fellow garden enthusiasts! If you’re looking for a touch of wetland charm in your life, then Sagittaria guayanensis, also known as the Arrowhead plant, might just be your next green obsession. I’ve been growing and sharing these beauties for years, and let me tell you, there’s a special kind of joy in watching a tiny piece of a plant transform into a thriving specimen. Propagating Sagittaria guayanensis is surprisingly straightforward, even for those just dipping their toes into the wonderful world of plant propagation. So, grab a cup of your favorite brew, and let’s get our hands a little dirty!
The Best Time to Start
For Sagittaria guayanensis, the sweet spot for propagation is undeniably spring and early summer. This is when the plant is bursting with energy and actively growing. You’ll find it producing the most vigorous runners and shoots, which are perfect candidates for taking cuttings or dividing. Trying to propagate in the dead of winter is like asking a sleeping bear to sing; it’s just not going to happen! Aim for when your plant is actively putting out new leaves and showing good vigor.
Supplies You’ll Need
Before we dive in, let’s gather our tools. Having everything ready makes the process so much smoother.
- Sharp Pruning Shears or a Clean Knife: For clean cuts that heal quickly.
- Small Pots or Seed Trays: With drainage holes, of course.
- Well-Draining Potting Mix: I lean towards a mix designed for houseplants, perhaps with a bit of perlite added for extra aeration.
- Clean Water: For watering and, in some cases, for rooting.
- Optional: Rooting Hormone: While Sagittaria is pretty good at rooting on its own, a little hormone can give it an extra boost.
- Optional: Pebbles or Gravel: For stabilizing cuttings in water.
Propagation Methods
Sagittaria guayanensis is a generous plant, offering a couple of easy-peasy ways to multiply your collection.
1. Division: This is my go-to method, especially if your plant has gotten a bit crowded in its pot.
- Gently remove the Sagittaria from its container. A little tap on the sides usually does the trick.
- Inspect the root ball. You’ll often see distinct clumps or offsets with their own roots.
- Carefully tease apart these clumps. If they’re firmly attached, don’t be afraid to use your sharp pruning shears to make a clean cut. The goal is to ensure each new division has some healthy roots and at least one growing point (where the leaves emerge).
- Pot up each division into its own small pot filled with your prepared potting mix. Water it in gently.
2. Runner Cuttings: Sagittaria often sends out long, thin stems called runners, which sometimes have little plantlets at the end.
- Locate a healthy runner that’s emerging from the parent plant. Look for one with a well-formed leaf or a tiny crown.
- Using your sharp shears or knife, carefully cut the runner about an inch or two away from the parent plant. You can take the entire runner with a plantlet, or just the plantlet if it already has a few tiny roots.
- You can try a couple of approaches here. Either plant the cutting directly into a pot of moist potting mix, ensuring the base is buried slightly, or place the cutting in a jar of clean water.
The “Secret Sauce” (Pro Tips)
Now, for a couple of little secrets I’ve picked up over the years. These aren’t strictly necessary, but they often make a big difference.
- Avoid Leaf Drenching in Water Propagation: If you’re rooting cuttings in water, make sure no part of the leaves ever touches the water. This is a surefire way to invite rot. Only the stem should be submerged. Changing the water every few days also helps keep things fresh and clean.
- A Warm Spot is Key: While Sagittaria doesn’t need intense heat, it does appreciate a bit of gentle warmth to encourage root development. Setting your pots or jars in a bright location that’s not in direct, scorching sun, perhaps on a heat mat if you have one, can really speed things up.
Aftercare & Troubleshooting
Once your Sagittaria cuttings or divisions have set up shop in their new homes, here’s how to keep them happy:
- Watering: Keep the potting mix consistently moist, but not waterlogged. Think of a well-watered garden bed after a spring shower. For water cuttings, continue to change the water regularly.
- Light: Place your new propagations in a spot with bright, indirect light. They don’t need harsh, direct sun, which can scorch their tender new leaves.
- Patience: This is crucial! Rooting takes time. Be patient. You’ll usually start to see new leaf growth within a few weeks, a good sign that roots are forming happily below.
Troubleshooting: The most common issue you might encounter is rot. This is usually a sign of too much moisture and not enough air circulation. If you see a cutting turning mushy or blackening, unfortunately, it’s likely best to discard it to prevent the rot from spreading. Ensure good drainage and don’t overwater, and you’ll dodge this problem.
A Little Encouragement to Finish
Propagating Sagittaria guayanensis is a wonderfully rewarding way to expand your plant collection and share the green love with friends. Don’t get discouraged if your first attempt isn’t perfect. Every gardener has had their share of propagations that didn’t quite make it. The most important thing is to enjoy the process, learn from each step, and celebrate the tiny victories. Happy propagating, and may your Arrowheads flourish!
Resource:
https://identify.plantnet.org/k-world-flora/species/Sagittaria%20guayanensis%20Kunth/data