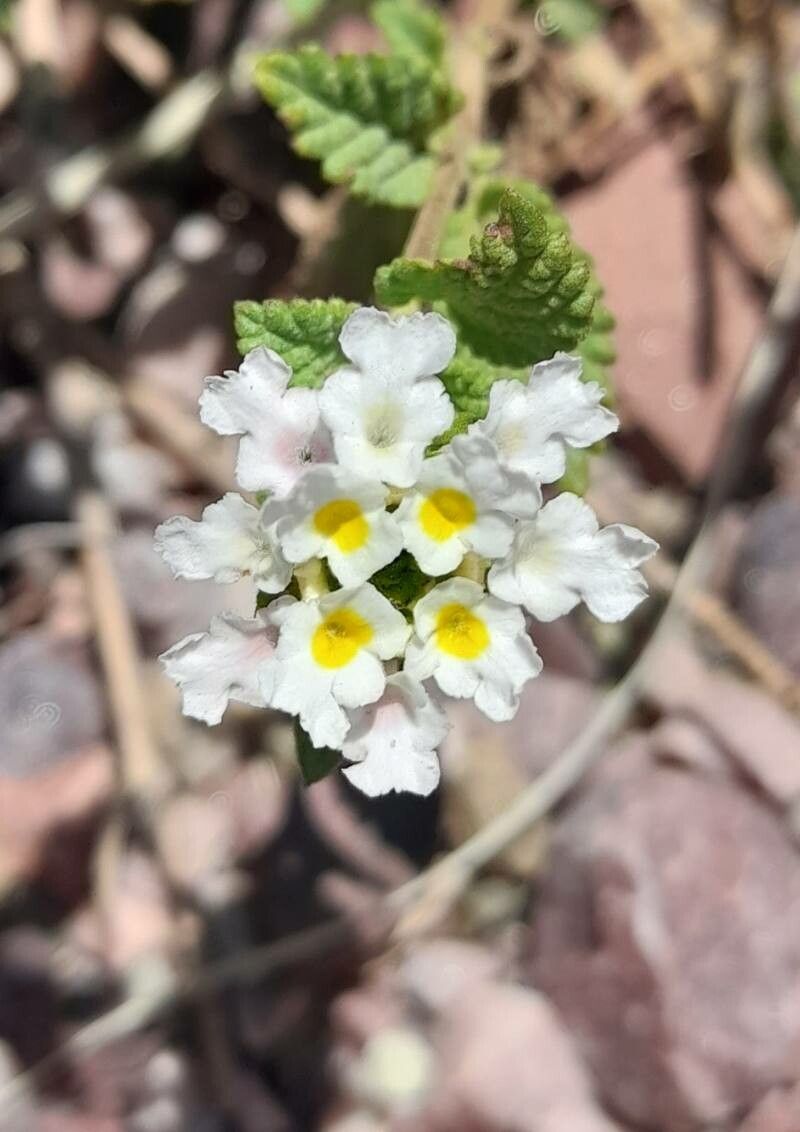
Oh, Lantana tilcarensis! What a beauty. I’ve spent countless hours with these vibrant, hardworking plants, and you know, they really are a joy. Their cheerful blooms just light up the garden, and they’re such magnets for butterflies and bees. Plus, growing more of them yourself? That’s pure gardening gold.
And the best part? This particular Lantana is wonderfully easy to propagate, even for folks who are just starting their gardening journey. It’s incredibly forgiving, which makes the process feel less like a high-stakes experiment and more like a delightful little project. You’ll be rewarded with new plants in no time.
The Best Time to Start
My favorite time to get started with propagating Lantana tilcarensis is in the late spring or early summer. This is when the plant is actively growing and has plenty of energy. You’re looking for healthy, semi-hardwood stems. Think stems that are firm but still have a bit of flexibility to them – not brand new, soft green growth, and definitely not woody old stems. This provides the perfect balance for successful rooting.
Supplies You’ll Need
Here’s what I like to have on hand for a session of Lantana propagation:
- Sharp Pruning Shears or a Knife: Cleanliness is key here to prevent disease.
- Small Pots or Trays: Four-inch pots work well, or a seed starting tray with individual cells.
- Rooting Medium: A well-draining potting mix is essential. I often use a blend of equal parts peat moss or coco coir and perlite or coarse sand. This ensures good aeration and prevents waterlogging.
- Rooting Hormone (Optional but Recommended): A powdered or liquid rooting hormone can significantly speed up the process and increase success rates.
- Plastic Bag or Clear Dome: To create a humid environment for the cuttings.
- Watering Can or Spray Bottle: For gentle watering.
- Labels and a Marker: To keep track of your cuttings!
Propagation Methods
Lantana tilcarensis is a champion of propagation, and stem cuttings are my go-to method. Here’s how I do it:
- Taking the Cuttings: Using your clean shears, select healthy stems from your parent plant. Cut a piece about 4-6 inches long. Make sure each cutting has at least two leaf nodes (the point where leaves emerge from the stem).
- Preparing the Cuttings: Gently remove the leaves from the bottom half of each cutting. You’ll want to expose the nodes, as this is where the roots will form. If the remaining leaves are very large, you can trim them in half horizontally to reduce water loss.
- Applying Rooting Hormone: If you’re using rooting hormone, dip the cut end of each stem into the hormone powder or liquid, tapping off any excess.
- Planting the Cuttings: Fill your pots or trays with your prepared rooting medium. Make a small hole in the center of the soil with your finger or a pencil.
- Inserting the Cuttings: Gently insert the prepared cuttings into the holes, ensuring at least one or two leaf nodes are buried beneath the soil surface. Firm the soil gently around the base of each cutting.
- Watering: Water thoroughly but gently. You want the soil to be moist, not soggy. A good initial watering helps settle the soil around the cuttings.
- Creating Humidity: This is crucial! Place a plastic bag over the pot or tray, or cover it with a clear dome. Make sure the plastic doesn’t touch the leaves too much. Secure it to the pot or tray. This traps moisture and creates the humid environment new cuttings need to stay hydrated while they develop roots.
The “Secret Sauce” (Pro Tips)
Over the years, I’ve learned a few little tricks that can make all the difference:
- Bottom Heat is Your Friend: Honestly, if you have a seedling heat mat, use it! Placing your pots on a gentle heat mat can drastically speed up root development. It mimics the warmth of spring soil, encouraging those roots to get going much faster. Just a gentle warmth is all they need; no need to scald them!
- Don’t Be Afraid of Gentle “Air Pruning”: When you’re preparing your cuttings, if any of the leaves you leave on at the top are very large and floppy, I sometimes barely nick the underside of the leaf vein with my knife. It’s a subtle trick, but it can encourage the plant to send its energy down to the roots rather than keeping those big leaves fully hydrated. Think of it as a tiny nudge in the right direction.
- Observe, Don’t Over-Handle: I know it’s tempting, but try not to fuss too much with your cuttings. Keep them in a bright spot with indirect light. Resist the urge to constantly poke and prod, checking for roots. They’ll call to you when they’re ready.
Aftercare & Troubleshooting
Once your cuttings have been potted up, check on them every few days. You want to ensure the soil stays consistently moist, but never waterlogged. If the soil surface looks dry, give them a gentle watering.
The signs of rooting are exciting! You’ll likely see new leaf growth starting from the top of the cutting. Another good indicator is a gentle tug test. If you carefully try to pull on a cutting and feel resistance, it means roots have formed. This usually takes anywhere from 3 to 6 weeks.
What if things go wrong? The most common culprit is rot. This happens when the soil is too wet and there isn’t enough air circulation. If you see stems turning black or mushy, unfortunately, that cutting is likely lost. Wipe down your tools and pots thoroughly before trying again, and ensure your potting mix is nice and free-draining. Overwatering is the usual suspect here!
A Encouraging Closing
So there you have it! Propagating Lantana tilcarensis is a truly rewarding experience. It’s a chance to multiply your joy, share with friends, and fill your garden with even more of those sun-kissed blooms. Be patient with yourself and your cuttings. Gardening is a journey, and every little success, big or small, is a beautiful step. Happy propagating!
Resource:
https://identify.plantnet.org/k-world-flora/species/Lantana%20tilcarensis%20Tronc./data