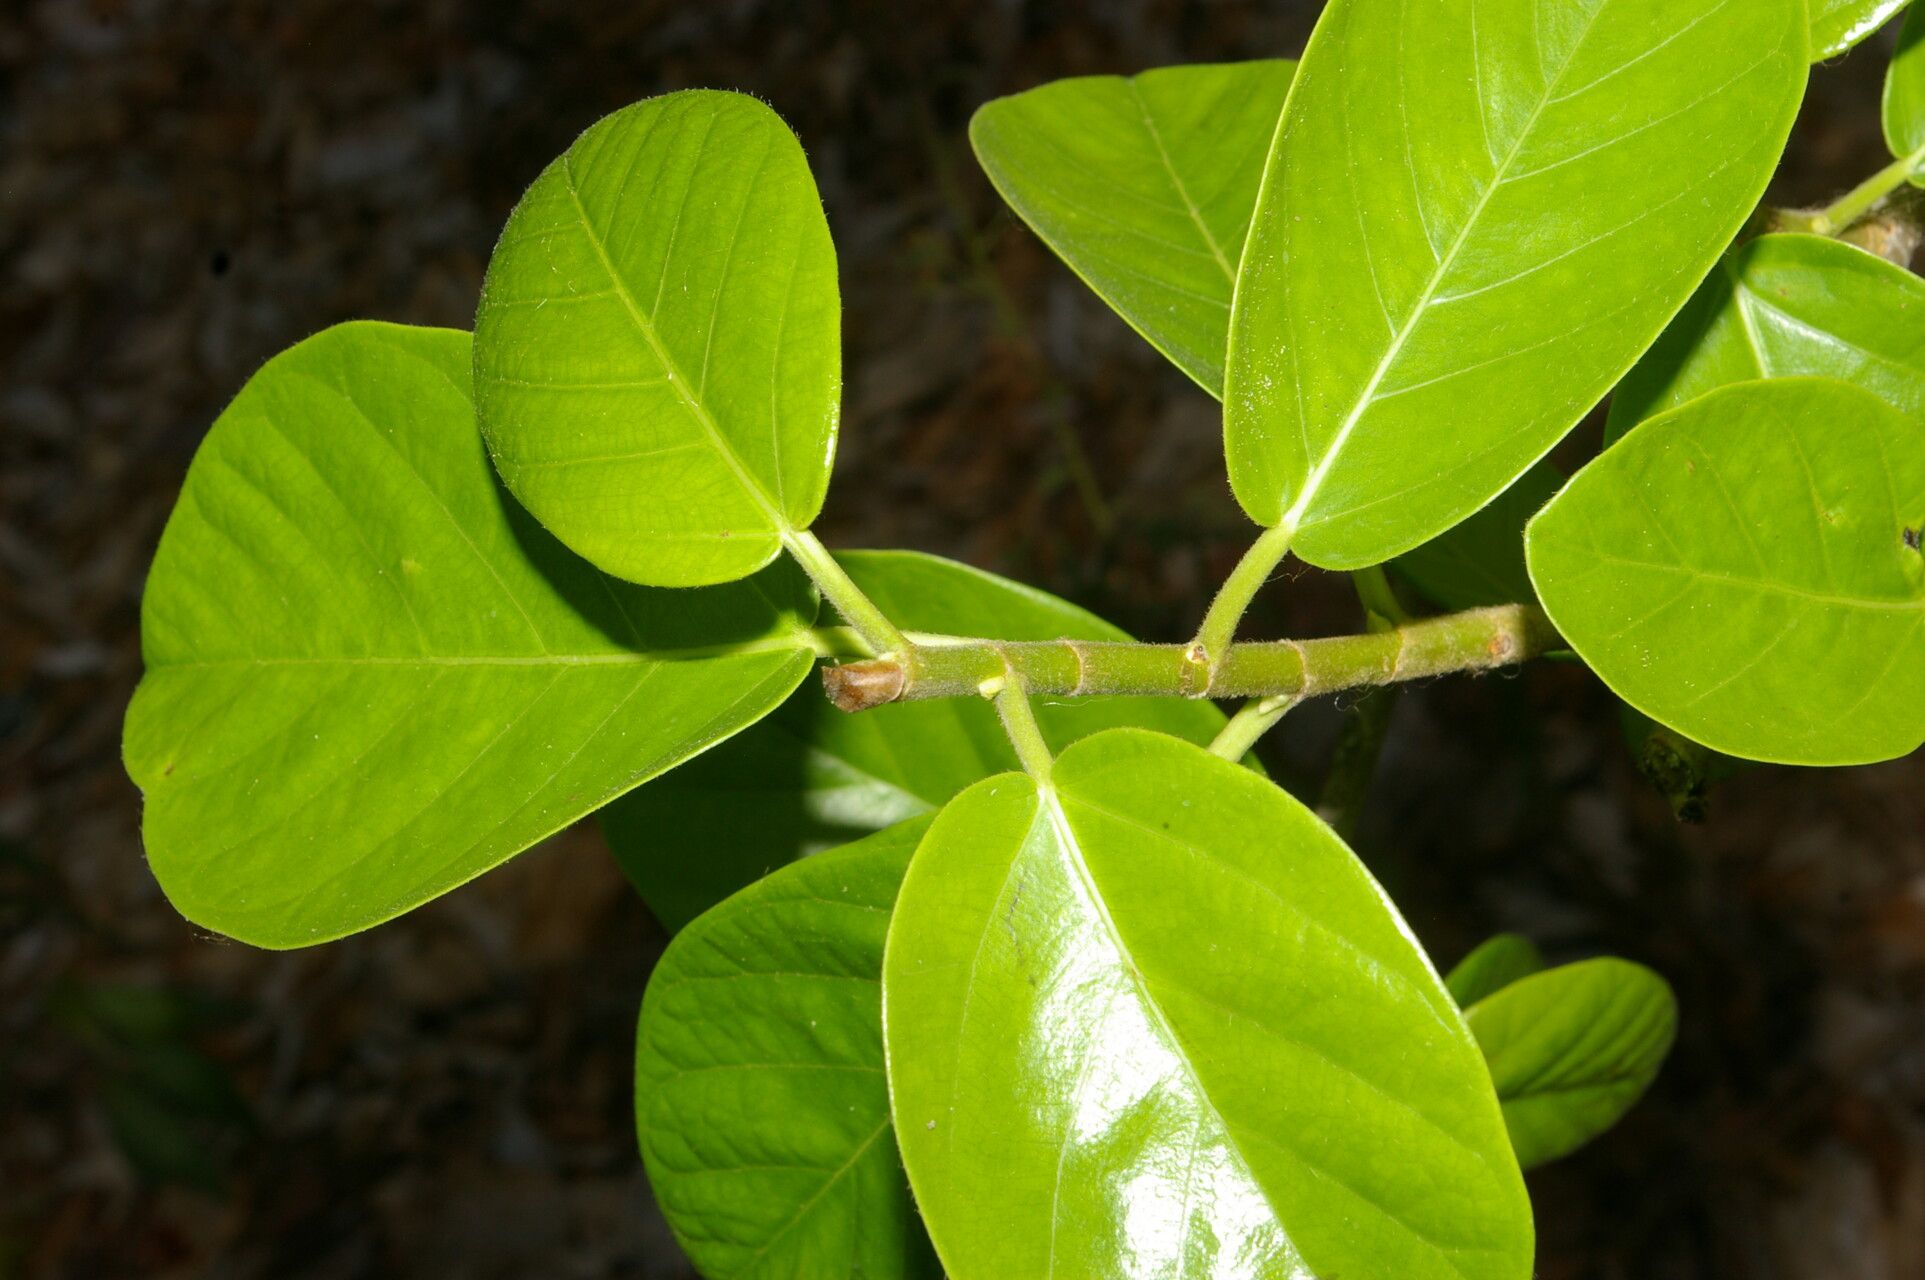
Hello fellow plant enthusiasts! Today, we’re diving into the wonderful world of propagating Ficus cotinifolia. If you adore those lush, heart-shaped leaves and the way this fig plant just brings a touch of the tropics indoors, you’re in for a treat. There’s something deeply satisfying about nurturing a new life from a parent plant, and let me tell you, Ficus cotinifolia is a pretty generous plant when it comes to sharing. For beginners, it’s generally quite forgiving, making it an excellent choice to boost your propagation confidence.
The Best Time to Start
The sweet spot for propagating Ficus cotinifolia is during its active growing season. This usually means late spring through summer. When the plant is really putting on new growth, it has more energy to heal and develop roots. Think about when your plant is unfurling new leaves and generally looks vibrant – that’s your cue!
Supplies You’ll Need
To set yourself up for success, gather these little helpers:
- Sharp pruning shears or a clean knife: Essential for making clean cuts.
- Rooting hormone (optional but recommended): This powder or gel can give young cuttings a significant boost.
- Well-draining potting mix: A good blend of peat moss, perlite, and a little bit of compost works wonders. You can also find specific cacti and succulent mixes that are often airy enough.
- Small pots or propagation trays: Big enough to hold your cuttings comfortably.
- Plastic bags or a propagation dome: For creating a humid environment.
- Water: For a different propagation method.
- A spray bottle: For light misting.
Propagation Methods
Let’s get our hands dirty! Ficus cotinifolia is a champ at stem cuttings.
Stem Cuttings: My Go-To Method
This is where the magic truly happens for most Ficus species.
- Select a healthy stem: Look for a piece of stem that’s semi-hardwood, meaning it’s not brand new and green, but not old and woody either. Aim for a cutting about 4-6 inches long.
- Make the cut: Using your sterilized pruning shears or knife, make a clean cut just below a leaf node. A leaf node is where a leaf attaches to the stem – this is where roots are most likely to form.
- Prepare the cutting: Gently remove the lower leaves from your cutting. You want to expose a few nodes, but leave at least two to four leaves at the top. These top leaves are crucial for photosynthesis. You can even cut larger leaves in half to reduce water loss.
- Dip in rooting hormone (optional): If you’re using it, lightly dip the cut end of the stem into the rooting hormone, tapping off any excess.
- Plant your cutting: Fill your small pot with your well-draining potting mix. Make a small hole in the center and gently insert the cut end of your Ficus cutting. Firm the soil gently around the stem.
- Provide humidity: Water the soil lightly until it’s moist but not soggy. To create that humid microclimate cuttings love, you can cover the pot with a clear plastic bag or a propagation dome. Make sure the bag doesn’t touch the leaves too much – use stakes if needed. Pop it in a spot with bright, indirect light.
Water Propagation: Simple and Visual
If you’re a visual learner or just want to watch the roots develop, try water propagation.
- Prepare your cutting: Follow the same steps as above for selecting and cutting your stem. Remember to remove the lower leaves.
- Place in water: Put the cutting into a clean jar or glass filled with fresh water. Make sure that at least one leaf node is submerged, but ensure no leaves are touching the water. This prevents rot.
- Find a bright spot: Place the jar in a location with bright, indirect light.
- Change water regularly: This is key! Change the water every few days to keep it fresh and prevent bacterial growth.
The “Secret Sauce” (Pro Tips)
Here are a couple of little tricks I’ve learned over the years that can really make a difference:
- Bottom Heat is Your Friend: Ficus cotinifolia roots are like little sunbathers – they love warmth! Placing your pots on a heat mat designed for seedlings can significantly speed up root development. It provides that gentle warmth from below that encourages root growth.
- Don’t Rush It: It can take several weeks, sometimes even a couple of months, for roots to develop. Be patient! Resist the urge to constantly tug at your cuttings to check for roots. Give them time to establish themselves undisturbed.
Aftercare & Troubleshooting
Once you see substantial root growth, it’s time to move your new little Ficus!
- Potting Up: If you started in water, carefully plant your rooted cutting into a small pot filled with your well-draining potting mix. Water it in gently. If you started in soil, and you notice roots peeking out of the drainage holes or the plant seems to be growing vigorously, it’s ready for a slightly larger pot.
- Gradual Acclimation: If your cutting has been under a plastic bag or dome, gradually introduce it to normal room humidity over a week or so. Start by lifting the cover for a few hours each day, slowly increasing the time.
- Signs of Trouble: The most common issue you might encounter is rot. This usually happens if the soil stays too wet or if you have leaves submerged in water. You’ll notice the stem turning mushy or black. If you see this, try to salvage any healthy parts for a new cutting and adjust your watering practices. Yellowing leaves can sometimes mean too much or too little water, or not enough light.
A Fond Farewell
Propagating Ficus cotinifolia is a truly rewarding experience. It’s a chance to multiply your green joy and share it with others. Remember to be patient, observe your little plants, and enjoy the process of watching them grow. Happy propagating!
Resource:
https://identify.plantnet.org/k-world-flora/species/Ficus%20cotinifolia%20Kunth/data