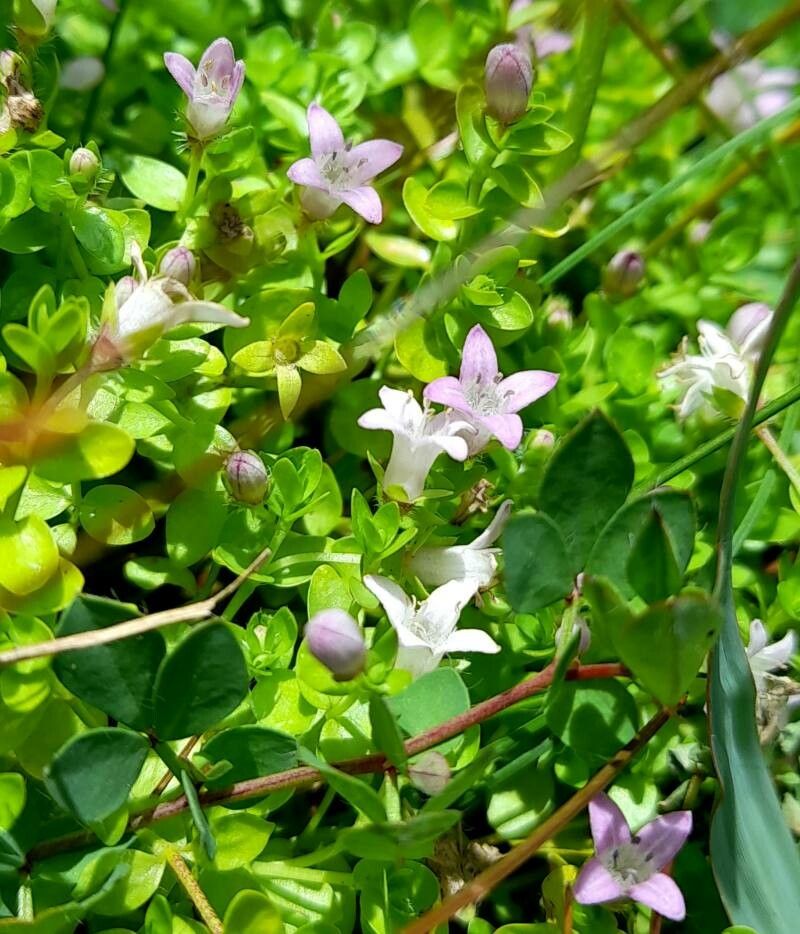
Well hello there, fellow plant lover! It’s so wonderful to connect with you. Today, we’re diving into the delightful world of Oldenlandia salzmannii, a truly charming little plant that brings a whisper of the tropics right into our homes or gardens. Its delicate, star-shaped flowers and lovely green foliage make it a beautiful addition, and the joy of watching a new plant sprout from a tiny piece of the parent is, in my book, pure magic.
Why Propagate Oldenlandia Salzmannii?
I find Oldenlandia salzmannii to be surprisingly easy to propagate, which is fantastic news for everyone. Even if you’re just dipping your toes into the world of plant propagation, this one is a wonderful place to start. It’s incredibly rewarding to expand your collection or share these beauties with friends and family. Think of it as spreading a little green happiness!
The Best Time to Start
Honestly, the best time to propagate Oldenlandia salzmannii is during its active growing season. For most of us, that’s spring and summer. You want to be taking cuttings from healthy, vigorous growth. Avoid taking them from a plant that’s stressed, recovering from pests, or just finished flowering. New, soft growth is usually the most eager to root.
Supplies You’ll Need
Here’s what I always have on hand when I’m ready to get my hands dirty:
- Sharp Pruning Shears or a Clean Knife: Precision is key to making clean cuts.
- Rooting Hormone (Optional but Recommended): You can find this at your local garden center. It really gives cuttings a boost.
- Well-Draining Potting Mix: A mix designed for seedlings or houseplants works beautifully. I often use a blend of peat moss, perlite, and a bit of compost.
- Small Pots or Seedling Trays: Make sure they have drainage holes!
- Plastic Bags or a Clear Dome: This helps create a humid environment for your cuttings, which is crucial for rooting.
- Watering Can or Spray Bottle: For gentle watering.
Propagation Methods: Let’s Get Growing!
Oldenlandia salzmannii is quite amenable to a couple of common propagation methods. I’ve had great success with stem cuttings.
Stem Cuttings:
- Select Your Cuttings: Look for healthy, non-flowering stems that are at least 3-4 inches long.
- Make the Cut: Using your clean shears or knife, make a clean cut just below a leaf node (where the leaves attach to the stem). This is where the magic of rooting often begins.
- Prepare the Cutting: Gently remove the leaves from the bottom half of the stem. This prevents them from rotting once they’re in the soil. You can leave a couple of leaves at the very top.
- Dip in Rooting Hormone (Optional): If you’re using rooting hormone, dip the cut end into the powder or gel. Tap off any excess.
- Plant Your Cuttings: Fill your small pots or trays with your well-draining potting mix. Make a small hole with your finger or a pencil. Insert the cut end of the stem into the hole. Gently firm the soil around it.
- Water Gently: Water thoroughly until you see water draining from the bottom of the pot.
- Create Humidity: This is where the plastic bag or dome comes in. Cover the pot loosely with a plastic bag, ensuring the leaves don’t touch the plastic, or place the dome over the seedlings. This traps moisture and creates the humid environment your cuttings need to develop roots.
- Find a Bright Spot: Place your pots in a spot that receives bright, indirect light. Avoid direct sunlight, as it can scorch the delicate cuttings.
- Be Patient! Rooting can take anywhere from 3 to 6 weeks, sometimes longer. You’re looking for new growth, which is a sign that roots are forming.
The “Secret Sauce” (Pro Tips)
Over the years, I’ve picked up a few little tricks that I think make a big difference.
- Bottom Heat is Your Friend: If you can, placing your pots on a gentle seedling heat mat can significantly speed up the rooting process. It mimics the warmth of spring soil and really encourages those roots to get going.
- Don’t Drown Them: While humidity is good, sitting in water is not. Make sure your soil is moist, not waterlogged. I like to water them thoroughly initially, then mist them with a spray bottle every day or two if the surface of the soil looks dry and the humidity dome is doing its job.
- Check for Rot Early: If you see any stem turning mushy or black, it’s usually a sign of rot, often from too much moisture or not enough air circulation. Remove that cutting immediately to prevent it from spreading to others.
Aftercare & Troubleshooting
Once you see signs of new growth—tiny leaves emerging from the top—you know your cuttings have successfully rooted! At this point, you can gradually acclimate them to lower humidity. Remove the plastic bag or dome for a few hours each day, slowly increasing the time until they can thrive without it. Continue to water when the top inch of soil feels dry.
The most common sign of failure is rotting. As I mentioned, this is usually due to overwatering or poor drainage. If a cutting wilts and turns brown or black without any signs of rooting, it’s likely a lost cause. Don’t be discouraged! For every cutting that doesn’t make it, there are others waiting to thrive.
Keep Growing!
Propagating Oldenlandia salzmannii is a wonderful way to connect with nature and experience the joy of creation. Be patient, trust the process, and celebrate every little victory. Happy growing, my friends!
Resource: