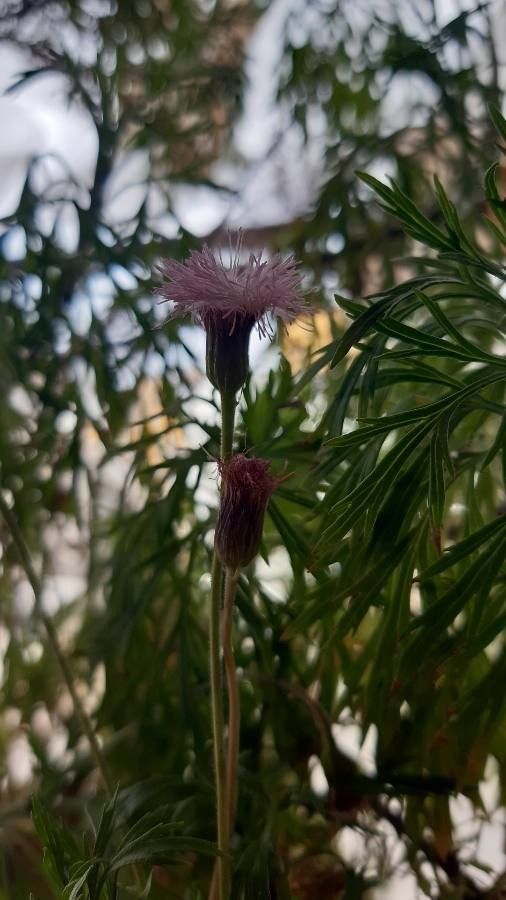
Hello, fellow plant enthusiasts! Today, I want to chat about a plant that’s been stealing my heart lately: Hofmeisteria schaffneri. This beauty, with its delicate, often vibrantly colored foliage, brings such a wonderful splash of personality to any garden or indoor space. If you’ve ever admired its unique charm, you’ll be delighted to know that propagating it isn’t as daunting as it might seem. In fact, it’s a wonderfully rewarding process that lets you multiply your plant collection for free! For those new to the gardening game, I’d say Hofmeisteria schaffneri falls into the moderately easy category. With a little attention and these tips, you’ll be well on your way to success.
The Best Time to Start
When it comes to Hofmeisteria schaffneri, the sweet spot for propagation is undoubtedly late spring through summer. This is when the plant is actively growing, meaning it has plenty of energy reserves to put into developing new roots. You’ll want to select healthy, vigorous stems from your parent plant. Avoid any that look weak, damaged, or are currently in bloom. Think of it like this: happy, strong stems make for happy, strong new plants.
Supplies You’ll Need
Gathering your supplies beforehand makes the whole process smoother. Here’s what I usually have on hand:
- Sharp, clean pruning shears or a sharp knife: This is crucial for making clean cuts that heal well.
- Rooting hormone (optional but recommended): A little boost can significantly improve success rates. Choose one specific for softwood or semi-hardwood cuttings.
- Well-draining potting mix: A good blend of peat moss, perlite, and a bit of compost works wonders. I often use a commercially available seedling or propagation mix.
- Small pots or seed trays with drainage holes: To house your precious cuttings.
- Plastic bags or a propagator: To create a humid environment.
- Watering can or spray bottle: For gentle watering.
Propagation Methods
For Hofmeisteria schaffneri, the most reliable method is stem cuttings. It’s straightforward and gives excellent results.
- Take Your Cuttings: Select stems that are about 4-6 inches long. Make a clean cut just below a leaf node (where a leaf attaches to the stem). Remove the lower leaves, leaving just a couple at the very top. This prevents them from rotting in the soil.
- Apply Rooting Hormone (Optional): If you’re using rooting hormone, dip the cut end into the powder or gel, tapping off any excess.
- Plant Your Cuttings: Fill your small pots or trays with your prepared potting mix. Make a hole in the center with your finger or a pencil. Gently insert the cut end of the stem into the hole, making sure at least one leaf node is below the soil surface. Firm the soil gently around the stem.
- Water Gently: Water the soil thoroughly but very gently, so you don’t dislodge your cuttings.
- Create Humidity: Cover the pots with a clear plastic bag or place them in a propagator. This creates a humid microclimate that helps the cuttings retain moisture while they root. Ensure the bag doesn’t touch the leaves.
The “Secret Sauce” (Pro Tips)
Here are a few little tricks I’ve picked up over the years that can make a real difference:
- Bottom Heat is Your Friend: If you have it available, placing your pots on a gentle heat mat can dramatically speed up root development. Hofmeisteria schaffneri loves a warm environment to get its roots going.
- Don’t Overwater! This is probably the most common mistake. The soil should be consistently moist but not soggy. Too much water is a fast track to rot. I often check the soil with my finger; if it feels cool and damp, it’s probably perfect.
- Location, Location, Location: Place your cuttings in a spot with bright, indirect light. Direct sun can scorch those delicate new leaves before they’re established. A bright windowsill that doesn’t get harsh afternoon sun is usually ideal.
Aftercare & Troubleshooting
Once your cuttings have developed a decent root system – usually after 3-6 weeks – you’ll start to see signs of new growth. You can gently tug on a cutting; if there’s resistance, roots are forming! At this point, you can gradually remove the plastic covering over a few days to acclimate them to lower humidity. Continue to keep the soil moist and bright.
The most common issue you’ll encounter is rot. If you see your cuttings turning black and mushy, it’s usually a sign of overwatering or poor air circulation. Unfortunately, there’s not much to be done once rot sets in, so prevention is key. If you see a cutting that’s failed, remove it immediately to prevent any potential spread of disease. Don’t be discouraged if you lose a few; it’s all part of the learning curve!
A Little Patience Goes a Long Way
Propagating Hofmeisteria schaffneri is a journey. It requires a bit of patience, a watchful eye, and a willingness to experiment. But the reward of nurturing a new plant from a simple cutting is truly something special. Enjoy the process, celebrate every little bit of new growth, and soon you’ll have many beautiful Hofmeisteria schaffneri to share and enjoy. Happy propagating!
Resource: