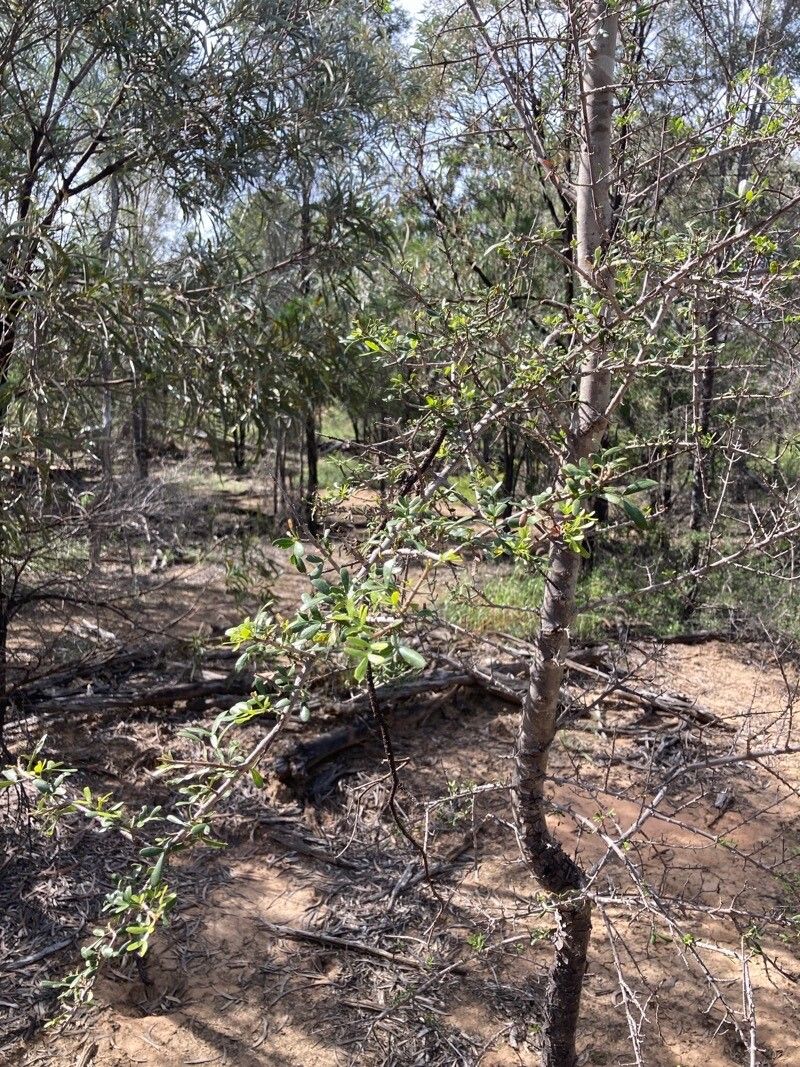
Oh, hello there! I’m so glad you’re interested in Flindersia dissosperma, or as it’s more commonly known, the Queensland Silver Ash. Isn’t it a stunner? That delicate, lacy foliage and the soft, silver undersides of the leaves are just breathtaking. And the flowers! Oh, those clusters of creamy white blossoms are a magnet for pollinators. Growing something beautiful that you’ve grown yourself? There’s just nothing quite like it.
Now, about propagating this beauty. Is it a breeze for absolute beginners? Honestly, I’d say it’s more of a rewarding challenge. It’s not quite as straightforward as a succulent, but with a little care and attention, you can absolutely achieve success. The joy of seeing a tiny seedling or a rooted cutting unfurl its first true leaves is truly special.
The Best Time to Start
For the highest success rate with Flindersia dissosperma, I like to get started in late spring to early summer. This is when the plant is actively growing, and the stems have enough energy to put into developing roots. If you’re collecting seeds, naturally, that’s dictated by when the pods mature, but for cuttings, this active growth period is your golden ticket.
Supplies You’ll Need
Gathering your supplies before you begin makes the whole process smoother. Here’s what I usually have on hand:
- Sharp, clean pruning shears or a sharp knife: A clean cut is crucial to prevent disease.
- Rooting hormone (optional but recommended): A good quality rooting powder or gel can really give your cuttings a boost.
- Potting mix: I prefer a well-draining mix. A good blend is typically equal parts peat moss, perlite, and coarse sand. You can also find commercially available seed-starting or propagation mixes.
- Small pots or seed trays: Clean, with drainage holes, of course!
- Plastic bags or a propagator: To create a humid environment for your cuttings.
- Watering can with a fine rose: For gentle watering.
- Labels and a permanent marker: Don’t forget to label what you’ve propagated and when!
Propagation Methods
There are a couple of ways we can go about coaxing new life from your Queensland Silver Ash.
1. Stem Cuttings: This is my go-to method for Flindersia dissosperma.
- Take your cuttings: In late spring or early summer, select healthy, non-flowering stems that are about 10-15 cm long. Make a clean cut just below a leaf node. This is where the magic happens, as that’s where the roots are most likely to form.
- Prepare the cutting: Gently remove the lower leaves from the cutting, leaving just a few at the top. This helps prevent them from rotting in the soil.
- Apply rooting hormone: If you’re using it, dip the cut end of the stem into the rooting hormone, tapping off any excess.
- Plant your cuttings: Fill your pots with your prepared potting mix. Make a hole in the center with a pencil or your finger. Insert the cutting into the hole, ensuring the leaf nodes are buried. Gently firm the soil around the base.
- Water and cover: Water the potting mix until it’s moist but not soggy. Cover the pot with a clear plastic bag or place it inside a propagator to maintain high humidity. Make sure the leaves don’t touch the sides of the bag if possible.
- Find a warm spot: Place the pot in a warm location with bright, indirect light. Avoid direct sunlight, which can scorch the cuttings.
2. Seed Propagation: If you manage to get your hands on fresh seeds, this is another rewarding route, though it can take a bit longer.
- Sow your seeds: Fill a seed tray with your well-draining potting mix. Sow the seeds thinly on the surface and lightly cover them with about 0.5 cm of the mix.
- Water gently: Mist the surface with water. You can cover the tray with a propagator lid or plastic wrap to maintain humidity.
- Provide warmth and light: Keep the tray in a warm spot with good light. Bottom heat can significantly improve germination rates.
- Be patient: Germination can be erratic and might take several weeks to a few months.
The “Secret Sauce” (Pro Tips)
Here are a few little things I’ve learned over the years that can make a big difference:
- Bottom Heat is Your Friend: For both cuttings and seeds, providing gentle bottom heat (a heating mat designed for propagation works wonders) really encourages root development. It mimics the warmth of spring soil.
- Air Circulation is Key: While humidity is vital, too much stagnant air can lead to fungal issues. If you’re using a plastic bag, occasionally open it for a few minutes to allow for some airflow.
- Don’t Disturb Too Soon: Resist the urge to tug on your cuttings to see if they have roots. You might damage delicate new growth. Wait until you see signs of new leaf development before you even think about repotting.
Aftercare & Troubleshooting
Once you see signs of new growth or feel a gentle resistance when you very carefully tug on a cutting, it’s time to start thinking about moving on.
- Gradual Acclimatization: If your cuttings were under plastic, gradually acclimatize them to normal humidity by opening the bag a little more each day over a week.
- Gentle Watering: Continue to water your new plants when the top inch of soil feels dry. Use a watering can with a fine rose to avoid disturbing the roots.
- Light and Temperature: Keep them in that bright, indirect light and avoid sudden temperature changes.
- Troubleshooting: The most common problem you’ll encounter is rot. This usually happens from overwatering and poor drainage, or lack of airflow. If a cutting turns black and mushy, unfortunately, it’s usually a lost cause. Pull it out to prevent it from spreading. If you see white fuzzy mold on the soil surface, increase airflow and ensure you’re not overwatering.
A Bittersweet Goodbye (For Now!)
Propagating plants is a journey, and with Flindersia dissosperma, it’s a journey worth taking. There will be times you’ll feel like you’re talking to your plants (I do!), and there might be a few failed attempts. That’s all part of the learning process. Be patient with yourself and your little green charges. Enjoy the gentle unfolding of new life. Happy propagating!
Resource: