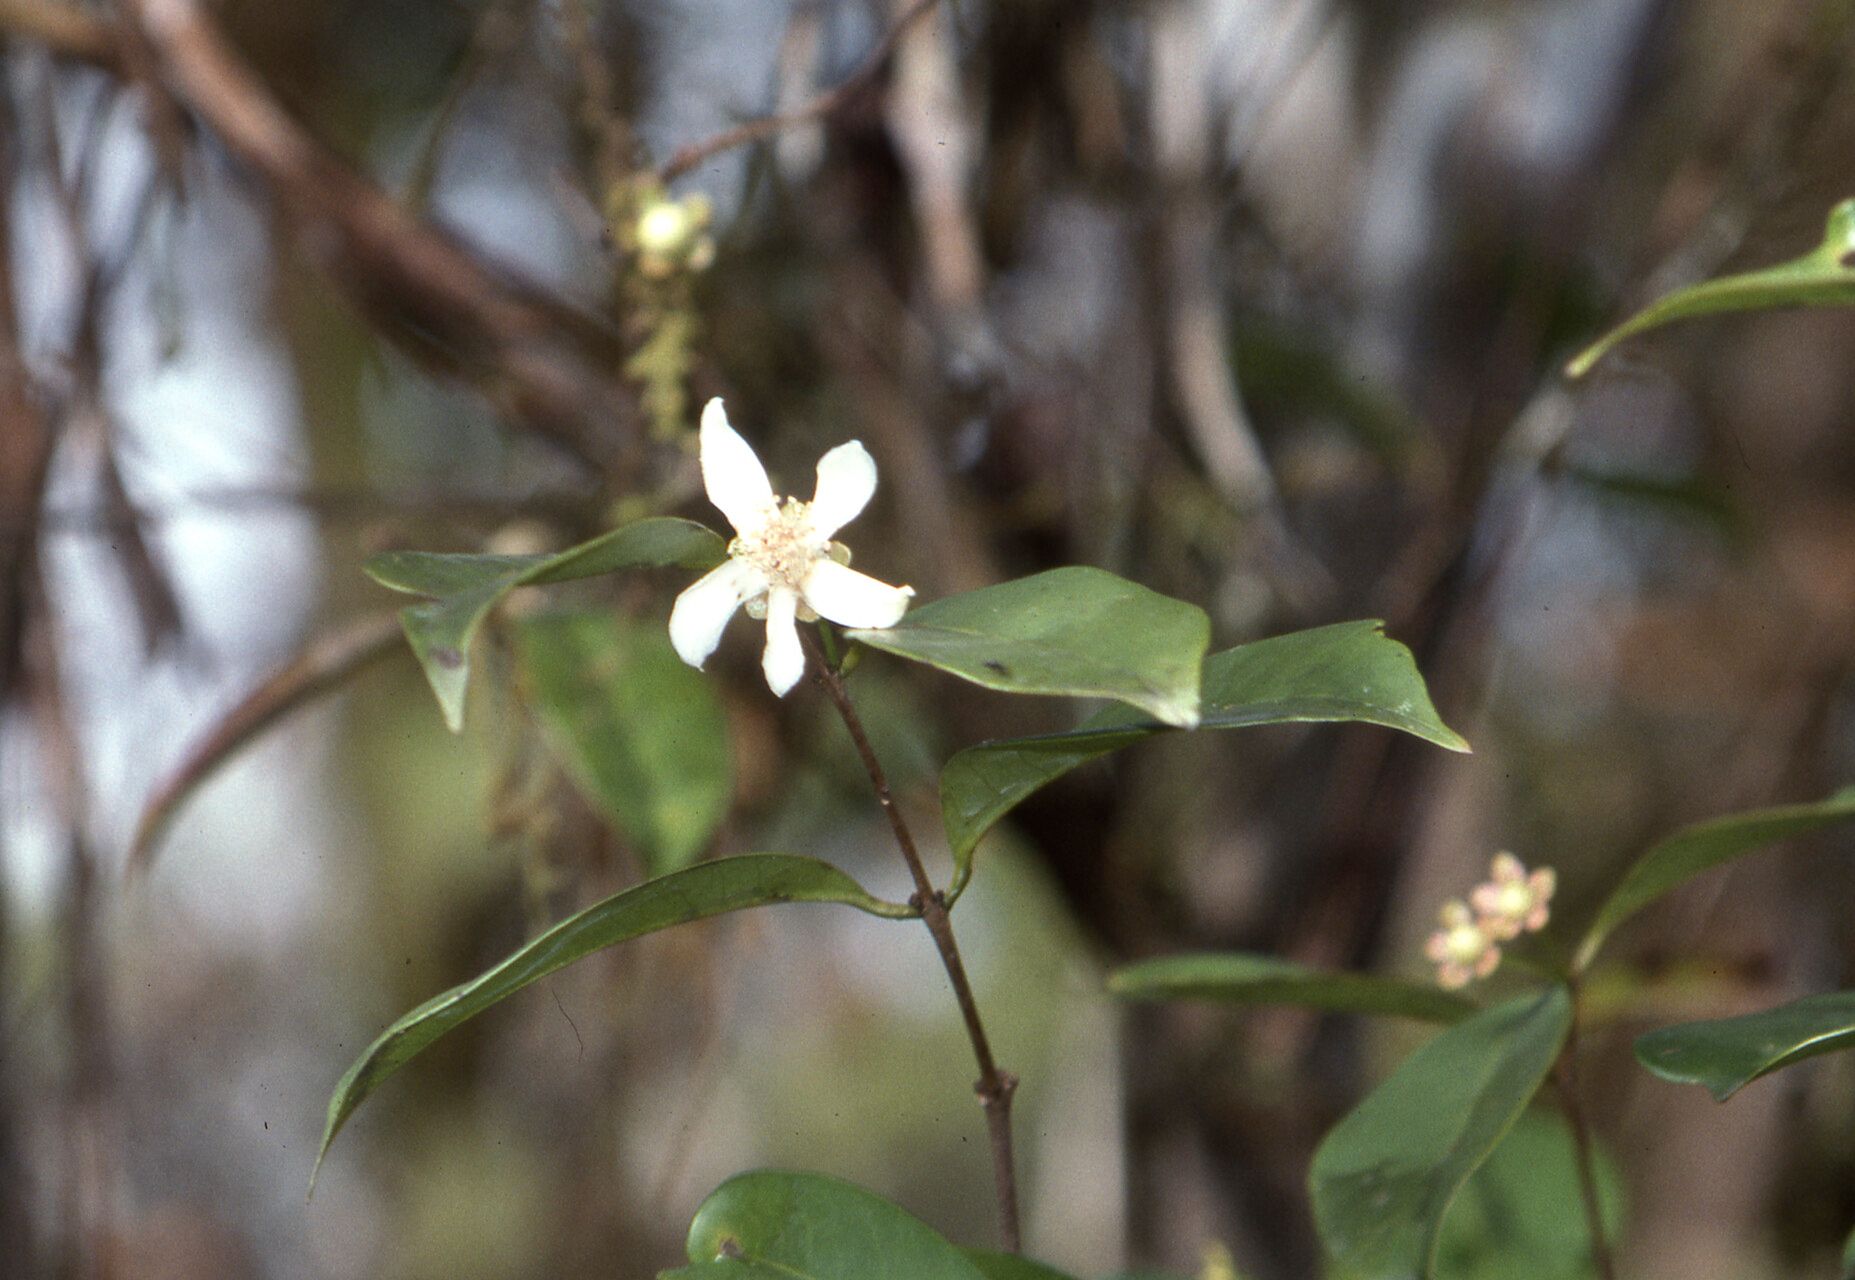
Hello garden friends! It’s so lovely to have you join me today. We’re going to dive into something truly special: Calycolpus goetheanus. If you’re a fan of its uniquely textured, silvery leaves and charming, daisy-like flowers, you know how striking this plant is. And the best part? It’s wonderfully rewarding to propagate your own! While it might seem a little finicky at first glance, with a few pointers, you’ll have a whole new generation of these beauties gracing your space. It’s not a plant I’d necessarily call beginner-proof, but with a bit of patience, you’ll be a pro in no time.
The Best Time to Start
For Calycolpus goetheanus, the sweet spot for propagation is generally in the late spring or early summer. This is when the plant is in its active growing phase, meaning it’s full of energy and vigor, making it much more receptive to creating new roots. You want to aim for stems that are semi-hardwood – they’ll be slightly firm but still flexible, not brittle and woody. Think of it as the perfect stage, like a ripe peach!
Supplies You’ll Need
Gathering the right tools before you begin makes all the difference. Here’s what I always have on hand:
- Sharp Pruning Shears or a Craft Knife: For clean cuts that heal well.
- Seed Starting Mix or a Well-Draining Potting Mix: I prefer a mix with plenty of perlite or coarse sand. A good blend I use is 50% peat moss and 50% perlite.
- Rooting Hormone (Optional but Recommended): A powder or gel helps to encourage root development.
- Small Pots or Propagation Trays: Ensure they have drainage holes.
- Watering Can or Spray Bottle: For gentle irrigation.
- Clear Plastic Bags or a Propagator Lid: To maintain humidity.
- Small Pebbles or Grit: For the bottom of pots if using water propagation.
- Labels and a Marker: So you don’t forget what you’ve planted!
Propagation Methods
Let’s get our hands dirty! Usually, stem cuttings are your best bet for Calycolpus goetheanus.
Stem Cuttings: My Go-To Method
- Make the Cut: Select a healthy stem, about 4-6 inches long. Use your clean pruning shears or knife to make a clean, angled cut just below a leaf node (where a leaf attaches to the stem). This node is where roots are most likely to form.
- Prepare the Cutting: Gently remove the leaves from the bottom half of the cutting. You want to expose at least two leaf nodes. If the remaining leaves are very large, you can even cut them in half to reduce water loss.
- Dip in Rooting Hormone (Optional): If you’re using rooting hormone, dip the cut end of the stem into it. Tap off any excess.
- Plant the Cuttings: Fill your small pots or trays with your well-draining soil mix. Make a small hole with your finger or a pencil and gently insert the prepared cutting, ensuring at least one or two leaf nodes are buried. Firm the soil gently around the stem.
- Water Gently: Water the soil thoroughly until water drains from the bottom. A spray bottle can be a lifesaver here to avoid disturbing the soil too much.
- Create a Humid Environment: Cover the pots with a clear plastic bag or place them in a propagator. This is crucial for preventing the cuttings from drying out while they establish roots. Make sure the bag doesn’t touch the leaves too much.
- Find a Cozy Spot: Place the pots in a bright location, but out of direct, harsh sunlight. A spot on a windowsill that gets morning sun is usually perfect.
Water Propagation (A Fun Alternative)
You can also try propagating Calycolpus goetheanus in water, though I find stem cuttings in soil generally have a higher success rate for this particular plant.
- Prepare Your Cuttings: Follow steps 1 and 2 for stem cuttings.
- Place in Water: Find a clean jar or vase and fill it with room-temperature water. You can add a few small pebbles or grit to the bottom of the jar to help support the cuttings.
- Submerge Nodes: Place the prepared cuttings in the water, ensuring at least one or two leaf nodes are submerged.
- Change Water Regularly: This is key! Change the water every 2-3 days to keep it fresh and prevent bacterial growth.
- Monitor for Roots: You should start to see tiny white roots appearing from the submerged nodes. Once the roots are about an inch long, you can carefully transplant them into pots with your well-draining soil mix.
The “Secret Sauce” (Pro Tips)
Now for a couple of little secrets I’ve picked up over the years that can really give you an edge:
- Bottom Heat is Your Friend: Calycolpus goetheanus cuttings love a little warmth from below. If you have a heat mat designed for seedlings, placing your pots on it can significantly speed up root formation. It mimics that lovely warm soil found in their native habitats.
- Don’t Rush the Transplant: When you’re doing stem cuttings, it’s easy to get excited about seeing those first little roots. But wait until you can feel a gentle resistance when you tug ever so slightly on the cutting. This tells you the roots are well-established and can handle the move. Trying to transplant too early is a common reason for failure.
- Air Circulation Matters: While we need humidity, stagnant air can lead to fungal issues. If you’re using a plastic bag, open it up for a few minutes each day to allow for some fresh air exchange. This is especially important if you notice any condensation building up excessively.
Aftercare & Troubleshooting
Once your cuttings have developed a good root system (you’ll see new growth at the top, and they’ll resist a gentle tug), it’s time to treat them like tiny, precious plants.
- Gradual Acclimation: If you used a plastic bag or propagator, gradually remove it over a few days. You don’t want to shock your new babies with a sudden drop in humidity.
- Regular Watering: Continue to keep the soil consistently moist but not waterlogged. Let the top inch of soil dry out slightly between waterings.
- Light and Nutrients: Gradually introduce them to more light, eventually moving them to the same conditions as your mature plants. Wait a few weeks after transplanting before giving them their first light feeding of a diluted liquid fertilizer.
The most common issue you’ll encounter is rot. If a cutting turns black and mushy, or if you see fuzzy mold on the soil surface, it’s a sign of too much moisture and not enough air circulation. Don’t be discouraged if some don’t make it; it’s all part of the learning process! Just remove the affected cutting and try to adjust your watering or airflow for the others.
A Little Patience Goes a Long Way
Propagating any plant is a journey, and Calycolpus goetheanus is no exception. There will be moments of anticipation, and perhaps a few disappointments, but the thrill of seeing those first tiny leaves emerge is unparalleled. Be patient, enjoy the process, and before you know it, you’ll be sharing your own cuttings with friends. Happy gardening!
Resource: