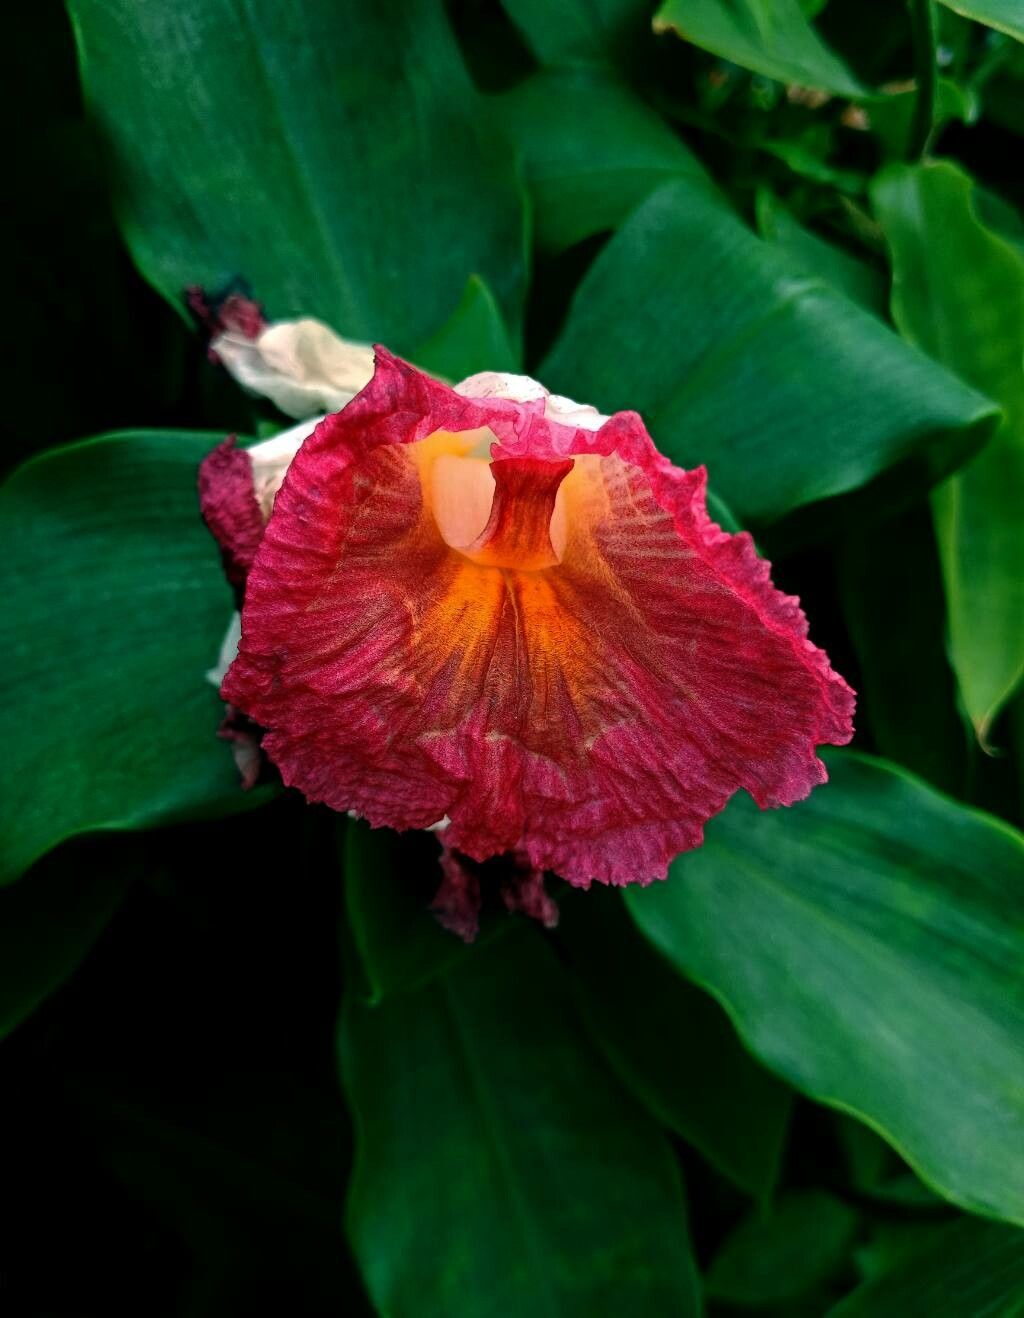
Hey there, fellow plant lovers! It’s so good to have you join me today. We’re going to dive into the wonderfully rewarding world of propagating Costus laevis, often called the Spiral Ginger.
This beauty, with its gorgeous, architectural spiral stems and delicate blooms, is a real showstopper in any garden or even as a lush houseplant. Seeing a new plant emerge from a tiny piece of its parent is just magical, and with Costus laevis, it’s a journey that’s surprisingly accessible. Don’t let it intimidate you; this is a wonderful plant for both seasoned gardeners and enthusiastic beginners alike.
The Best Time to Start
When it comes to coaxing new life from your Costus laevis, spring and early summer are your golden ticket. This is when the plant is actively growing and has the most energy to put into developing roots. You’re looking for healthy, vigorous stems that aren’t flowering yet. Think of it as catching your plant at its peak performance!
Supplies You’ll Need
Gathering your tools beforehand makes the whole process smoother. Here’s what I always have on hand:
- Sharp, clean pruning shears or a knife: Sanitation is key to preventing disease.
- Potting medium: A well-draining mix is crucial. I like a blend of potting soil, perlite, and a bit of coco coir. You want something that holds moisture but doesn’t become waterlogged.
- Small pots or trays: Anything that can hold your cuttings and the soil. Make sure they have drainage holes!
- Rooting hormone (optional but helpful): A powder or gel can significantly speed up root development.
- Watering can or spray bottle: For gentle watering.
- Clear plastic bag or propagation dome: To create a humid environment.
Propagation Methods
The most straightforward way to multiply your Costus laevis is through stem cuttings. It’s incredibly effective, and before you know it, you’ll have a little ginger army!
Stem Cuttings:
- Select a healthy stem: Look for a piece that’s at least 4-6 inches long and has a few nodes (where leaves emerge). Avoid woody or old stems.
- Make a clean cut: Using your sharp shears, cut the stem just below a node. This is where the magic happens, as new roots will emerge from this area.
- Prepare the cutting: Gently remove the lower leaves, leaving only the top 2-3 leaves. If the remaining leaves are very large, I like to cut them in half to reduce water loss through transpiration. This allows the cutting to focus its energy on root production.
- Apply rooting hormone (optional): Dip the cut end into your rooting hormone, tapping off any excess.
- Plant your cutting: Make a small hole in your prepared potting mix and insert the cut end of the stem, ensuring at least one node is buried. Gently firm the soil around it.
- Water gently: Water the soil until it’s evenly moist. Don’t drench it.
- Create humidity: Place the pot inside a clear plastic bag or cover it with a propagation dome. This traps moisture and creates the humid environment your cutting needs to thrive. Make sure the leaves aren’t touching the sides of the bag if possible; this can lead to rot.
- Provide light and warmth: Place the pot in a bright spot, but out of direct sunlight. A warm location is beneficial, especially if you’re using bottom heat.
The “Secret Sauce” (Pro Tips)
Every gardener has a few tricks up their sleeve, and I’m happy to share mine for Costus laevis propagation:
- Bottom Heat is Your Friend: Forcing cuttings often benefits from a little warmth from below. A heating mat designed for seedlings can make a huge difference in speeding up root formation.
- Don’t Disturb Too Soon: Resist the urge to tug on your cuttings to check for roots. You’ll know they’re established when you see new growth emerging from the top. This can take several weeks, so patience is key!
- The Magic of the “Mother Plant” Dormancy: While spring is ideal, sometimes you can get successful cuttings from a plant that has just finished flowering and is entering a slightly less active phase. The stored energy can still fuel root development.
Aftercare & Troubleshooting
Once your cuttings have developed roots and you see new growth, it’s time for their next adventure.
- Acclimatize them slowly: If you’ve used a plastic bag, gradually open it over a few days to get your new plants used to drier air.
- Water consistently: Keep the soil evenly moist but not soggy. As they grow larger, you can water them as you would a mature Costus laevis.
- Watch for rot: The most common issue you’ll face is rot, which usually happens if the cuttings are too wet or not getting enough air circulation. If you see a cutting turning mushy or black, it’s usually a sign of rot. Sadly, these are often beyond saving.
- Lack of growth: If your cutting just sits there and doesn’t do anything, it might just be taking its sweet time, or it might not have successfully rooted. It’s best to be patient for at least a month before giving up.
A Encouraging Closing
Propagating plants is a journey of discovery and a beautiful way to connect with nature’s rhythms. Don’t get discouraged if every cutting doesn’t make it. Think of it as simply experimenting with life! Enjoy the process, celebrate every little root that forms, and soon you’ll be surrounded by even more of these captivating spiral beauties. Happy planting!
Resource:
https://identify.plantnet.org/k-world-flora/species/Costus%20laevis%20Ruiz%20&%20Pav./data