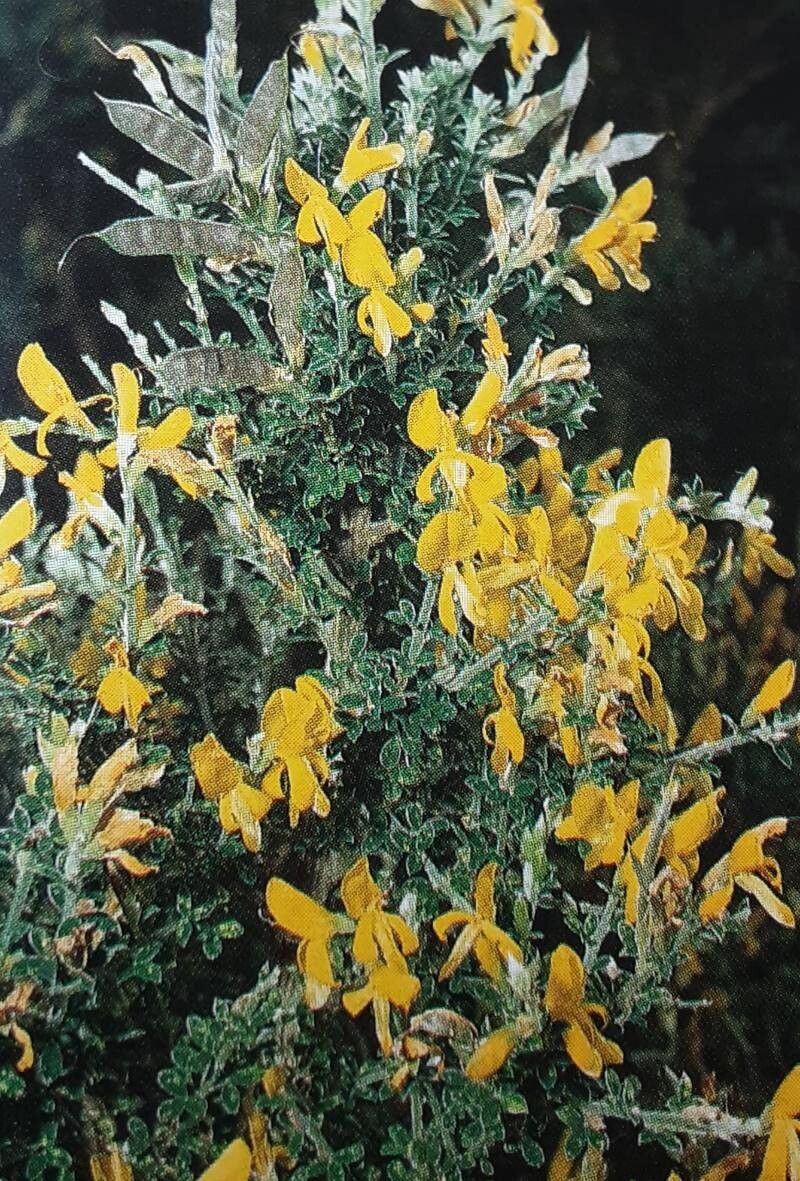
Well hello there, fellow plant lover! Today, we’re diving into the wonderful world of Genista canariensis, also known as Canary Island Broom. If you’ve ever admired its vibrant yellow blooms and lush, green foliage, you know how much joy it brings to a garden. I’ve been growing and propagating these beauties for two decades, and let me tell you, having more of them is a truly satisfying endeavor. The best part? It’s a surprisingly achievable project, even for those just dipping their toes into the world of propagation.
The Best Time to Start
For Genista canariensis, the sweet spot for propagation is generally in late spring to early summer. This is when the plant is actively growing, and the new shoots are nice and pliable, making them ideal for cuttings. You want to look for stems that are halfway between soft and woody – not so floppy they’ll wilt instantly, but not so rigid that they’re hard to root.
Supplies You’ll Need
Before we get our hands dirty, let’s gather our supplies:
- Sharp pruning shears or a clean knife: For taking clean cuttings.
- Rooting hormone (powder or gel): This is a big help in encouraging those roots to form.
- A well-draining potting mix: I like a blend of coarse sand, perlite, and peat moss. You can also use a commercial seed-starting or cactus mix.
- Small pots or trays: Clean ones are a must!
- Plastic bags or a propagator: To create a humid environment for your cuttings.
- Water mister: For keeping things moist without waterlogging.
- Labeling stakes and a pen: Because remembering which cutting is which can get tricky!
Propagation Methods
I’ve found the most reliable method for Genista canariensis is stem cuttings. Let’s walk through it:
- Take Your Cuttings: Using your clean shears or knife, take cuttings that are about 4-6 inches long. Make the cut just below a leaf node – that’s where the magic of rooting happens. Remove any lower leaves, leaving just the top few.
- Apply Rooting Hormone: Dip the cut end of your stem into the rooting hormone, tapping off any excess. This step is crucial for giving your cuttings a strong start.
- Plant Your Cuttings: Fill your small pots or trays with the prepared potting mix. Make a small hole in the center with a pencil or your finger, and gently insert the cutting, firming the soil around it.
- Water Gently: Water thoroughly but avoid letting the pots sit in soggy soil. You want the soil to be consistently moist, not waterlogged.
- Create Humidity: Cover the pots with a clear plastic bag or place them in a propagator. This is vital to prevent the cuttings from drying out. Make sure the leaves aren’t touching the plastic if possible.
The “Secret Sauce” (Pro Tips)
Over the years, I’ve learned a few tricks that really boost success rates:
- Bottom Heat is Your Friend: If you can, place your newly planted cuttings on a heat mat designed for propagation. This warmth from below encourages root development significantly. Think of it as a cozy blanket for your cuttings!
- The “Slap Test”: When you think your cuttings might be rooted (usually after 4-6 weeks), give them a gentle tug. If there’s resistance, you’ve got roots! If they pull out easily, they haven’t quite taken yet. Don’t be discouraged if some don’t make it; gardening is all about learning.
Aftercare & Troubleshooting
Once you see new growth appearing, it’s a good sign roots are forming! Carefully remove the plastic bag for a few hours each day to acclimate them to lower humidity. Gradually increase the time the bag is off over a week.
The most common issue you’ll encounter is rot, often indicated by stems turning black and mushy. This usually means the cuttings are getting too much water and not enough air circulation. If you see this, remove the affected cutting immediately and try to dry out the soil slightly for the remaining ones. It’s better to err on the side of slightly dry than overly wet.
A Encouraging Closing
Watching a tiny cutting transform into a new, thriving plant is one of gardening’s greatest pleasures. Be patient with your Genista canariensis cuttings. Some may root faster than others, and that’s perfectly okay. Enjoy the process, learn from each attempt, and soon you’ll be surrounded by the cheerful bloom of your own Canary Island Brooms. Happy propagating!
Resource:
https://identify.plantnet.org/k-world-flora/species/Genista%20canariensis%20L./data