Oh, hello there! It’s so lovely to have you pop by for a bit of garden chat. Today, we’re going to dive into the wonderful world of propagating Indigofera cylindracea. If you haven’t met this beauty yet, imagine delicate arches of foliage adorned with spikes of vibrant indigo-blue flowers – it’s truly a showstopper in the garden! Watching a new plant emerge from a tiny cutting is one of the most rewarding feelings for any gardener, and frankly, Indigofera cylindracea is quite a cooperative plant, which makes it a good choice even if you’re just starting to explore the joys of propagation.
The Best Time to Start
For the highest success rate, I’ve found that late spring to early summer is absolutely perfect. This is when the plant is in its active growth phase. You want to be taking cuttings from stems that are soft and new, or “semi-hardwood.” Avoid anything that’s too woody and stiff, or still very tender and easily bruised. Think of it as picking a stage of growth that’s robust but not yet fully established.
Supplies You’ll Need
Here’s a little rundown of what you’ll want to have on hand:
- Sharp, clean pruning shears or a keen knife: For making clean cuts, which is crucial.
- Rooting hormone powder or gel: This isn’t strictly essential, but it really gives your cuttings a boost.
- Potting mix: A well-draining, sandy mix is best. I often use a blend of perlite, peat moss, and a little bit of sand. You can even buy specific propagation mixes.
- Small pots or trays: Clean ones, please!
- Plastic bag or propagation dome: To create a humid environment for your cuttings.
- Watering can or spray bottle: For gentle watering.
- A pen or label maker: To mark your cuttings – trust me, you’ll forget which is which!
Propagation Methods
There are a couple of ways to go about this, and both are quite effective.
1. Stem Cuttings – My Go-To Method
This is generally the most straightforward and successful approach for Indigofera cylindracea.
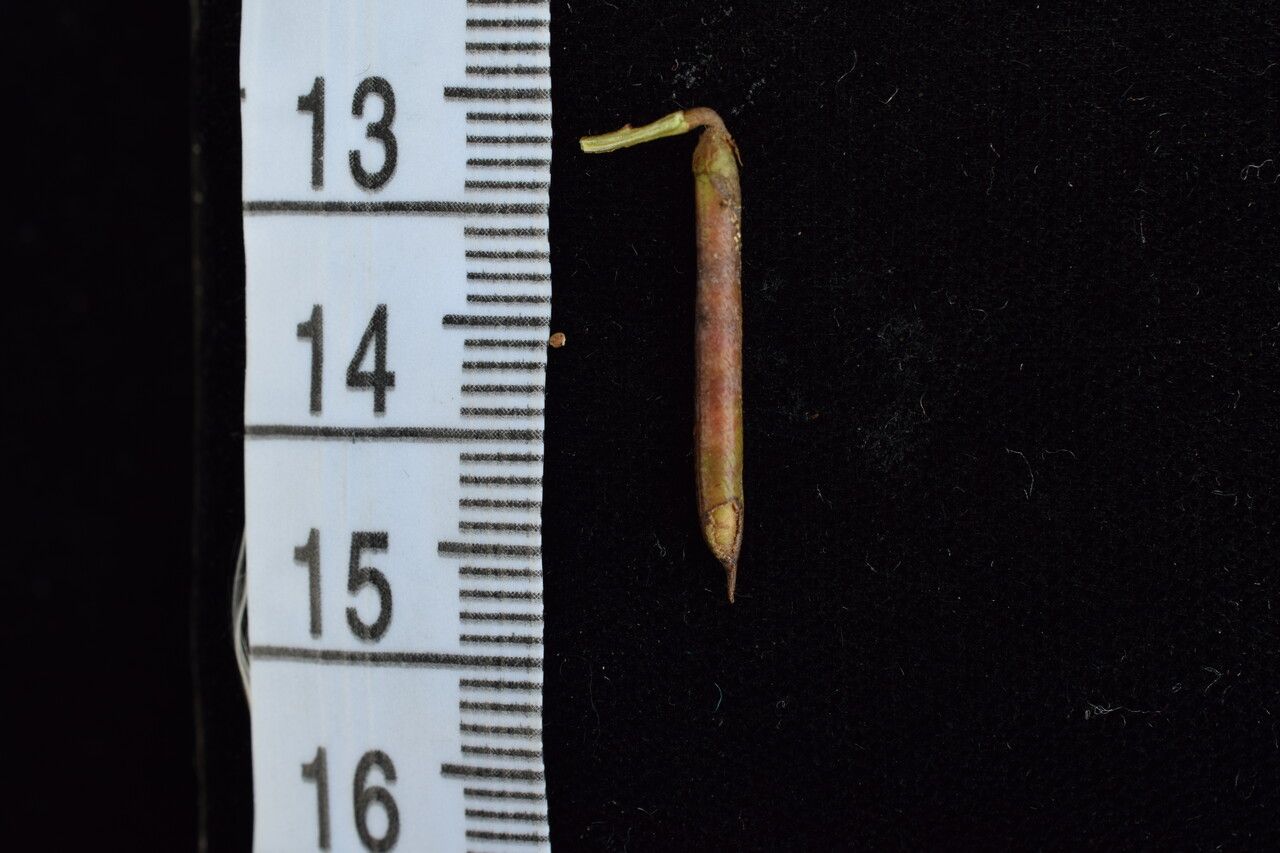
- Select your cutting: Find a healthy, non-flowering stem that’s about 4-6 inches long. Make a clean cut just below a leaf node (where a leaf grows from the stem).
- Prepare the cutting: Gently remove the lower leaves, leaving just a couple at the top. This prevents them from rotting when in contact with the soil.
- Dip in rooting hormone: If you’re using rooting hormone, dip the cut end into the powder or gel. Tap off any excess.
- Pot it up: Make a hole in your prepared potting mix with a pencil or your finger. Gently insert the cutting into the hole, ensuring the node where you removed the leaves is buried. Firm the soil gently around it.
- Water lightly: Water the soil thoroughly but gently. You don’t want to dislodge the cutting.
- Create humidity: Cover the pot or tray with a clear plastic bag or a propagation dome. This keeps the humidity high, which is vital for cuttings. If using a bag, you might need to prop it up with a few small sticks so it doesn’t touch the leaves.
2. Water Propagation – A Cheerful Option
This method is visually satisfying!
- Take your cutting: Similar to stem cuttings, take a 4-6 inch cutting from a healthy stem, removing the lower leaves.
- Place in water: Put the cutting in a clean jar or glass of water. Make sure no leaves are submerged – they will rot.
- Location, location, location: Place the jar in a bright spot, but out of direct, scorching sunlight.
- Change water regularly: Change the water every few days to keep it fresh and prevent algae growth.
- Patience is a virtue: You’ll start to see little white roots emerging from the nodes within a few weeks. Once the roots are about an inch long, you can transplant them into a pot filled with your well-draining potting mix.
The “Secret Sauce” (Pro Tips)
Here are a couple of little tricks I’ve learned over the years that can really make a difference:
- The Clean Sweep: Always, always use sanitized tools. Any bit of disease on your shears can end up infecting your cuttings before they even have a chance. A quick wipe with rubbing alcohol between cuts is all it takes.
- Warmth Encourages Roots: While it’s not essential for Indigofera cylindracea, I’ve found that providing some gentle bottom heat can significantly speed up root development. A seedling heat mat placed beneath your pots can be a game-changer, especially if your propagation area is a bit on the cool side.
Aftercare & Troubleshooting
Once you see signs of roots – maybe new leaf growth or you gently tug on the cutting and feel resistance – it’s time to transition. Gradually acclimate your new plant to normal room humidity by opening the plastic bag or dome a little each day. Continue to keep the soil consistently moist but not waterlogged.
The most common issue you might encounter is rot. This usually happens due to:
- Overwatering: The soil stays too wet for too long.
- Poor drainage: Your potting mix isn’t allowing excess water to escape.
- Lack of air circulation: The humid environment becomes stagnant.
If you see the stem turning mushy or black at the soil line, it’s likely rot. There’s usually no coming back from this, so it’s a good reminder to back off on the water and ensure good drainage. Don’t be discouraged if you lose a cutting; it’s just part of the learning process!
Happy Propagating!
See? It’s not as daunting as it might seem. Growing new plants from cuttings is a truly magical experience. Be patient with your little indigo beauties. Sometimes they take their sweet time, and that’s perfectly okay. Enjoy the journey, and soon you’ll have a whole garden full of these gorgeous indigo blooms! Happy gardening!
Resource: