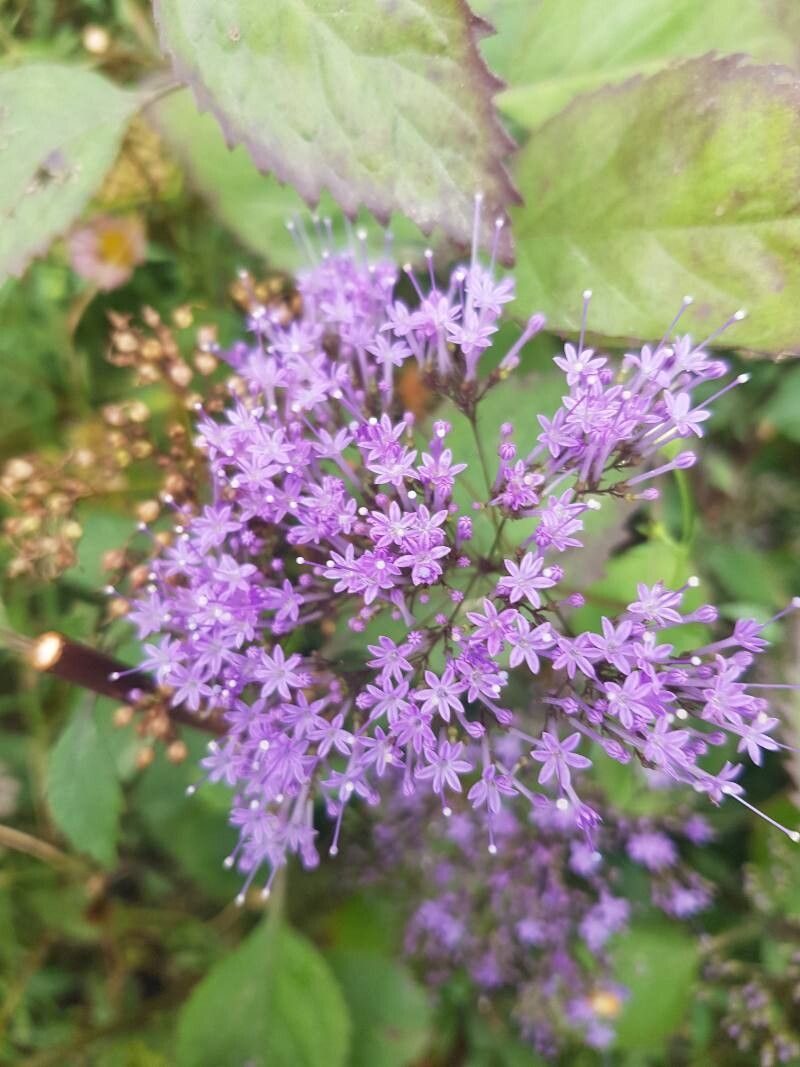
Oh, Trachelium! If you’ve ever seen this beauty gracing a garden or a bouquet, you know why I’m so smitten. Those cloud-like clusters of azure and violet blooms are simply captivating. And the best part? Bringing these lovelies into being yourself is incredibly rewarding. Don’t let the scientific name scare you; propagating Trachelium caeruleum, also known as Blue Throatwort, is a journey I find quite accessible, even for those just starting to get their hands dirty.
The Best Time to Start
For the highest success rate with Trachelium, I always aim for late spring or early summer. This is when the plant is actively growing and has plenty of energy to put into developing roots. You’re looking for new, healthy growth – avoid anything that looks weak or has already flowered.
Supplies You’ll Need
Here’s what I like to have on hand before I begin:
- Sharp, clean pruning shears or a razor blade: For precise cuts, minimizing damage.
- Rooting hormone powder or gel: This is a game-changer for encouraging root development.
- Seed-starting mix or a well-draining potting mix: I often use a blend of peat moss, perlite, and a little bit of compost.
- Small pots or seedling trays: Cleanliness is key here.
- A spray bottle: For keeping things gently moist.
- Clear plastic bags or a propagator: To create a humid environment.
- Optional: Heat mat: For a little boost of warmth.
Propagation Methods
Let’s get propagating! I find stem cuttings to be the most reliable method for Trachelium.
Stem Cuttings
- Take tip cuttings: Look for healthy, non-flowering stems that are about 4-6 inches long. Using your clean shears or razor, make a clean cut just below a leaf node (where a leaf attaches to the stem).
- Prepare the cuttings: Gently remove the lower leaves, leaving only the top set or two. This prevents them from rotting in the soil. If the remaining leaves are very large, you can also cut them in half to reduce water loss.
- Apply rooting hormone: Dip the cut end of each stem into your rooting hormone powder or gel. Tap off any excess.
- Plant the cuttings: Gently insert the treated end of each cutting into your prepared potting mix. Make sure the leaf nodes are buried as this is where roots will emerge.
- Water gently: Give the soil a light watering, just enough to settle the mix around the cuttings.
- Create humidity: Cover the pots or trays with clear plastic bags or a propagator lid. This traps moisture and creates the humid environment that cuttings love. Poke a few small holes in the bag for ventilation, or vent the propagator daily.
- Provide warmth and light: Place the cuttings in a bright location out of direct sunlight. If you have a heat mat, place the pots on it for gentle warmth from below.
The “Secret Sauce” (Pro Tips)
Now, for a few little tricks I’ve picked up over the years:
- The “pinch and wait” technique: After you’ve taken your cuttings, don’t be afraid to lightly “pinch” the tip of the cutting above the top leaves. This encourages branching later on, giving you a bushier plant.
- Bottom heat is your friend: While not strictly necessary, I’ve found that providing gentle bottom heat with a seedling mat significantly speeds up root formation. It’s like a warm hug for your cuttings!
- Don’t let those leaves touch water: If you opt for water propagation (which I find a bit trickier for Trachelium, but possible), it is crucial that no leaves are submerged in the water. They will rot very quickly.
Aftercare & Troubleshooting
Once you see signs of new growth – tiny leaves unfurling or a gentle tug on the cutting meeting resistance – you know roots have formed!
- Gradually acclimate: Slowly start to introduce your new plant to drier air by lifting the plastic cover for longer periods each day.
- Watering: Water when the top inch of soil feels dry. Always err on the side of slightly too dry rather than too wet.
- Transplanting: Once the roots have filled the pot and the plant is looking robust, you can transplant it into a slightly larger pot.
- Common Failure: The most common issue is rot. This usually happens if the cuttings are kept too wet or lack ventilation. If you see stems turning black and mushy, sadly, that cutting is likely lost. Prevention is key! Ensure good drainage and adequate airflow.
Propagating Trachelium is such a joyful process. There will be times when not every cutting takes, and that’s okay. Gardening is all about observation, patience, and learning. So gather your supplies, embrace the experiment, and enjoy the magic of nurturing new life. Happy gardening!
Resource:
https://identify.plantnet.org/k-world-flora/species/Trachelium%20caeruleum%20L./data