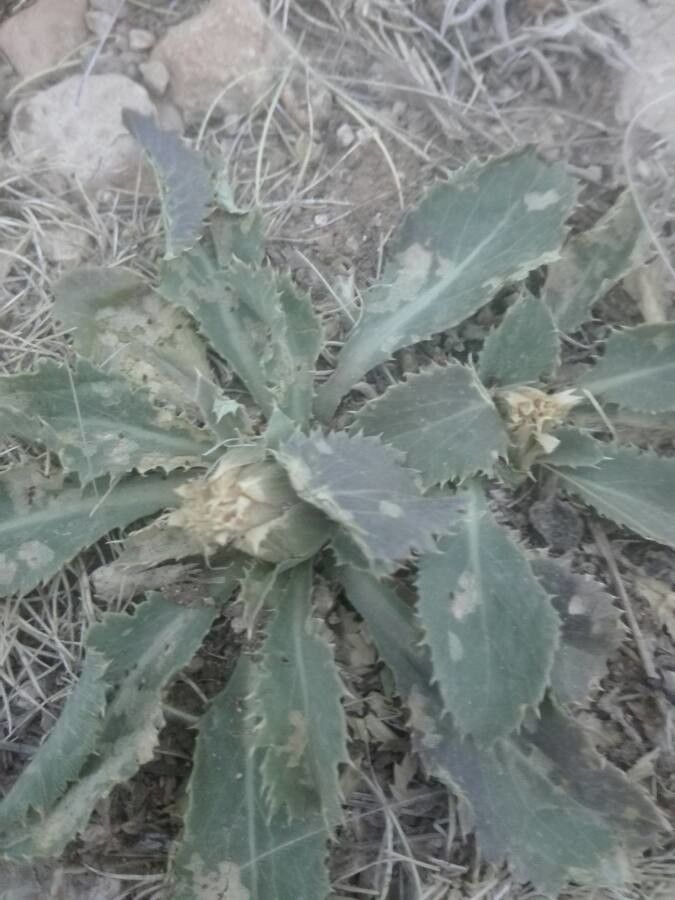
Oh, Carthamus plumosus! What a delightful plant to get to know. For years, I’ve been charmed by its feathery, almost ethereal foliage and its understated elegance. It brings a unique texture to the garden, a softness that can really make other, bolder plants pop. And the best part? Sharing this beauty is incredibly rewarding. You can fill your own garden with more of it, or even gift a little piece of your green thumb to a friend. Now, is it a breeze for absolute beginners? Let’s just say it’s a lovely challenge that will teach you a thing or two. You’ll learn to observe closely, and that’s half the fun.
The Best Time to Start
Personally, I find late spring to early summer is the sweet spot for propagating Carthamus plumosus. The plant is actively growing then, with plenty of fresh, healthy stems to work with. You’re looking for new growth that’s just starting to firm up – not those super soft, floppy tips, but also not the woody old stems. Think of it as that perfect stage between baby and adult!
Supplies You’ll Need
Gathering your supplies beforehand always makes the process so much smoother. Here’s what I tend to have on hand:
- Sharp, clean pruning shears or a sharp knife: Cleanliness is crucial to prevent disease.
- A good quality potting mix: I prefer a well-draining mix, maybe something with Perlite or fine bark added.
- Small pots or trays: Make sure they have drainage holes!
- Rooting hormone (optional but helpful): A little powder can give your cuttings a boost.
- A misting bottle: For keeping things humid.
- A plastic bag or propagator: To create a mini greenhouse effect.
- Labels and a pen: You’ll thank yourself later!
Propagation Methods
Carthamus plumosus is most commonly propagated by stem cuttings. It’s quite straightforward once you get the hang of it.
- Taking the Cuttings: With your clean shears, select a healthy stem that’s about 4-6 inches long. Make your cut just below a leaf node. This is where the magic of rooting often happens. Remove the lower leaves, leaving just a few at the very top.
- Preparing the Cutting: If you’re using rooting hormone, dip the cut end into it, tapping off any excess.
- Planting the Cuttings: Fill your small pots with your prepared potting mix. Make a little hole in the center with your finger or a pencil. Gently insert the cutting into the hole, making sure the leaf nodes (where you removed the leaves) are buried under the soil. Firm the soil gently around the stem.
- Watering and Humidifying: Water the pot thoroughly until water drains from the bottom. Then, lightly mist the leaves.
- Creating a Greenhouse: Place the pot into a plastic bag, tying it loosely at the top, or put it into a propagator. This will trap moisture and humidity, which is essential for cuttings to develop roots. Place it in a bright spot, but out of direct, scorching sunlight.
The “Secret Sauce” (Pro Tips)
Here are a couple of things I’ve learned over the years that really seem to make a difference:
- Avoid the Water Log: When you water, make sure the leaves of your cutting don’t sit directly in water once it’s in the pot. This sounds simple, but it can lead to rot. A light misting is usually enough until roots start to form more substantially.
- Bottom Heat is Your Friend: While not strictly necessary, placing your potted cuttings on a heat mat can significantly speed up the rooting process. It mimics the warmth of spring soil and encourages those roots to grow with enthusiasm.
Aftercare & Troubleshooting
Once your cuttings have successfully rooted – you’ll know when you see new growth appearing at the top, or when they offer a gentle resistance when tugged lightly – it’s time for a little less coddling. Gradually introduce them to less humid conditions by opening the plastic bag a little more each day over a week. Water them when the top inch of soil feels dry.
What if things aren’t going to plan? The most common culprit is rot. If your cuttings turn mushy or black, it’s usually a sign of too much moisture and not enough air circulation. If you see this, remove the affected cutting immediately to prevent it from spreading. Don’t be discouraged if not every cutting takes; it’s part of the learning curve!
A Encouraging Closing
Growing plants from cuttings is a beautiful way to connect with nature. It requires patience, observation, and a little bit of hope. So go ahead, get your hands dirty, take those cuttings, and enjoy the journey of nurturing new life. You’ve got this!
Resource:
https://identify.plantnet.org/k-world-flora/species/Carthamus%20plumosus%20(Pomel)%20Greuter/data