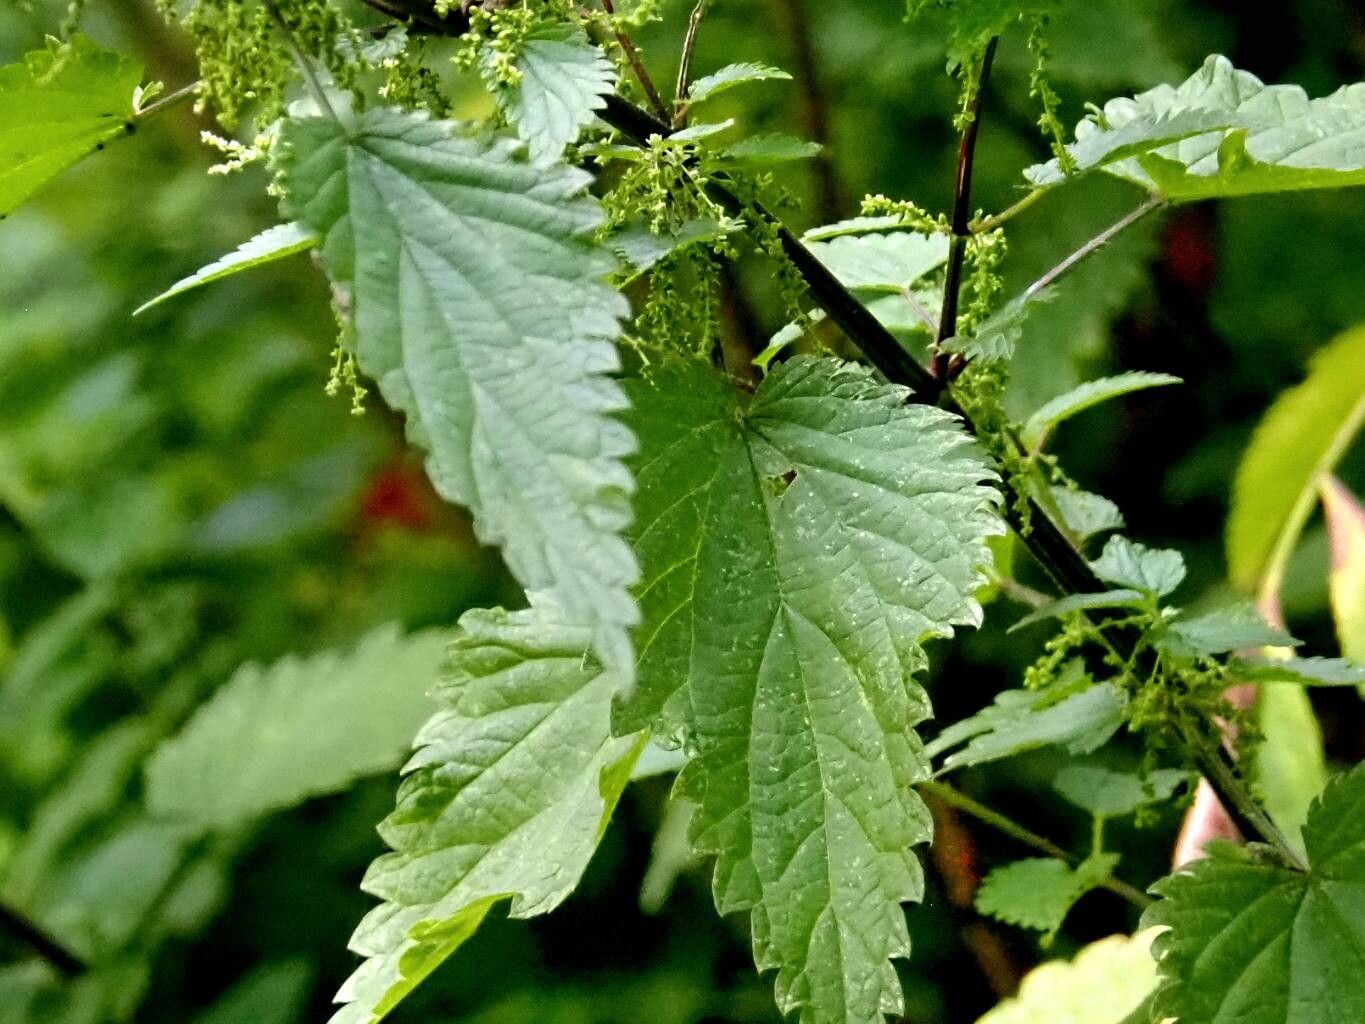
Oh, hello there! Come on in, let’s chat about Urtica dioica, or as most of us affectionately call it, stinging nettle. Now, I know what some of you might be thinking – nettles? Really? But trust me, there’s so much more to these fascinating plants than their… well, their sting. They’re incredibly valuable in the garden, offering wonderful benefits for soil, beneficial insects, and even for us in the kitchen and for herbal remedies. And the best part? They’re surprisingly easy to start from scratch, making them a fantastic project for seasoned gardeners and beginners alike. Getting more plants from just one is such a rewarding feeling, isn’t it?
The Best Time to Start
For the most success, I always find that late spring to early summer is your golden window for starting nettles. This is when the plant is in active growth and has plenty of energy to put into developing new roots. You can also have success with root cuttings in late fall or early spring, just as the plant is waking up or settling down for winter.
Supplies You’ll Need
Here’s what you should have on hand:
- Sharp pruning shears or a clean knife: For taking cuttings and dividing.
- Rooting hormone (optional, but helpful): Especially for stem cuttings.
- Well-draining potting mix: A good blend of peat moss or coco coir and perlite works wonders. You can also add a bit of compost.
- Small pots or trays: For your new cuttings or divisions.
- A watering can with a fine rose: For gentle watering.
- Gloves: Essential, of course, when handling stinging nettles!
- Plastic bags or a propagator: To create a humid environment for cuttings.
Propagation Methods
Let’s get our hands dirty!
1. Stem Cuttings: This is my go-to method, and it’s incredibly effective.
- Select your cutting: Look for healthy, non-flowering stems that are about 4-6 inches long. Gently snap or cut the stem just below a leaf node (where a leaf attaches to the stem).
- Prepare the cutting: Remove the lower leaves, leaving just the top few. If you’re using rooting hormone, dip the cut end into it according to the product’s instructions.
- Planting: Insert the cut end into your prepared potting mix. Make sure the nodes where you removed the leaves are buried. Gently firm the soil around the cutting.
- Create humidity: Water the soil lightly. Then, you can either place the pot inside a plastic bag (make sure the leaves don’t touch the plastic too much) or cover it with a clear plastic dome if you’re using a propagation tray. The idea is to keep the humidity high.
- Placement: Place the pot in a bright location, but out of direct sunlight.
2. Division: This is fantastic for older, established plants.
- Dig carefully: In late fall or early spring, gently dig up your mature nettle plant. Try to expose as much of the root system as possible without causing too much damage.
- Seperate the roots: You’ll see that nettles often form clumps and have a nice network of roots. Using your hands or a clean, sharp spade, carefully pull or cut the clumps apart. Each division should have healthy roots and at least one or two emerging shoots.
- Replant: Plant the divisions in their new locations or in pots with fresh soil. Water them in well.
3. Root Cuttings: This method is a bit more hands-on but works well.
- Harvest roots: In late fall or early spring, dig up a mature plant and gently clean the roots.
- Cut the root: Using your clean knife, cut sections of root that are about 2-3 inches long. It doesn’t matter too much if they have visible buds or not, as they contain stored energy.
- Planting: Lay the root cuttings horizontally on the surface of your potting mix or barely cover them with a thin layer of soil.
- Maintain moisture: Keep the soil consistently moist but not waterlogged.
The “Secret Sauce”
Here are a few tricks I’ve learned over the years:
- When doing water propagation with stem cuttings (though I prefer soil), make absolutely sure that no leaves are submerged in the water. They’ll just rot and can take your cutting down with them.
- Bottom heat can be a real game-changer for stem cuttings. Placing your pots on a heated propagator mat or even a warm windowsill can significantly speed up root formation. It mimics that lovely warm soil a plant craves.
- Don’t be afraid to be a little rough when dividing. Nettles are tough plants! Just ensure each piece has a good amount of root and a potential shoot.
Aftercare & Troubleshooting
Once your cuttings or divisions show signs of new growth, congratulations! They’re establishing!
- Gradually introduce to normal conditions: If your cuttings were in high humidity, slowly acclimate them by opening the plastic bag a little each day or removing the propagator lid for increasing periods.
- Watering: Keep the soil consistently moist, but never soggy. As they grow stronger, you can begin watering them a bit less frequently.
- Patience is key: New roots can take anywhere from a few weeks to a couple of months to develop. You can gently tug on a cutting to feel for resistance – that’s a good sign of roots!
The most common issue you might face is rot. This usually happens if the soil is too wet or there’s not enough air circulation. If you see a cutting turn mushy or black, it’s likely beyond saving. Remove it immediately to prevent it from affecting others.
A Encouraging Closing
Don’t be discouraged if your first few attempts aren’t perfect. Gardening is all about learning and observing. Keep trying, keep experimenting, and most importantly, enjoy the journey of coaxing new life from your favorite plants. Before you know it, you’ll have a whole patch of happy nettles to enjoy. Happy propagating!
Resource:
https://identify.plantnet.org/k-world-flora/species/Urtica%20dioica%20L./data