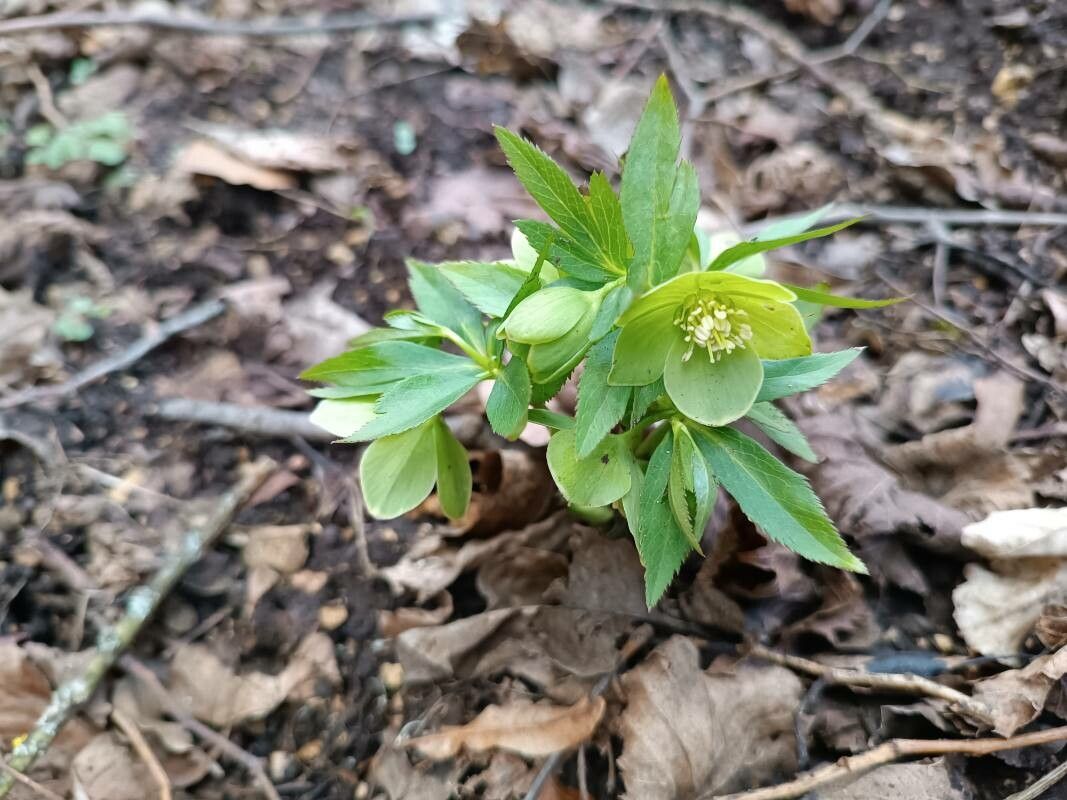
Oh, Helleborus dumetorum! Isn’t it just a gem? Those understated, nodding flowers in shades of deep plum and dusky rose are such a delightful surprise peeking through whenever the mood strikes. I’ve always loved them for their resilience and their slightly wild charm. And you know what’s even more rewarding? Growing them yourself! Propagating Helleborus dumetorum is something I’ve enjoyed for years. While it’s not quite as straightforward as taking a geranium cutting, it’s definitely achievable for most gardeners with a little patience and a few key tricks. Don’t be intimidated; think of it as a lovely challenge that will expand your Helleborus collection.
The Best Time to Start
For Helleborus dumetorum, I find that late spring to early summer is usually the sweet spot. This is after the main flowering push has passed, and the plant is ambling into a more vigorous vegetative growth phase. You’ll have lovely, healthy stems to work with then, and the longer growing season ahead gives your new cuttings a good head start.
Supplies You’ll Need
- Sharp, clean pruning shears or a sharp knife: For making clean cuts.
- Small pots or seedling trays: With drainage holes, of course!
- A well-draining potting mix: I like a blend of equal parts peat moss or coco coir, perlite, and compost. You want something that allows water to drain away quickly.
- Rooting hormone powder (optional but recommended): This gives those little plantlets a boost.
- Plastic bags or a propagator: To help maintain humidity.
- A mister or spray bottle: For keeping things moist.
- Watering can: For gentle watering.
Propagation Methods
While you might think of Hellebores primarily through division, you can also have success with stem cuttings.
-
Stem Cuttings:
- Select Your Stems: Look for healthy, non-flowering stems that are about 4-6 inches long. They should be somewhat firm but not woody.
- Make the Cut: Using your clean shears, cut the stem just below a leaf node. This is where new roots are most likely to form.
- Prepare the Cutting: Gently remove the lower leaves, leaving just a few at the top. If your cutting is particularly long, you can pinch off the very tip to encourage branching later.
- Apply Rooting Hormone: Dip the cut end into your rooting hormone powder, tapping off any excess.
- Planting: Fill your small pots or trays with your prepared potting mix. Moisten it thoroughly. Make a small hole in the center of the soil and insert the cutting, ensuring at least one leaf node is buried. Gently firm the soil around the stem.
- Create a Humid Environment: Lightly mist the cuttings. Then, cover the pots or trays with a clear plastic bag or place them in a propagator. This traps moisture and creates a mini-greenhouse effect.
-
Division (My Favorite for Hellebores!):
- Timing is Key: The very best time for division is immediately after flowering has finished, typically in late spring. This gives the divisions the maximum time to establish before the heat of summer.
- Careful Excavation: Gently dig up the entire plant. I usually try to tease away as much of the soil as possible to see the root structure.
- The Divide: You’ll see distinct crowns or clumps in a mature Hellebore. Using your hands or a clean trowel (or even two spades back-to-back), carefully split the plant into smaller sections. Each section should have at least one or two healthy leafy shoots and a good portion of the root system.
- Replant: Immediately replant your divisions into their new homes, whether that’s back in the garden or into pots. Water them in well.
The “Secret Sauce” (Pro Tips)
- Don’t Overdo the Water with Cuttings: While humidity is crucial, soggy soil is the enemy of cuttings! It leads to rot. Make sure your potting mix is airy and drains well. I always err on the side of slightly drier soil and boost humidity with misting and the plastic cover, rather than drowning them.
- Bottom Heat is Your Friend for Cuttings: If you can provide gentle bottom heat (like from a heat mat used for seedlings), it really encourages root development for those stem cuttings. It mimics the warmth of spring soil and speeds things up considerably.
- For Division, Look for the “Eyes”: When dividing, pay attention to where new growth will emerge – these are often visible as little dormant buds or “eyes” on the crown of the plant. Ensure each division has at least one of these to guarantee new growth.
Aftercare & Troubleshooting
Once your cuttings have developed roots (you can gently tug on a stem after a few weeks; if there’s resistance, you have roots!), or your divisions are planted, the real nurturing begins.
- Gradual Acclimation: If you’ve used a plastic bag or propagator, gradually start to acclimate your new plants to drier air. Open the bag a little more each day for a week or so before removing it completely.
- Consistent Moisture: Keep the soil consistently moist but not waterlogged. Water when the top inch of soil feels dry to the touch.
- Shade is Best: Until they are well-established, keep your new Hellebores out of direct, harsh sunlight. A bright, shaded spot is ideal.
- Troubleshooting Rot: The most common failure is rot, often caused by too much moisture. If you see mushy stems or leaves turning black and wilting, it’s usually a sign of overwatering or lack of drainage. Sometimes, you can save a cutting by trimming off any rotted parts and repotting in fresh, drier mix, but it’s often a lost cause. Rot in divisions is usually a sign of the spot being too soggy or poor drainage.
And there you have it! Propagating Helleborus dumetorum is a journey. Be patient, observe your plants, and don’t be discouraged if everything doesn’t take off immediately. Every gardener has their share of experiments that don’t quite work out. The joy is in the learning and the beautiful reward of seeing a new plant flourish under your care. Happy gardening!
Resource: