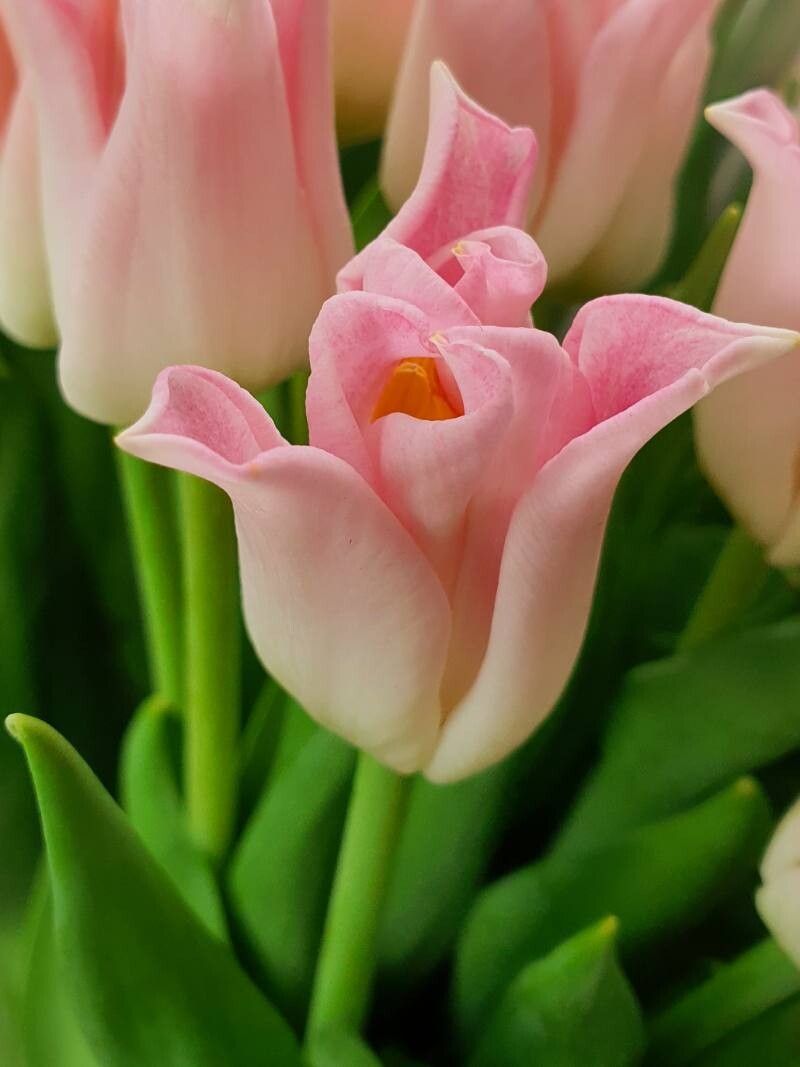
Hello, fellow garden lovers! It’s so wonderful to have you here. Today, we’re diving into something truly special: coaxing more beauty into our gardens by propagating the captivating Tulipa gesneriana, commonly known as the Darwin Hybrid tulip.
These tulips are just stunning, aren’t they? Their large, vibrant blooms bring such joy to the spring garden. And the idea of creating more of them yourself? That’s a deeply rewarding feeling. Now, I’ll be honest, propagating tulips isn’t quite as straightforward as, say, making more basil from a cutting. But don’t let that deter you! With a little patience and the right approach, it’s absolutely achievable and a fantastic learning experience for anyone looking to expand their gardening skills.
The Best Time to Start: Patience is Key
For Tulipa gesneriana, propagation is best done when the plant is naturally winding down its energy cycle. Think late spring to early summer, right after the flowers have faded and the foliage begins to yellow. This is when the bulbs have stored up all their energy and are ready to divide. Trying to propagate too early or too late can really impact your success rates.
Supplies You’ll Need
Gathering your tools beforehand makes the whole process so much smoother. Here’s what I always have on hand:
- A sharp, clean knife or small trowel: For dividing the bulbs. Sterilize it with rubbing alcohol before and between cuts!
- Well-draining potting mix: A good commercial blend fortified with perlite or coarse sand works wonderfully.
- Small pots or trays: For replanting the divisions.
- Labels and a permanent marker: You’ll want to remember what you planted and when.
- Optional: Rooting hormone powder: While not strictly necessary for tulips, it can give them a little extra boost.
- A watering can with a fine rose attachment: To avoid disturbing the freshly planted bulbs.
Propagation Methods: The Gentle Art of Division
The primary and most successful way to propagate Tulipa gesneriana is through bulb division. Tulips naturally produce offsets, which are smaller bulbs attached to the parent bulb. It’s like they’re giving birth to tiny versions of themselves!
Here’s how I do it:
- Wait for the Foliage to Yellow: As I mentioned, this is crucial. Don’t be tempted to dig them up too soon. The leaves need to die back naturally.
- Gently Excavate: Carefully dig around the cluster of bulbs, loosening the soil. You want to lift them out with as little damage to the bulbs and their roots as possible.
- Clean Them Up: Gently brush off excess soil. You’ll likely see the main bulb and then smaller bulblets attached.
- The Division: Carefully separate the bulblets from the mother bulb. Use your clean knife or trowel to make a clean cut. If a bulblet is already well-formed and has its own set of tiny roots, that’s a good sign. If it’s very small and papery, it might have a harder time establishing.
- Inspect and Trim: Remove any damaged or diseased parts of the bulbs. If there are any old, papery husks, you can gently peel those off, but be careful not to damage the healthy bulb underneath.
- Optional Rooting Hormone: If you’re using rooting hormone, dip the cut end of the bulblet into it. Tap off any excess.
- Plant Them Out: Fill your small pots with your well-draining potting mix. Plant the bulblets at about twice their depth, just like you would a regular tulip bulb. The pointed end should always face upwards.
- Watering: Water gently but thoroughly to settle the soil around the bulblets.
The “Secret Sauce” (Pro Tips)
After years of getting my hands dirty, I’ve picked up a few tricks that can really make a difference:
- The “Mother Bulb’s Legacy”: Don’t discard the mother bulb entirely! Even if it’s smaller after producing offsets, it can often rest, rejuvenate, and produce more blooms in seasons to come. Just plant it back in.
- Air Circulation is King: When planting your divisions, give them a little space. Overcrowding can lead to fungal issues, especially in cooler, damp conditions. Well-aerated soil and good airflow around the pots are vital.
- Patience with Tiny Bulbs: Those really, really tiny bulblets might take a couple of years to mature enough to flower. Don’t get discouraged if they don’t put on a show immediately. They’re just building their strength underground.
Aftercare & Troubleshooting
Once your new tulip bulblets are planted, treat them much like you would freshly planted regular tulip bulbs. Keep the soil consistently moist but not waterlogged. In hotter climates, a bit of shade during the peak afternoon sun might be beneficial for new plantings.
The most common issue you might encounter is rot. This usually happens when the soil stays too wet or if the bulbs weren’t healthy to begin with. If you notice any mushy, foul-smelling bulbs, it’s best to remove them immediately and discard them to prevent it from spreading. If you see mold on the soil surface, it’s often a sign of too much moisture and poor air circulation. Loosen the soil slightly and ensure good airflow.
A Encouraging Closing
Creating new life from existing plants is such a magical part of gardening. Propagating tulips might take a bit of patience, but the reward of seeing those new blooms unfurl, knowing you helped them come to be, is absolutely worth it. So, go ahead, get your hands in the soil, enjoy the process, and happy gardening!
Resource:
https://identify.plantnet.org/k-world-flora/species/Tulipa%20gesneriana%20L./data