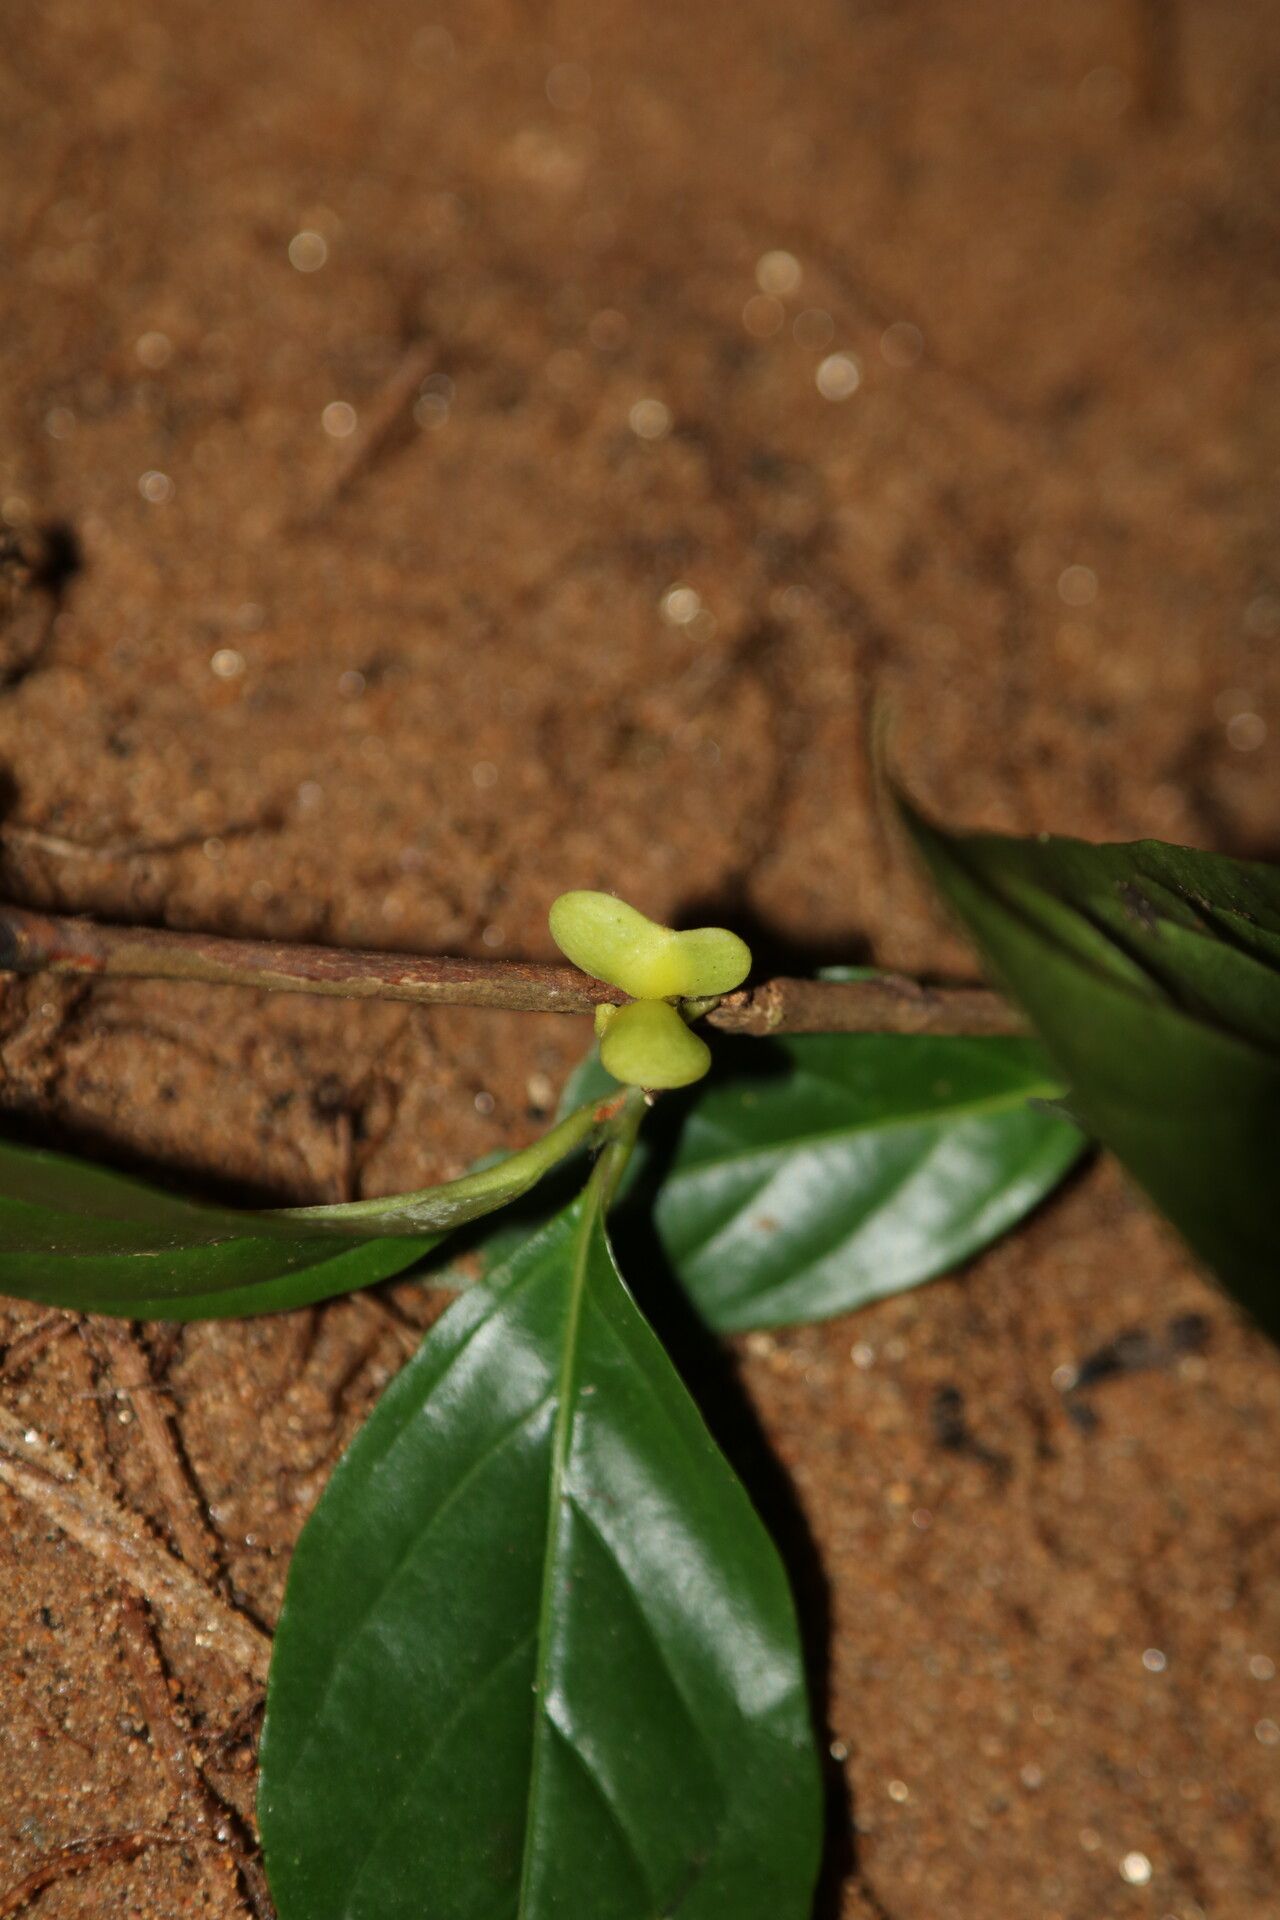
Oh, Mostuea brunonis! What a delight that plant is. Its delicate, almost ethereal blooms and lovely foliage bring such a gentle elegance to any space. And the best part? Bringing more of that beauty into your garden or home by propagating it yourself is incredibly satisfying. For those of you just starting out on your plant adventure, I’d say Mostuea brunonis is moderately easy to propagate. It’s not the absolute simplest, but with a little attention to detail, you’ll be rewarded with success.
The Best Time to Start
The sweet spot for propagating Mostuea brunonis is generally in the late spring or early summer. This is when the plant is coming into its active growth phase, meaning it’s full of energy and more likely to sprout new roots. You’re looking for stems that are semi-ripe – they’re no longer floppy and brand new, but they haven’t become hard and woody yet. Give a stem a gentle bend; if it snaps cleanly, it’s usually about right.
Supplies You’ll Need
Gathering your tools beforehand makes the whole process much smoother. Here’s what I like to have on hand:
- Sharp, clean pruning shears or a sharp knife: A clean cut is crucial to prevent disease.
- Rooting hormone (optional, but recommended): This gives your cuttings a helpful boost.
- Well-draining potting mix: A 50/50 blend of peat moss or coco coir and perlite works wonders. You can also buy specific seed-starting or propagation mixes.
- Small pots or seed trays: Clean pots are a must!
- Clear plastic bags or a propagation dome: To create a humid environment.
- Watering can with a fine rose or a spray bottle: For gentle watering.
- Labels and a marker: So you don’t forget what you planted where!
- Bottom heat source (optional, but super helpful): A heat mat designed for plants can really speed things up.
Propagation Methods
Mostuea brunonis takes really well to stem cuttings. It’s my go-to method because you can get several new plants from one healthy parent.
- Take Your Cuttings: Using your clean shears, select a healthy stem. You want to cut a section that’s about 4-6 inches long. Make your cut just below a leaf node (the point where leaves emerge from the stem).
- Prepare the Cuttings: Gently remove the lower leaves from the cutting, leaving just a few at the top. This prevents them from rotting when buried in the soil. If your leaves are large, you can even cut them in half to reduce water loss.
- Dip in Rooting Hormone: If you’re using rooting hormone, dip the cut end of the stem into it. Tap off any excess.
- Plant the Cuttings: Fill your small pots with the well-draining potting mix. Make a small hole in the center with your finger or a pencil. Insert the prepared cutting into the hole, ensuring the leaf nodes where you removed the leaves are below the soil surface. Gently firm the soil around the stem.
- Water Gently: Water the potting mix thoroughly but gently, so you don’t disturb the cuttings.
- Create Humidity: Place the pots into clear plastic bags (you can prop them up with sticks so the leaves don’t touch the plastic) or cover them with a propagation dome. This creates a mini-greenhouse effect, keeping the humidity high, which is vital for successful rooting.
- Provide Ideal Conditions: Place the pots in a bright spot but out of direct sunlight. If you have a bottom heat mat, now is the time to use it! Keep the soil consistently moist but not waterlogged.
The “Secret Sauce” (Pro Tips)
Here are a few tricks I’ve learned over the years that can make a real difference:
- Don’t let those lower leaves touch the water or the soil surface. I know I mentioned it, but it’s so important I’ll say it again! Any submerged foliage is an invitation for rot. Trim them back ruthlessly.
- Bottom heat is your friend. If you can swing it, a bit of gentle warmth from below – like from a plant heat mat – really encourages those roots to develop much faster. It mimics the conditions of being in warm soil naturally.
- Variety in cuttings can help. Try taking some cuttings from softer, newer growth and some from slightly more mature stems. Sometimes one type will root more readily than the other.
Aftercare & Troubleshooting
Once your cuttings have developed a good root system – you can often tell by seeing roots poking out of the drainage holes or a gentle tug offering resistance – it’s time to move them into their own little pots. Continue to water them regularly, but allow the soil to dry out slightly between waterings. Gradually introduce them to brighter light, but avoid harsh, direct sun for the first few weeks.
Now, what if things go wrong? The most common culprit is rot. If your cuttings turn mushy, black, or slimy, unfortunately, they’re likely past saving. This is usually due to too much moisture without enough air circulation, or the soil mix not draining well enough. If you see a cutting starting to look a bit sad, check the moisture levels and ensure there’s good airflow. Sometimes, it’s just a matter of patience. Not every cutting will make it, and that’s perfectly okay!
A Little Encouragement
Propagating plants is a journey, and sometimes it feels like a bit of a gamble. But with Mostuea brunonis, the rewards are so worth the effort. Be patient, observe your little cuttings closely, and don’t be discouraged if you have a few failures along the way. Every attempt is a learning experience. Happy propagating, and enjoy the satisfaction of watching these beautiful plants multiply under your care!
Resource:
https://identify.plantnet.org/k-world-flora/species/Mostuea%20brunonis%20Didr./data