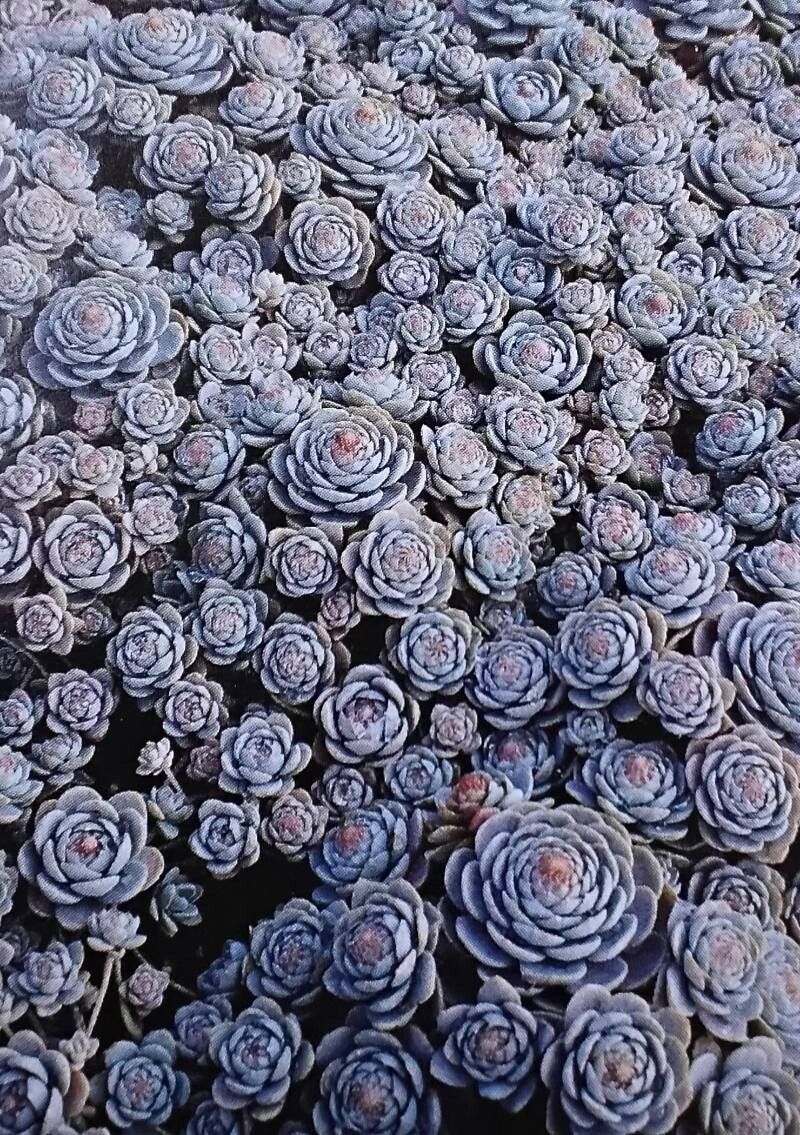
Oh, hello there! Pull up a chair, let’s chat about Orostachys boehmeri. If you’ve ever seen these charming little rosettes, you know they’re a delightful addition to any succulent collection. They form those lovely, almost perfectly symmetrical rosettes, and as they mature, they send up these graceful, tapering flower stalks. It’s like watching a tiny, slow-motion sculpture grow!
What I love most about Orostachys boehmeri is how they proliferate. They naturally produce offsets, making propagation a wonderfully rewarding experience. For beginners? I’d say it’s quite manageable. You’ll likely have a good success rate with a little patience and the right approach. It’s a great way to expand your collection or share these unique plants with fellow garden enthusiasts.
The Best Time to Start
Timing is everything, right? For Orostachys boehmeri, the sweet spot for propagation is during their active growing season. This generally means late spring through summer. You’re looking for healthy, well-formed rosettes or pups that have had a chance to develop a bit. Avoid attempting propagation when the plant is dormant or stressed.
Supplies You’ll Need
Gather your tools before you begin. It makes the whole process smoother. Here’s what I usually have on hand:
- Sharp, clean pruning shears or a sharp knife: For taking cuttings.
- Well-draining succulent or cactus potting mix: This is crucial! I often mix my own with equal parts potting soil, perlite, and coarse sand.
- Small pots or propagation trays: Terracotta pots are great as they allow the soil to dry out more quickly.
- Rooting hormone (optional but helpful): Especially for stem cuttings.
- Spray bottle: For misting, not for drenching!
- Labels and a pen: To keep track of what you’ve propagated and when.
Propagation Methods
Orostachys boehmeri are pretty obliging, and you’ll find success with a couple of common methods.
Offsets (Pups)
This is probably the easiest and most natural way these plants reproduce. Mature Orostachys will send out little baby rosettes, often called “pups,” from their base or along stolons.
- Locate the pups: Gently examine your mature Orostachys. You’ll see small rosettes growing from the side of the parent plant.
- Carefully detach: Using your clean knife or shears, carefully snip the pup away from the parent plant. Try to get a bit of the stem or a small nub of root if possible.
- Allow to callous: This is super important! Place the detached pups in a dry, well-ventilated spot away from direct sunlight for 2-3 days. You’ll see the cut end dry and form a callus. This prevents rot.
- Plant them: Once calloused, gently place the pups on top of, or slightly nestled into, your succulent potting mix in their own small pots. Don’t bury them too deep; just enough so they sit upright.
- Wait to water: Resist the urge to water immediately. Wait about a week before giving them their first light watering.
Stem Cuttings (Less Common, but Possible)
If your Orostachys has sent up a flower stalk and you want to try propagating from those rosette leaves (though this is less reliable and often the rosette at the top of the flower stalk will eventually bloom and die), you can try stem cuttings.
- Take cuttings: Once a rosette has formed on the flower stalk, you can carefully snip the entire stalk or individual segments with small rosettes.
- Allow to callous: Just like with pups, let these cuttings dry and form a callus for several days.
- Plant them: Place the calloused ends into your succulent potting mix.
- Water sparingly: Mist lightly and wait for roots to form. This method takes longer, and the success rate is lower than with pups.
The “Secret Sauce” (Pro Tips)
Here are a couple of things I’ve learned over the years that really make a difference:
- Don’t let leaves touch wet soil initially: When planting pups or cuttings, I like to rest them on the soil surface, or just barely tuck the calloused end in. This prevents the leaves from absorbing too much moisture and rotting before roots have a chance to anchor them.
- Bottom heat is your friend: If you’re propagating in cooler conditions or just want to speed things up, placing your pots on a seedling heat mat can provide gentle warmth to the roots. This encourages quicker root development. Just make sure the soil isn’t hot, just comfortably warm to the touch.
Aftercare & Troubleshooting
Once your little Orostachys start to show signs of rooting – you might see a tiny new growth or the rosette will feel more firmly anchored – you can begin to water them more regularly.
- Watering: Water thoroughly when the soil is completely dry. Allow good drainage. Misting is fine for initial encouragement, but actual rooted plants need a proper watering.
- Light: Place your new propagations in a bright, indirect light location. Too much intense sun can scorch them, while too little will lead to weak, leggy growth.
- Troubleshooting: The most common issue is rot. This usually happens from overwatering or not allowing cuttings to callous properly. If you see a pup turning mushy or black, it’s likely gone. Act quickly by removing it from other propagations to prevent spreading. If the leaves just look a bit sad and wrinkled, it might be thirst. Give it a little water and see if it perks up.
A Encouraging Closing
Propagating Orostachys boehmeri is a journey, not a race. Be patient with your little ones. It might take a few weeks, or even a couple of months, for them to establish themselves fully. Enjoy the process, learn from each one, and before you know it, you’ll have a whole family of these delightful succulents. Happy propagating!
Resource:
https://identify.plantnet.org/k-world-flora/species/Orostachys%20boehmeri%20(Makino)%20H.Hara/data