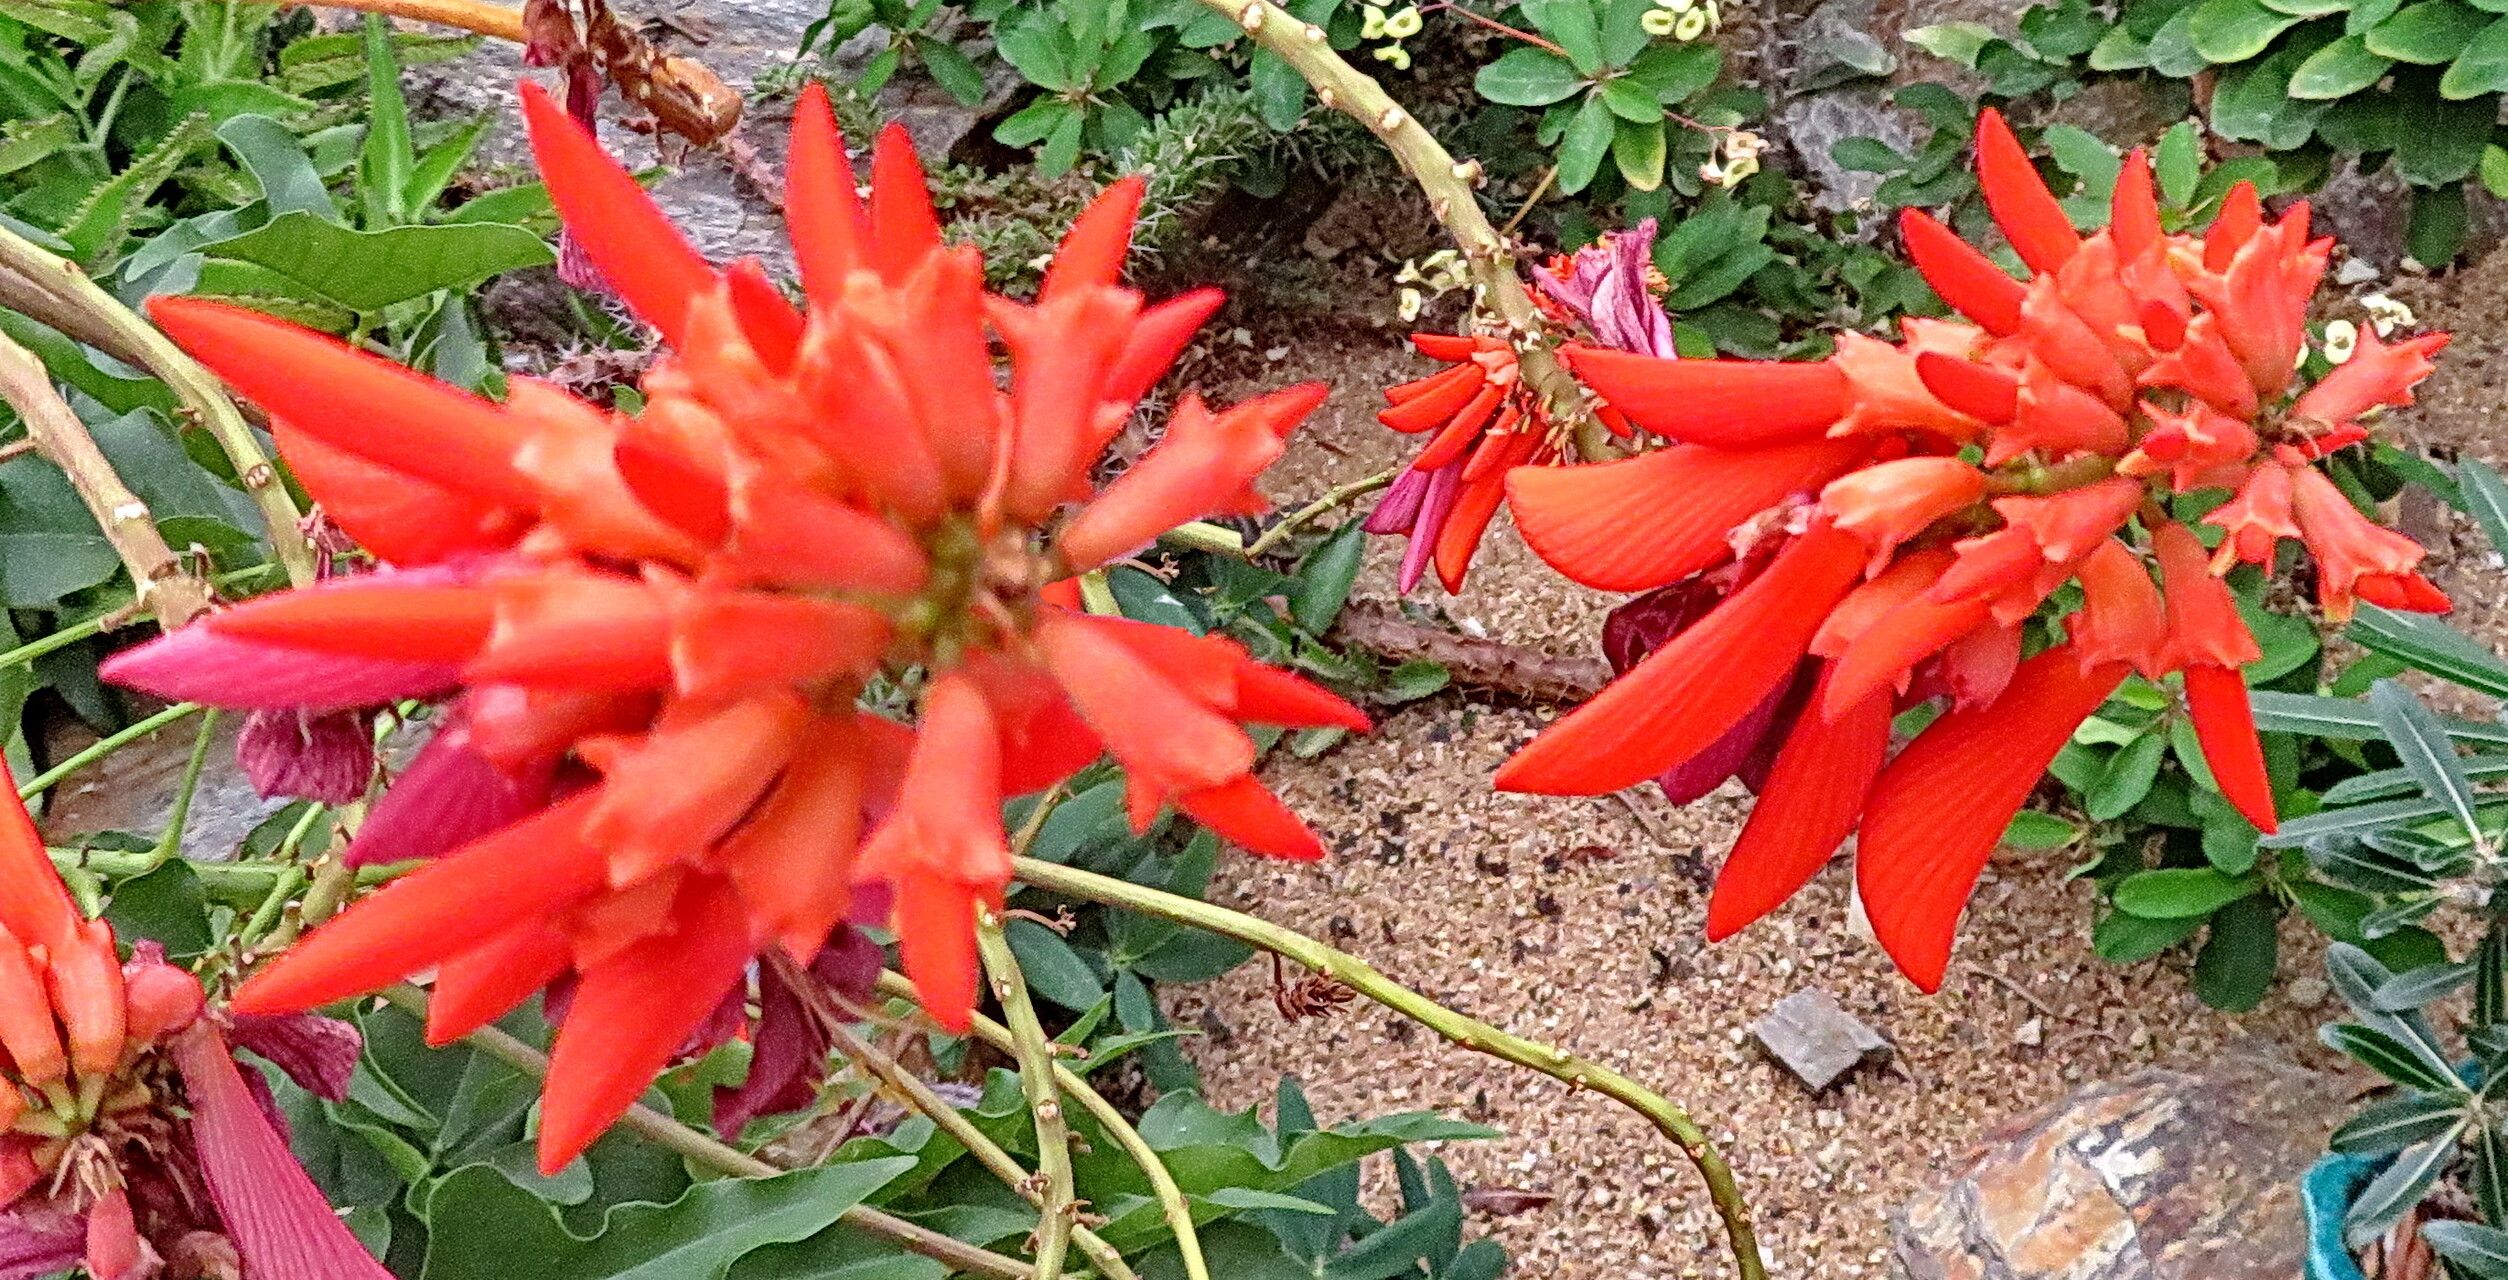
Hello fellow garden enthusiasts! Today, we’re diving into the wonderfully rewarding world of propagating Erythrina humeana, or the Coral Tree. This beauty, with its vibrant coral-colored flowers that absolutely steal the show, is a fantastic addition to any garden. Trust me, watching a tiny cutting transform into a thriving plant is a joy unlike any other. If you’re new to the plant propagation scene, Erythrina humeana is a pretty good place to start. It’s not overly fussy, and with a little care, you’ll have success.
The Best Time to Start
For the highest success rate, aim to propagate your Coral Tree during its active growing season. This is typically from late spring through summer. You can take cuttings when the plant is vigorously producing new growth. If you’re thinking about division, that’s best done when the plant is dormant, usually in late winter or early spring before new growth begins.
Supplies You’ll Need
Here’s your handy checklist for success:
- Sharp, clean pruning shears or a knife: For making clean cuts.
- Rooting hormone (optional but recommended): A powder or gel to encourage root development.
- Well-draining potting mix: I like a blend of equal parts peat moss or coco coir and perlite, or a specialized succulent/cactus mix.
- Small pots or trays: With drainage holes, of course!
- Watering can or spray bottle: For gentle watering.
- Plastic bags or a propagation dome: To maintain humidity.
- Labels: So you don’t forget what you planted!
- For division: A sturdy trowel or small shovel.
Propagation Methods
Let’s get our hands dirty!
Stem Cuttings
This is my go-to method for Erythrina humeana.
- Select healthy stems: Look for branches that are semi-hardwood, meaning they’re not too soft and new, but also not completely woody. They should have some flexibility.
- Make your cuts: Using your clean shears, take cuttings that are about 6-8 inches long. Make the cut just below a leaf node (the point where a leaf attaches to the stem).
- Prepare the cuttings: Gently remove the lower leaves from the cutting, leaving just a few at the top. If the leaves are very large, you can even cut them in half to reduce water loss.
- Apply rooting hormone: Dip the cut end of each cutting into your rooting hormone, tapping off any excess.
- Plant your cuttings: Fill your pots with your well-draining potting mix. Make a small hole with your finger or a pencil and insert the cut end of the cutting about 1-2 inches deep. Gently firm the soil around it.
- Water and cover: Water the soil lightly until it’s moist but not soggy. To create a humid environment, cover the pots with a plastic bag, bunching it at the top with a rubber band, or use a propagation dome. A little airflow is good, so I’ll often poke a few small holes in the bag.
Division
If your Coral Tree has started forming clumps or is looking a bit crowded, division is a great way to get more plants and refresh the parent plant.
- Repot or excavate: In late winter or early spring, carefully remove the plant from its pot or carefully dig around the base of the plant in the garden.
- Examine the root ball: Gently shake off excess soil to expose the roots and any natural divisions.
- Separate the sections: With a clean knife or trowel, carefully divide the root ball into sections. Each section should have at least a few healthy roots and a shoot or two.
- Replant: Pot up each division into its own container with fresh, well-draining soil, or replant them directly into the garden. Water gently after planting.
The “Secret Sauce” (Pro Tips)
Here are a few things I’ve learned over the years that really make a difference:
- Bottom heat is your friend! Coral Trees love warmth. Placing your pots on a heat mat specifically designed for plants can significantly speed up root development. It mimics the warmth of spring and summer soil.
- Don’t let the leaves touch the water! If you’re doing water propagation (though cuttings are often easier for this one), make sure no leaves are submerged. They’ll just rot and invite disease.
- Mist, don’t soak: When you mist your cuttings or divisions, don’t overdo it. You want to keep them humid, not waterlogged. A light misting a couple of times a day is often sufficient in a dome or bagged environment.
Aftercare & Troubleshooting
Once your cuttings have started to root (you might see new growth or feel a little resistance when you gently tug on a cutting), it’s time to ease them out of their high-humidity haven.
- Acclimatize slowly: Gradually remove the plastic bag or dome for increasing periods over a week. This helps them adjust to the regular air.
- Watering: Water when the top inch of soil feels dry. Overwatering is the most common mistake and can lead to problems.
- Light: Place your new plants in a bright location, but avoid direct, intense sun when they are very young. A bright windowsill is usually perfect.
Signs of Trouble: The most common issue is rot. If your cuttings turn mushy and black, or if the parent plant’s roots show signs of darkening and softening, you’ve likely overwatered. Ensure good drainage and allow the soil to dry slightly between waterings. If a cutting just shrivels and dies, it might not have rooted or it could have dried out too much. Don’t give up on the others!
A Encouraging Closing
Propagating plants is a journey of patience and observation. Some things take off like wildfires, others need a little coaxing. Treat your new Erythrina humeana babies with gentle care, provide them with what they need, and trust the process. Enjoy the satisfaction of growing your own beautiful Coral Trees! Happy gardening!
Resource:
https://identify.plantnet.org/k-world-flora/species/Erythrina%20humeana%20Spreng./data